
Choosing between Yoshino and Merries diapers is a highly individualized decision that depends on your baby’s unique anatomy, skin sensitivity, and your household budget. Because every baby’s body shape and skin chemistry are different, there is no single diaper brand that works perfectly for everyone. Instead of relying on generalized marketing claims or online reviews, parents can make a more reliable decision by establishing a structured testing process. This guide provides a practical framework to help you evaluate diaper packaging, calculate the true cost per piece in S$, and monitor your baby’s physical comfort during real-world use.
Key Factors to Evaluate Before Buying
To compare Yoshino and Merries effectively, you must look past branding and focus on objective, physical characteristics. Start by examining the product packaging for specific material composition. Look for details regarding the inner lining texture, such as whether it features a textured, 3D embossed pattern or a flat sheet. Textured linings are often designed to minimize direct skin contact with wetness, which can be a crucial factor for babies with sensitive skin. Additionally, check for explicit claims regarding breathability, such as micro-porous outer covers that allow air to circulate while keeping moisture contained.
Next, perform a physical inspection of the diaper’s structural design. Pay close attention to the waistband elasticity and the leg cuff construction. A high-quality diaper should have a highly stretchable, soft waistband that conforms to your baby’s waist without leaving deep red marks. The leg cuffs, or gather barriers, should feature double-layered elastic walls that sit snugly in the groin creases to prevent blowouts and leaks. Gently stretch these components with your fingers to assess their flexibility and softness; stiff or rough elastics can cause friction and discomfort during active play.
Products mentioned in this guide
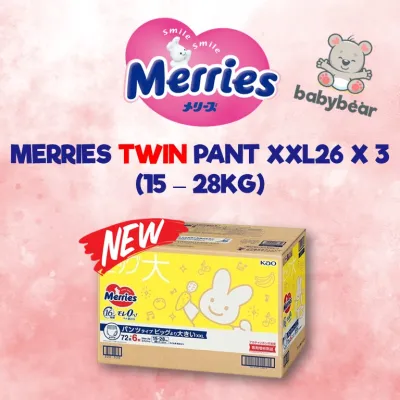
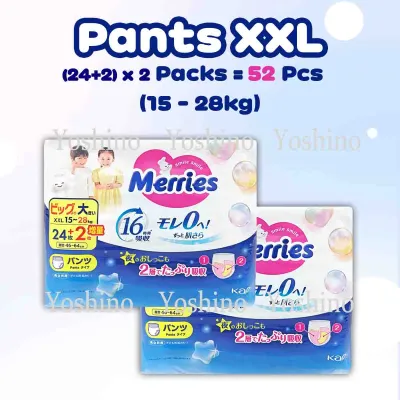
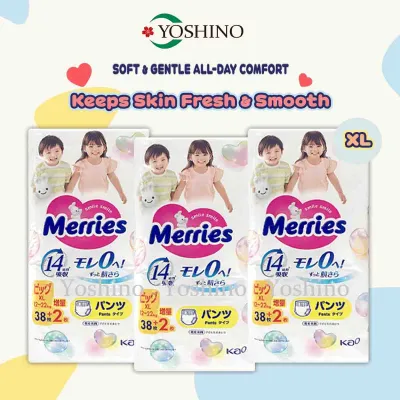
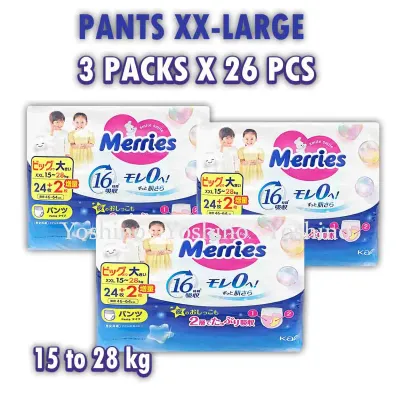
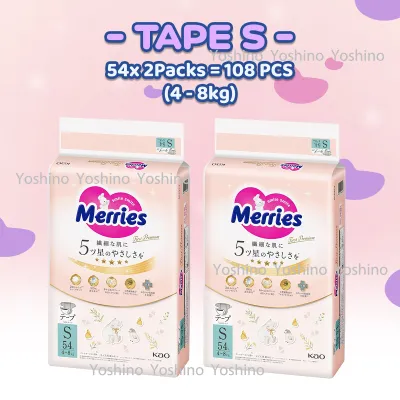
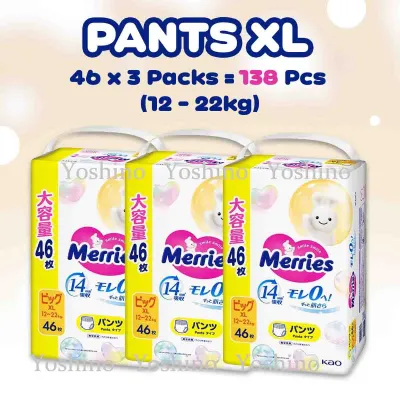
![[CARTON DEAL] MERRIES BABY DIAPERS // AVAILABLE IN TAPE & PANTS // MADE IN JAPAN](https://img.lazcdn.com/g/p/a300a41b172ace276d3b65fb0472dacb.png_400x400q80.png_.webp)
Prices are valid at publication and may change. Please refer to the product page for the latest price.
Finally, review the manufacturer’s indicated absorbent core structure and recommended weight ranges. Different brands utilize different core technologies, such as traditional fluff pulp mixed with superabsorbent polymers or advanced thin composite cores. The weight ranges printed on the packaging are general guidelines, but your baby’s unique build—whether they have chubby thighs or a slender waist—will ultimately determine the best fit. Always verify the recommended weight range on the specific pack before purchasing, as sizing standards can vary significantly between different diaper lines.
Monitoring Skin Comfort and Breathability
A diaper’s true performance is written on your baby’s skin. To systematically observe how your baby’s skin reacts to Yoshino or Merries, establish a consistent monitoring routine during diaper changes. Immediately after removing a diaper, carefully inspect the skin around the waist, hips, and inner thighs. Look for any signs of redness, localized irritation, or deep indentations left by the elastic bands. Friction marks often indicate that the diaper’s cut is not compatible with your baby’s current growth stage or body shape, suggesting a need to adjust the size or switch to a brand with a different silhouette.

When evaluating skin-friendliness, verify any hypoallergenic, fragrance-free, or dermatologically tested claims directly on the product packaging. These labels indicate that the manufacturer has subjected the materials to specific safety evaluations, though they do not guarantee a complete absence of allergic reactions. If your baby has highly reactive skin, prioritize diapers that explicitly state they are free from added fragrances, lotions, and elemental chlorine bleaching, as these additives are common triggers for contact dermatitis.
It is also essential to assess how the diaper performs under different usage conditions, specifically comparing high-activity daytime wear to extended overnight use. During the day, your baby’s movements can cause the diaper to shift, making flexibility and secure fastening tapes critical. For overnight wear, the diaper must maintain dryness over several hours. When you change your baby in the morning, touch the inner lining of the diaper and your baby’s skin; both should feel dry to the touch. If the skin feels damp or clammy, the diaper’s breathability or absorption speed may not be sufficient for overnight use, regardless of what the packaging claims.
Calculating True Cost and Budget Alignment
While skin comfort is paramount, diapering is a multi-year expense that must align with your household budget. To determine the true financial impact of choosing Yoshino versus Merries, you must look beyond the price of a single pack and calculate the exact cost per piece. To do this, divide the total retail price of the pack in S$ by the exact number of diapers contained inside. For example, if a pack costs S$24.00 and contains 60 diapers, the cost per piece is S$0.40. Performing this simple calculation allows you to make direct, objective comparisons between different pack sizes and retailers.
As you perform these calculations, account for upcoming size transitions. Diaper packaging is designed so that as the diaper size increases (from Small to Medium, Large, and Extra Large), the number of pieces per pack decreases, even if the price per pack remains identical. This means the cost per piece rises significantly with each size upgrade. When planning your long-term budget, factor in these inevitable transitions rather than basing your financial projections solely on newborn or small sizes.
While bulk buying from online marketplaces or local distributors often offers a lower cost per piece, weigh these financial benefits against potential risks. Babies grow rapidly, and purchasing multiple cartons of a single size can leave you with leftover diapers that no longer fit. Furthermore, if your baby suddenly develops a skin reaction to a specific brand, any unused bulk stock represents wasted money. To mitigate this, avoid purchasing bulk quantities of a new brand or size until you have successfully completed a trial period with a single pack.
Side-by-Side Comparison Checklist for Real-World Testing
To make an objective decision, parents can run a structured home trial using a side-by-side comparison checklist. Rather than relying on memory, recording specific observations over a one-week period with each brand will provide clear, actionable data. This testing should be conducted under normal daily routines, keeping track of how each diaper performs during active play, naps, and long overnight stretches.
Below is a customizable framework designed to help you record and compare your real-world observations of Yoshino and Merries. You can fill in these variable slots based on your own hands-on testing:
| Evaluation Metric | Yoshino Diaper Observations | Merries Diaper Observations |
|---|---|---|
| Cost per Piece (S$) | Calculate: Pack Price / Diaper Count | Calculate: Pack Price / Diaper Count |
| Inner Lining Feel | Rate softness and texture (e.g., smooth, embossed) | Rate softness and texture (e.g., smooth, embossed) |
| Waistband & Cuff Fit | Check for snugness, gaps, or red marks | Check for snugness, gaps, or red marks |
| Daytime Leakage | Record any leaks during active play or naps | Record any leaks during active play or naps |
| Nighttime Dryness | Assess skin dryness after overnight sleep | Assess skin dryness after overnight sleep |
| Skin Reaction | Note any redness, irritation, or chafing | Note any redness, irritation, or chafing |
When completing this checklist, remember that the final evaluation must be based entirely on your individual baby’s movement patterns and physical responses. A diaper that fits a slender, highly active toddler perfectly may cause leaks or red marks on a chubbier, less active infant. Treat this checklist as a personalized tool to find the optimal balance between physical fit and financial value for your specific household.
How to Decide: A Conditional Buying Framework
Once you have completed your home testing and calculated the costs, you can use a conditional framework to finalize your decision. If budget constraints are your primary household priority, choose the brand that offers the lower cost per piece in S$, provided that your testing showed it maintains basic dryness, fits securely, and does not cause skin irritation. For many families, a slightly less plush diaper is perfectly acceptable for daytime use when changes are frequent, allowing for significant savings over time.
Conversely, if your baby has shown sensitivity to specific materials, prioritize the brand whose packaging confirms a preferred, verifiable material composition. If one brand consistently keeps your baby’s skin drier and free from redness during overnight wear, the reduction in diaper rash and the associated peace of mind may justify a higher cost per piece. In this scenario, the more expensive diaper becomes the more practical choice by preventing discomfort and the need for costly medicated creams.
Safety must always come first when managing your baby’s skin health. If your baby has a history of severe contact dermatitis, eczema, or recurrent diaper rashes, verify the product ingredients first and consult a pediatrician before committing to any new diaper brand. A qualified medical professional can help identify specific triggers and recommend whether a specialized, medical-grade diaper is necessary, ensuring your baby’s skin remains protected and healthy.
Frequently Asked Questions (FAQ)
How should I safely transition my baby to a new diaper brand?
To safely transition your baby to a new diaper brand like Yoshino or Merries, start by purchasing a single, small trial pack from a reliable online retailer or local pharmacy rather than committing to bulk boxes. Introduce the new brand gradually, testing it primarily during the day when diaper changes are more frequent. This allows you to monitor your baby’s skin closely and catch any early signs of irritation or poor fit before a minor reaction escalates.
What steps should I take if my baby develops a rash from a new diaper?
If your baby develops a rash after starting a new diaper brand, stop using the suspected brand immediately and revert to a previously tolerated option. Clean the area gently with warm water and a soft cloth, avoiding alcohol-based wipes, and allow for diaper-free air time to let the skin dry naturally. If the rash persists, worsens, spreads, or shows signs of infection such as blisters or pus, consult a pediatrician promptly rather than relying solely on over-the-counter barrier creams.

Community discussion
Share your experience or ask a question. Comments are reviewed before publication.