
Finding out if your existing baby bottles are compatible with a new baby bottle warmer is a common priority for parents looking to streamline their feeding routines. While the Momcozy warmer is designed to accommodate a wide variety of popular bottle shapes and materials, physical compatibility ultimately depends on the specific model of your warmer and the exact dimensions of your bottles. Rather than relying solely on brand names, verifying compatibility requires a quick look at bottle diameters, heights, materials, and collar shapes to ensure safe and even heating.
How to Measure and Verify Bottle Fit
Before purchasing new bottles or attempting to heat your existing collection, the first step is to consult the user manual for your specific Momcozy warmer model. Different models, such as portable warmers or multi-function desktop units, have distinct internal dimensions. The manual will specify the maximum inner diameter of the heating chamber and the maximum allowable height for bottles when the lid is fully closed. Keeping these manufacturer specifications handy will prevent physical mismatch issues.
To measure your baby bottle accurately, use a ruler or caliper to find the widest point of the bottle body. Be sure to measure the bottle with any accessories attached, such as silicone sleeves, protective bases, or removable handles, as these additions can easily push a bottle past the warmer’s physical limits. If a sleeve makes the fit too snug, you will need to slide it off before placing the bottle into the heating chamber.
Products mentioned in this guide
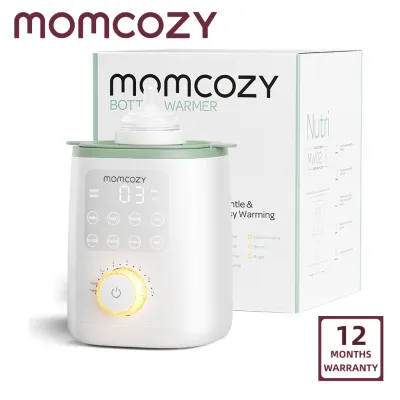
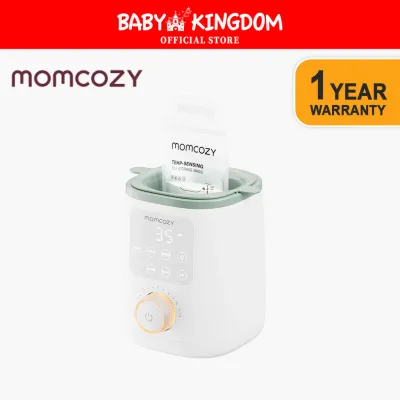
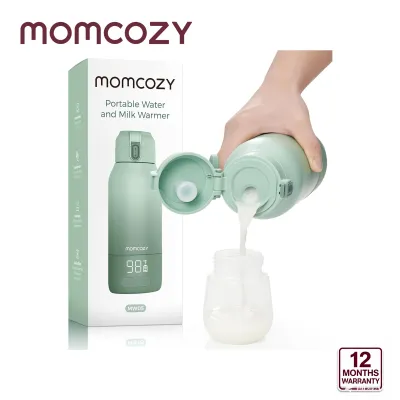
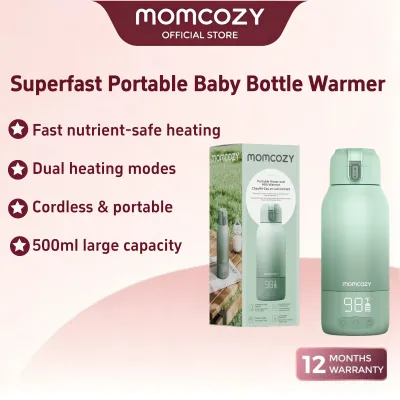
Prices are valid at publication and may change. Please refer to the product page for the latest price.
Next, measure the total height of the bottle from the very bottom of the base to the top of the cap or nipple cover. The cap must be on during this measurement if the warmer requires the lid to be closed during operation. An overly tall bottle may prevent the warmer’s lid from sealing properly, which can lead to heat loss, uneven warming, or steam escaping during the cycle.
Pay close attention to the shape of the bottle neck and collar. Some bottles feature highly contoured, irregular, or exceptionally wide plastic collars designed to mimic natural breastfeeding shapes. These wide collars can sometimes catch on the rim of the warmer or prevent the bottle from sitting flat at the bottom of the heating chamber.
Finally, inspect the inside of your warmer’s heating chamber or basket for any physical obstructions. Some warmers feature removable baskets, lift-out trays, or integrated sensors at the base. Ensure that your bottle’s base is completely flat and does not rest unevenly on these internal components, as an unstable bottle can tip over, spill milk, or cause localized overheating.
General Compatibility of Popular Bottle Brands
Standard straight-sided bottles, whether they are wide-neck or narrow-neck designs, generally offer the highest physical compatibility with standard bottle warmers. Brands like Pigeon and Philips Avent typically feature streamlined profiles that slide easily into the heating chamber without catching on the sides. As long as these bottles fall within the maximum diameter and height limits specified in your warmer’s manual, they are highly likely to fit and heat consistently.

In contrast, uniquely shaped or extra-wide silicone bottles, such as those from Comotomo, present unique spatial challenges. These bottles often feature exceptionally wide, bulbous bases and flexible silicone bodies that can expand slightly when filled with liquid. The wider base may fit tightly against the walls of the warmer, restricting water circulation or steam flow around the bottle. If you use these wider silicone designs, you may need to remove any outer decorative sleeves or handles to ensure they sit properly in the heating chamber.
Bottles equipped with internal anti-colic vent systems, such as those from Dr. Brown’s, also require careful consideration. The internal venting tubes and specialized collars often add significant height to the overall bottle assembly. When the cap is placed over these tall venting systems, the bottle may exceed the vertical clearance of the warmer, preventing the lid from closing. You must verify the total height of these assembled bottles against your warmer’s internal height limits before attempting a heating cycle.
It is important to remember that brand reputation alone does not guarantee a perfect fit. Manufacturers frequently update their bottle designs, materials, and accessory options, which can alter the physical dimensions of a bottle model you have used in the past. Always cross-reference the physical measurements of your specific bottle batch against the internal capacity of your warmer model rather than assuming compatibility based on brand compatibility lists.
Material Safety and Heating Efficiency Checks
Evaluating the material of your baby bottle is just as crucial as checking its physical fit. Before placing any bottle into the warmer, verify the heat-resistance temperature limits printed on the bottle itself, its packaging, or the manufacturer’s website. Common bottle materials like glass, polypropylene (PP), polyphenylene sulfone (PPSU), and silicone all react differently to heat, and you must ensure they can safely withstand water-bath or steam warming temperatures.
The material of the bottle also directly influences heating efficiency and cycle times. Thick silicone bottles, for example, act as natural insulators, meaning heat transfers much more slowly from the warmer to the liquid inside. This insulation effect may require you to run longer warming cycles or adjust your settings to achieve the desired temperature. Slow heat transfer can also increase the risk of uneven heating, making it essential to swirl the milk thoroughly and test the temperature on your wrist before feeding.
Always check for food-grade and BPA-free certifications on both the bottle and any removable parts, such as silicone sleeves or plastic collars. Placing non-certified plastics or low-grade silicone into a heated environment can lead to chemical leaching or material degradation over time. If you are using a protective silicone sleeve, ensure it is rated for high temperatures before leaving it on the bottle during a warming cycle.
Never place bottles with metallic components, painted metallic details, or single-use disposable liners directly into the warming chamber. Metal can interfere with the heating elements or cause damage to the warmer, while thin disposable liners are highly susceptible to bursting, leaking, or melting under direct heat. If your bottle system relies on disposable liners, transfer the milk to a sturdy, heat-safe bottle or storage bag specifically rated for warming before starting the cycle.
Safe Testing Steps for New Bottle Combinations
Before using a new bottle brand or material to heat breast milk or formula, it is highly recommended to perform a safe, low-risk test run. Start with a dry fit test by placing the clean, empty bottle inside the warmer. Gently close the lid to ensure it seals completely without forcing, pinching, or compressing the bottle. If you feel any resistance or if the lid does not sit flush, do not proceed with heating that specific bottle configuration.
If the dry fit is successful, proceed with a water-test protocol. Fill the bottle with plain tap water to your typical feeding volume, secure the collar and cap, and place it in the warmer. Run a standard warming cycle according to your warmer’s instructions. Once the cycle is complete, carefully remove the bottle and inspect it for any signs of water leakage, material deformation, warping, or excessive pressure buildup inside the bottle.
During this testing phase, take the time to read both the warmer’s user manual and the bottle manufacturer’s instructions side-by-side. Look for any conflicting warnings regarding heating methods. For example, some glass bottle manufacturers advise against rapid temperature changes to prevent thermal shock and cracking, which may conflict with rapid steam-warming settings on certain warmers.
Stop using any bottle and warmer combination immediately if you observe any warning signs during your test run. These signs include a warped or unstable bottle base, a compromised collar seal that allows liquid to drip, or an unusual plastic or chemical odor during the heating cycle. If you encounter these issues, consult the respective manufacturers or a qualified professional to find a safer feeding setup.
Frequently Asked Questions (FAQ)
Can I use breast milk storage bags directly in the warmer?
Whether you can warm breast milk storage bags directly in your warmer depends entirely on your specific warmer model’s design and accessories. Some models include a dedicated basket, rack, or bag holder designed to keep flexible storage bags upright and prevent them from making direct contact with the heating element. Never place a flexible storage bag directly onto a bare heating plate, as the intense localized heat can melt the plastic and cause the bag to burst. Always check the storage bag manufacturer’s instructions for maximum safe warming temperatures, and ensure the bag is not overfilled to minimize the risk of seam failure.
Does the warmer fit bottles with anti-colic vents?
Bottles with internal anti-colic venting systems can often fit inside standard warmers, but they require extra attention due to their height and pressure dynamics. The internal vent tubes and specialized collars frequently add extra height, which may exceed the vertical clearance of the warmer when the lid is closed. If the lid cannot close securely, you may need to temporarily remove the internal venting mechanism during the warming process, provided the bottle manufacturer’s instructions allow it. Always remember to reassemble the vent system properly and check for a secure, leak-free seal before feeding your baby.

Community discussion
Share your experience or ask a question. Comments are reviewed before publication.