
Quick Answer: Which Sterilizer Fits Your Bottle Material?
The most suitable sterilizer depends entirely on the specific physical properties of your baby bottles. Glass handles high-heat steam and microwave sterilization exceptionally well but requires careful handling to avoid thermal shock. PPSU (polyphenylsulfone) is highly heat-resistant, making it compatible with steam and microwave methods, though prolonged UV exposure requires monitoring for surface changes. Silicone is highly flexible and heat-tolerant, but it can degrade or discolor under continuous UV exposure or extreme heat cycles.
Ultimately, the manufacturer’s guidelines on the bottle packaging always override general material rules. Your primary task is to verify the exact heat and light tolerance limits of your specific bottle brand and model before choosing a sterilization method.
How UV, Steam, and Microwave Sterilizers Affect Bottle Materials
Understanding how different sterilization technologies interact with bottle materials helps you preserve the lifespan of your feeding gear. Each method uses a distinct mechanism to eliminate pathogens, which can physically stress plastics, glass, and silicone in different ways.
Products mentioned in this guide
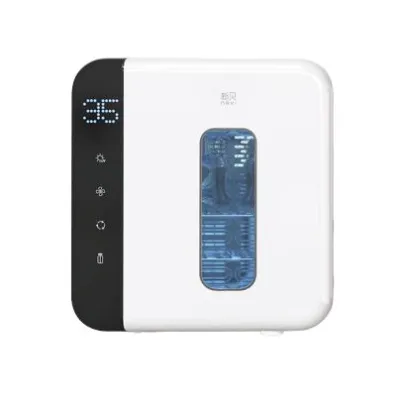
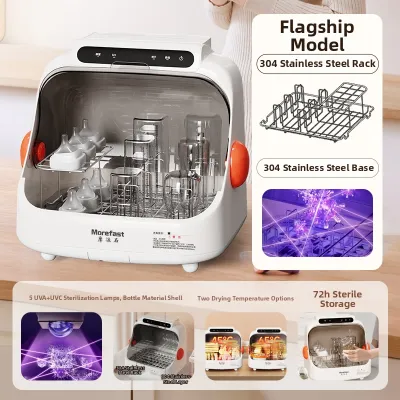
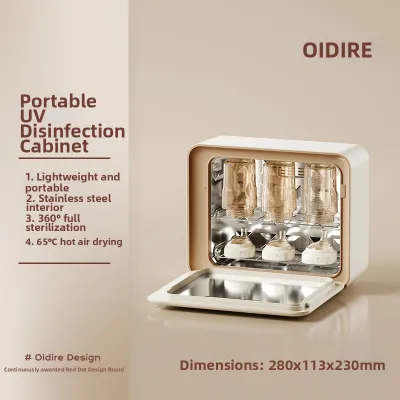
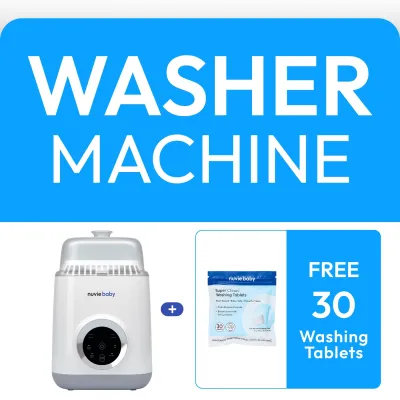
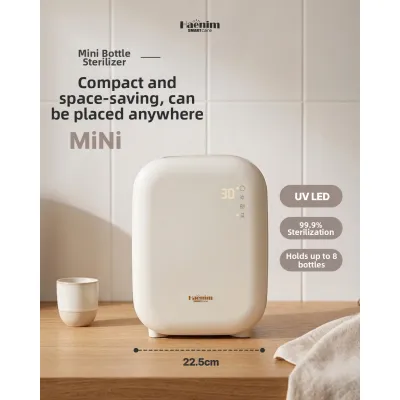
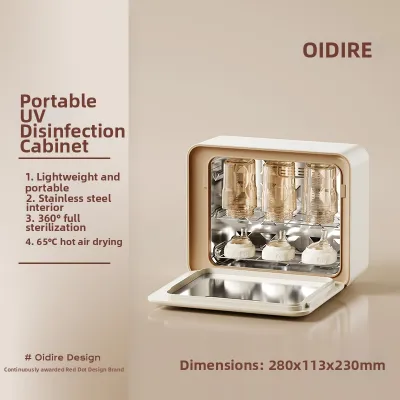
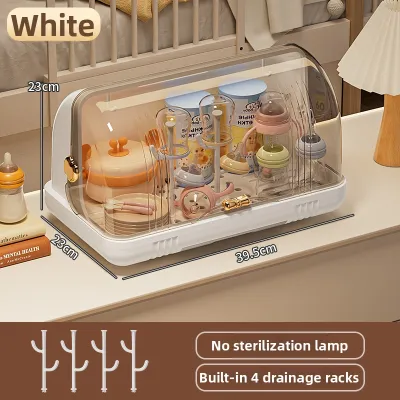
Prices are valid at publication and may change. Please refer to the product page for the latest price.

Steam Sterilizers: These devices rely on high-temperature water vapor to sanitize items. The intense heat and moisture are highly effective for materials that can withstand elevated temperatures, such as borosilicate glass and high-grade plastics. However, you must verify the maximum temperature threshold of every bottle component, including collars and caps, to prevent warping or structural degradation over time. In humid climates like Singapore, choosing a steam sterilizer with an integrated drying function is highly beneficial to prevent moisture buildup and mold growth.
UV Sterilizers: These units use ultraviolet light, typically UV-C, to disrupt the DNA of microorganisms without relying on high heat. This low-temperature mechanism is gentle on heat-sensitive components and eliminates the risk of water-spotting or scale buildup. However, UV sterilization requires a direct line of sight; any shadow or blocked area will not be fully sanitized. Additionally, continuous exposure to UV light can accelerate the aging of certain plastics and silicone, meaning you must regularly monitor these items for surface changes, discoloration, or brittleness.
Microwave Sterilizers: Operating on a rapid and intense heat-generation principle, microwave sterilizers use steam generated by heating water inside a specialized container. This method is incredibly fast and convenient, but it places high thermal stress on the contents. You must strictly limit this method to items explicitly labeled as microwave-safe by the manufacturer. Incorrect power settings or placing incompatible materials in a microwave sterilizer can lead to uneven heating, severe warping, melting, or even physical burns during handling.
Compatibility Checks for Glass, PPSU, and Silicone
To keep your feeding equipment in optimal condition, you must treat each material according to its unique physical limits. Regular inspections and adherence to manufacturer-specific care instructions are essential steps in maintaining safety.
Glass Bottles: Heat Tolerance and Thermal Shock
Glass is a traditional and highly durable choice that naturally resists scratches, odors, and stains. Most high-quality glass baby bottles are made from borosilicate glass, which is engineered to withstand high temperatures and sudden temperature shifts.
Despite this durability, glass remains susceptible to thermal shock. This physical phenomenon occurs when glass experiences a rapid, extreme change in temperature, such as moving a cold bottle directly into a hot steam sterilizer or rinsing a hot sterilized bottle under cold tap water. The sudden expansion or contraction can cause the glass to crack or shatter instantly.
To prevent accidents, establish a routine inspection checklist before and after every sterilization cycle:
- Check the entire surface for hairline cracks, chips, or deep scratches that could compromise structural integrity.
- Allow sterilized glass bottles to cool down completely inside the sterilizer before handling them.
- Verify the manufacturer's stated boiling, steam, or microwave limits to ensure your sterilizer does not exceed the safe operating threshold.
PPSU Bottles: High-Heat Endurance and Wear Signs
PPSU (Polyphenylsulfone) is a medical-grade plastic known for its distinct honey-colored tint and exceptional durability. It combines the lightweight convenience of plastic with a high heat-resistance profile that easily tolerates repeated steam and microwave sterilization.
However, even the most durable plastics are not permanent and will eventually show signs of wear under continuous thermal stress. You must check your specific bottle brand’s user manual to identify the maximum temperature limits and recommended cycle counts.
When inspecting PPSU bottles, look for these visual and physical indicators of degradation:
- An unexpected cloudy appearance or persistent haziness that does not wash away.
- Warping around the neck or collar, which can prevent a secure seal and cause leaks.
- Changes in surface texture, such as stickiness or rough patches.
- Increased brittleness or micro-cracks, especially if the bottles are frequently exposed to UV sterilization cycles.
Silicone Components: Heat Stability and Surface Changes
Silicone is widely used for bottle nipples, valves, and seals due to its soft, flexible nature and excellent heat stability. While silicone generally handles steam and boiling water well, it is highly sensitive to prolonged exposure to heat and light beyond its design limits.
Over time, repeated sterilization cycles can cause silicone to lose its elasticity and structural integrity. You must monitor these components closely, as degraded nipples can pose a choking hazard or alter the milk flow rate.
Watch for these physical signs of wear that indicate it is time to replace your silicone parts:
- A sticky or tacky surface texture that remains after thorough washing.
- Swelling, stretching, or a noticeable change in the shape of the nipple tip.
- Tears, cracks, or thinning of the material, particularly around the feeding hole or vent valves.
- Discoloration, yellowing, or persistent odors that do not dissipate, which can sometimes be accelerated by prolonged UV exposure.
Safety Boundaries and When to Replace Bottles
Maintaining a safe feeding routine requires a systematic approach to verifying your equipment. You should never assume that a bottle and a sterilizer are compatible simply because they are popular brands. Always cross-reference the bottle manufacturer’s care label with your sterilizer’s user manual to ensure the temperature, duration, and light settings align perfectly.
If you encounter conflicting guidelines—such as a bottle manufacturer advising against UV sterilization while your UV sterilizer manual claims it is safe for all plastics—always defer to the bottle manufacturer’s instructions. The bottle manufacturer understands the exact chemical composition and limits of their material, and ignoring their warnings can lead to premature degradation or chemical leaching.
Establish a weekly inspection routine using both visual and tactile checks. Run your fingers along the rims, threads, and inner surfaces of the bottles to feel for rough spots, cracks, or thinning. If you observe deep scratches, persistent cloudiness, compromised seals, or any physical deformation, retire the item immediately.
Define clear stop conditions for your household: halt the use of any bottle or sterilizer component immediately if you notice unusual odors during a cycle, unexpected melting, or if you are in doubt about the material’s integrity. In these situations, consult the manufacturer’s customer service or a qualified professional before resuming use.
Frequently Asked Questions (FAQ)
Can I mix different bottle materials in the same sterilizer cycle?
Yes, you can sterilize different materials together, but only if the cycle settings accommodate the lowest heat or light tolerance limit among the mixed items. For example, if you are sterilizing glass bottles alongside highly sensitive silicone nipples, you must select a cycle that does not exceed the maximum safe temperature of the silicone. Always check the individual manufacturer instructions for every single component in the load to ensure the chosen sterilization method is safe for the entire mix.
Does UV sterilization leave any chemical residue on silicone?
No, UV sterilization does not leave any chemical residue on silicone or other bottle materials. Because this method uses light waves rather than chemical agents or liquid sanitizers, there are no chemical byproducts left behind on the surfaces. Instead of worrying about chemical residues, you should focus on observing physical degradation. Regularly check your silicone components for changes in elasticity, discoloration, or surface tackiness, as these are the natural physical signs that the material is breaking down from light exposure.

Community discussion
Share your experience or ask a question. Comments are reviewed before publication.