
Securing kitchen cabinets and drawers is a vital step in creating a safe home environment as your baby begins to crawl and explore. Installing baby safety locks correctly ensures that curious hands cannot access sharp utensils, heavy cookware, or hazardous household cleaning products. By choosing the right lock type for your cabinetry and following a systematic installation process, you can achieve a secure fit that keeps your child safe while preserving the finish of your kitchen woodwork.
Tools and Materials Needed for Installation
Before beginning the installation, gather all necessary tools and materials to ensure a smooth, uninterrupted workflow. Having everything ready beforehand prevents delays and helps you focus on precise alignment.
You will typically need a measuring tape to determine precise placement, a pencil for marking alignment points, and a clean microfiber cloth. These basic items help ensure that each lock is positioned consistently across your kitchen.
Products mentioned in this guide
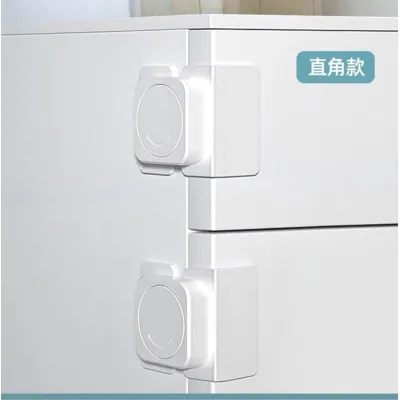
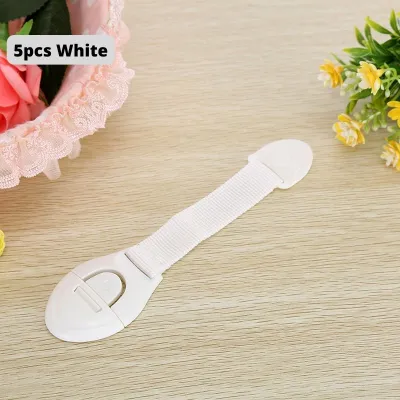
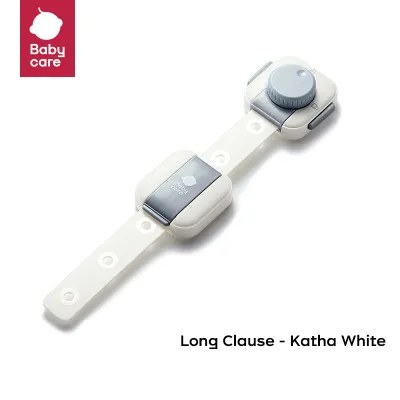
![[SG Local Stock] Baby Safety Lock Childrens Anti-pinch Safety Lock Catch Anti-collision Premium Safety Locks Self-adhesive Baby Safety Buckle For Cabinet Drawer Fridge Door Wardrobe Children Day Gifts](https://img.lazcdn.com/g/p/638abdf5a97199a85681991ebc624026.jpg_400x400q80.jpg_.webp)
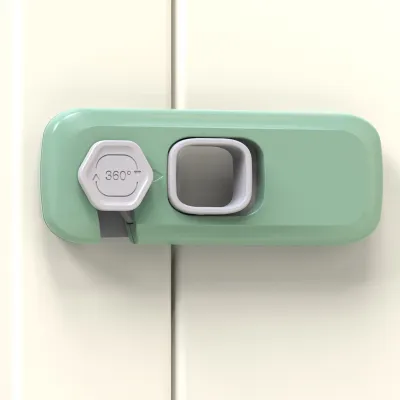
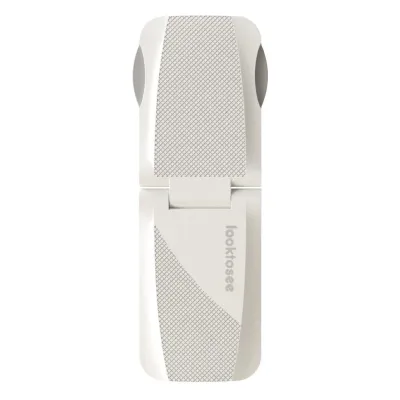
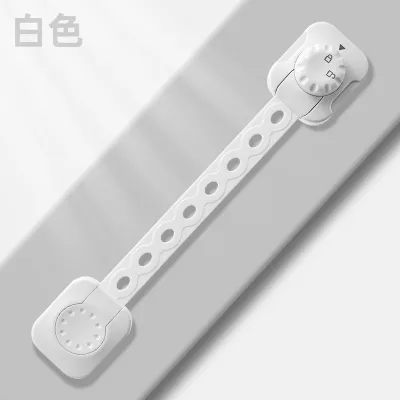
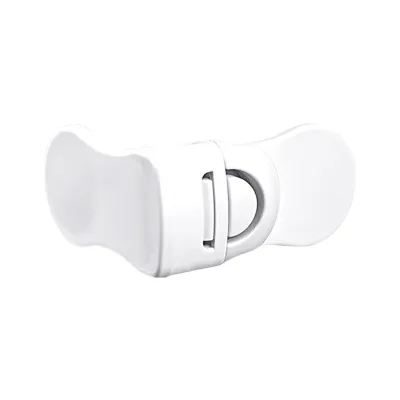
Prices are valid at publication and may change. Please refer to the product page for the latest price.
For adhesive-based locks, keep rubbing alcohol (isopropyl alcohol) on hand to prep the surfaces. This is essential for removing invisible grease and oil buildup that can compromise the adhesive’s grip.
If you are installing hardware-mounted or magnetic locks, you will need a screwdriver or a low-powered drill with a small drill bit. Always check the manufacturer’s included hardware and instructions before beginning, as screw sizes and pilot hole requirements vary.
Preparing the Cabinet and Drawer Surfaces
Proper surface preparation is the foundation of a secure lock installation, especially in warm, humid environments where moisture can compromise adhesive bonds. Taking time to prep the area prevents the locks from peeling off under pressure.

Begin by cleaning the exact installation areas thoroughly with rubbing alcohol and letting them dry completely. This step removes grease, cooking oils, and dust that accumulate naturally in kitchen spaces.
Avoid using standard household spray cleaners or soapy water for this step. These products often leave behind a thin residue or moisture barrier that prevents adhesives from bonding properly to the cabinet surface.
Use your measuring tape and pencil to mark precise alignment points on both the cabinet frame and the door or drawer front. Consistent placement ensures that the locking mechanisms align perfectly when closed.
Note that adhesive locks should not be used on highly textured wood, uneven surfaces, or freshly painted cabinets. The adhesive may fail to grip uneven textures, or it may peel the paint away entirely when you eventually remove the lock.
Installing Adhesive Strap Locks Step-by-Step
Adhesive strap locks are highly versatile and popular for standard cabinets, drawers, and even appliances because they do not require drilling. They are excellent for rental homes where permanent modifications are not allowed.
To install them, first determine the optimal path for the flexible strap. Ensure it sits flat across the opening gap without twisting or stretching excessively.
Carefully peel the protective backing from the first adhesive pad. Press it firmly onto the designated spot on the cabinet frame, holding it in place with steady, firm pressure for at least 30 seconds to initiate a strong initial bond.
Next, peel the backing from the second pad. Align the strap so it has the correct amount of tension, then press the pad onto the door or drawer front, holding it firmly for another 30 seconds.
Adjust the strap length or locking mechanism according to the manufacturer’s instructions to ensure there is no excess slack. The strap should be taut enough to prevent the door from opening even slightly.
Crucially, do not pull, test, or use the lock immediately after installation. Most adhesives require a mandatory curing period of 24 hours to reach full strength, during which the cabinet should remain closed and undisturbed.
Installing Magnetic Cabinet Locks Step-by-Step
Magnetic locks are completely concealed inside your cabinetry, keeping your kitchen’s aesthetic clean while providing robust security. They are highly effective because children cannot see or access the locking mechanism.
To install these, start by placing the installation template or alignment guide onto the inside of the cabinet door. This guide is usually included in the packaging to help you position the parts accurately.
Position the lock mechanism on the inside of the door according to the guide. Ensure it aligns perfectly with the catch that will be mounted on the cabinet frame.
Secure the lock mechanism using either the provided heavy-duty adhesive or the included screws. If you are using screws, pre-drill small pilot holes to prevent the cabinet wood from splitting.
Next, install the magnetic catch on the underside of the cabinet frame or shelf, making sure it aligns with the latch. Close the door gently to verify that the latch fully engages and holds the door shut.
To open the cabinet, hold the magnetic key against the outside of the door directly opposite the internal lock. Listen for the click that indicates the mechanism has disengaged, then open the door.
Always store the magnetic key on a high, metallic surface out of your child’s reach. It is wise to keep a spare key in a separate, secure location in case the primary key is misplaced.
Installing Sliding and U-Shape Locks Step-by-Step
Sliding and U-shape locks are ideal for double-door cabinets with side-by-side D-shaped handles or round knobs. They require no permanent adhesive or drilling, making them incredibly easy to install and remove.
Begin by measuring the distance between your cabinet handles or knobs. This ensures the lock you have selected is long enough to span the gap securely without being too loose.
To install a U-shape lock, slide the open end of the U-shaped bar through both handles. Then, slide the locking mechanism onto the bar until it fits snugly against the handles, preventing them from moving.
For sliding strap locks, thread the adjustable strap through the handles. Pull the strap tight to eliminate excess slack, then engage the push-button or combination locking mechanism to secure it.
Adjust the lock so that the doors cannot open wide enough for a child to squeeze their fingers through. Even a small gap can lead to pinched fingers if a child tries to pull the doors apart.
Regularly check that the plastic edges of the lock do not rub or scratch your cabinet’s finish during daily use. If you notice any friction, adjust the placement or add a small piece of felt padding to protect the wood.
Testing the Locks and Ensuring Child Safety
Once the installation is complete and any necessary adhesive curing times have passed, you must thoroughly test the locks. Testing ensures that the installation was successful and that the locks will perform when needed.
Apply a firm, steady pulling force to the cabinet door or drawer, simulating the strength of an active toddler. The lock should hold firmly without shifting, peeling, or allowing the door to open more than a few millimeters.
Check carefully for any gaps when pulling on the door. If a gap is wide enough for small fingers to slip inside, a child could pinch themselves or access the contents, meaning the lock needs to be repositioned.
Establish a daily routine of checking that the locks have fully re-engaged after every use. It is easy to leave a cabinet unlocked during busy cooking sessions, which defeats the purpose of childproofing.
Inspect the locks regularly for signs of wear, such as cracked plastic, fraying straps, or peeling adhesive. Replace any compromised locks immediately to maintain a safe environment, and remember that locks do not replace active adult supervision.
Removing Locks Without Damaging Surfaces
When your child outgrows the need for cabinet locks, removing them safely is essential to protect your kitchen’s finish. Taking a patient approach prevents unsightly damage to your cabinetry.
To remove adhesive locks without damaging wood or laminate, use a hairdryer on a low or medium heat setting. Gently warm the adhesive pad to soften the glue, making it pliable without scorching the cabinet surface.
Once the adhesive is warm, gently slide a piece of dental floss or a thin plastic scraper behind the pad. Slice through the softened glue slowly to lift the pad away without scratching the wood.
To clean off any remaining sticky residue, use a mild, surface-safe solvent recommended by your cabinet manufacturer. Alternatively, rub the area gently with a cloth dipped in warm, soapy water.
If your cabinets feature delicate, antique, or unsealed wood finishes, stop immediately if you notice any lifting of the wood grain or paint. In these cases, consult a professional cabinet maker or restoration specialist to avoid permanent damage.
Frequently Asked Questions (FAQ)
Can I install baby safety locks on glass cabinet doors?
Installing standard adhesive or screw-in locks directly onto glass cabinet doors is generally not recommended. The pressure from pulling can crack the glass, and screws cannot be used on glass surfaces.
If you must secure glass doors, look for specialized tension-based locks or external strap locks that adhere only to the surrounding wooden or metal frame. Always verify the manufacturer’s guidelines to ensure the lock is rated for glass surfaces.
If no compatible lock is available, the safest option is to relocate all fragile, heavy, or hazardous items to high, out-of-reach shelves. Leave only safe, lightweight items in the glass cabinets to eliminate any risk of injury.
How long should I wait before testing a newly installed adhesive lock?
You should always follow the exact curing time specified by the manufacturer in the product manual, which is typically 24 hours. Testing the lock too early can permanently weaken the adhesive bond and cause the lock to fail later.
Keep the cabinet or drawer completely closed and undisturbed during this entire curing period. In humid climates, allowing the full recommended time is especially critical to ensure the adhesive cures properly and bonds securely to the surface.

Community discussion
Share your experience or ask a question. Comments are reviewed before publication.