
Preparing homemade meals for your baby is a rewarding way to control ingredients, manage nutrition, and introduce a variety of fresh flavors. When evaluating baby food makers for daily meal preparation, the core functions of steaming, blending, and cleaning dictate long-term convenience and value. While the Philips Avent combined steamer and blender is a popular choice for its compact, all-in-one design, comparing it against other market options requires looking beyond brand names. This guide breaks down how to assess these critical features based on manufacturer specifications, physical design, and daily maintenance requirements, helping you determine which setup best aligns with your household’s cooking volume and kitchen space.
By understanding how different appliances handle the transition from raw ingredients to smooth purees, you can make an informed decision that fits your daily routine. Whether you prioritize a minimal footprint, large-batch preparation, or the easiest possible cleanup, comparing the mechanical specifications and physical layouts of these machines will guide you to the right choice for your family’s weaning journey.
Steaming Capabilities: Evaluating Capacity and Water Tank Design
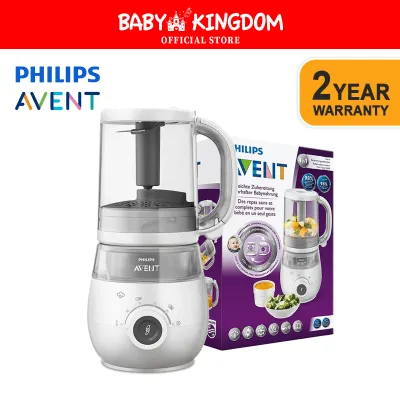
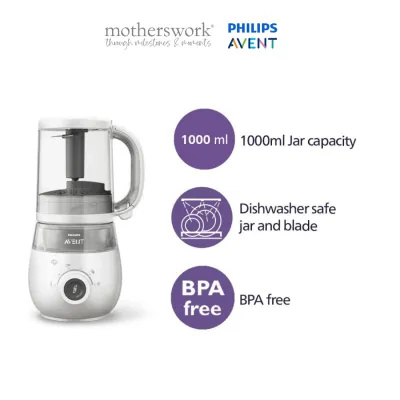
Steaming is the foundation of most baby food preparation, as it preserves essential nutrients while softening ingredients for safe consumption. When comparing the Philips Avent blender and steamer to alternative baby food makers, the first physical specification to examine is the food basket capacity. Standard all-in-one models typically feature a single jar that handles both steaming and blending, with capacities often ranging from 800ml to 1,000ml. If you plan to prepare single portions or small batches of fresh food every few days, this capacity is generally sufficient. However, if you intend to batch-cook and freeze meals for several weeks, you may want to look for multi-tier or larger-capacity systems that offer up to 1,500ml or more of cooking space.
Products mentioned in this guide
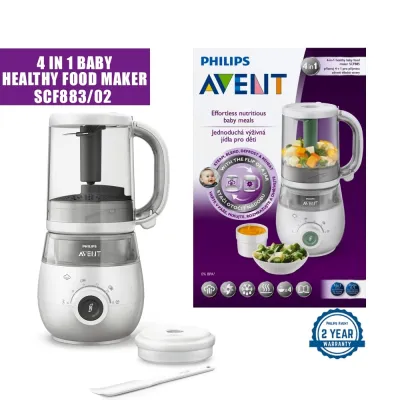
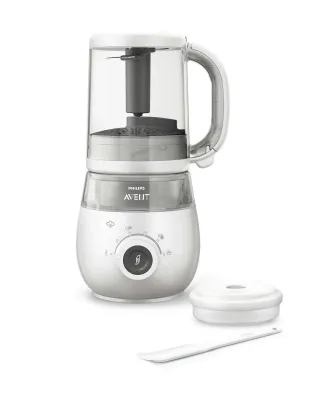
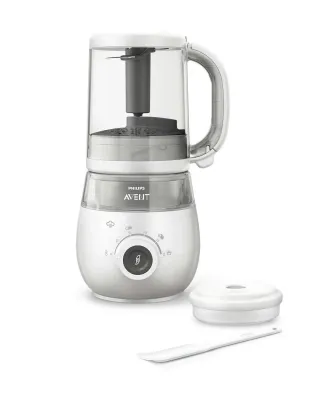
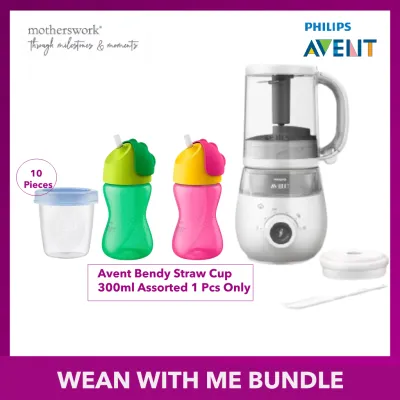
Prices are valid at publication and may change. Please refer to the product page for the latest price.
Another critical design element is the water tank configuration. The water reservoir heats water to generate steam, and its accessibility directly impacts how easy the machine is to use and maintain. Some compact models feature a fixed, integrated water tank built into the main base of the unit. While this keeps the overall footprint small, it requires you to pour water directly into the machine’s body and makes it more difficult to empty completely after use. In contrast, other baby food makers on the market feature fully removable water tanks. A removable tank simplifies the refilling process under the tap and allows you to visually inspect the interior for mineral buildup or standing water, which can become a breeding ground for bacteria if left unaddressed.
Finally, review the manufacturer’s instructions regarding steaming times and automation. Many modern baby food makers feature an automatic shut-off mechanism that turns off the heating element once the water in the reservoir has completely evaporated or when a digital timer reaches zero. This safety feature prevents the unit from overheating and allows you to attend to other tasks without constantly monitoring the kitchen. When comparing models, verify whether the appliance requires manual tracking or if it provides audible alerts and automatic power-down functions to streamline your cooking process.
Blending Performance: Checking Motor Specs and Blade Configurations
Once ingredients are thoroughly steamed, the blending mechanism determines the final texture of the food. To evaluate blending performance across different brands, start by checking the motor wattage and blade configurations listed in the product manuals. Motor power for dedicated baby food makers typically ranges from 150 watts to 400 watts. A higher wattage motor generally handles fibrous vegetables, meats, and larger quantities of food more efficiently without overheating. The blade design—including the number of cutting edges, their angle, and the material composition—also plays a vital role in creating a consistent texture, which is especially important during the early stages of weaning when babies require ultra-smooth purees.

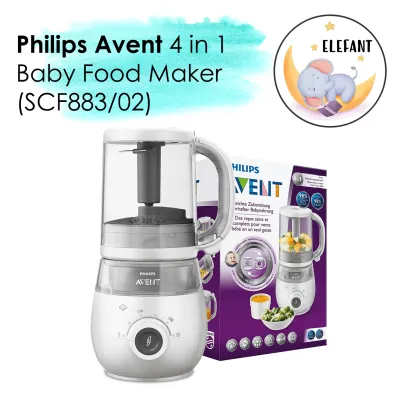
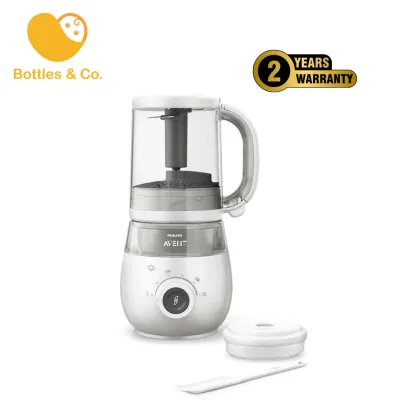
The physical mechanism used to transition from steaming to blending varies significantly between designs. The Philips Avent combined model utilizes a unique “flip-and-blend” system. Once the steaming cycle is complete, you lift the jar, flip it upside down, and lock it back onto the base to begin blending. This design eliminates the need to transfer hot, freshly steamed food into a separate container, reducing both mess and the risk of accidental spills. Other competing models may use a basket-in-jar system, where you steam ingredients inside a plastic basket and then lift the hot basket out to dump the food directly into the main blending jar. Alternatively, some larger multi-function stations feature side-by-side compartments where steaming and blending occur in separate, dedicated chambers.
When comparing these mechanisms, consider any manufacturer warnings regarding operation. Some high-speed blending units require specific liquid-to-solid ratios to function correctly without stalling the motor. Additionally, check if the user manual advises letting hot ingredients cool slightly before blending, or if the lid design includes steam vents to safely release pressure during the blending cycle. Overfilling the blending jar or ignoring these ventilation guidelines can lead to hot liquids escaping, posing a safety hazard in the kitchen.
Ease of Cleaning: Assessing Disassembly and Dishwasher Safety
Daily maintenance is often the deciding factor in whether a baby food maker remains a helpful kitchen assistant or becomes a chore to use. To assess the ease of cleaning, look closely at how easily the components can be disassembled. A standard baby food maker consists of a blending jar, a lid, a steaming basket, a blade assembly, and silicone sealing rings. Verify which of these parts are explicitly marked as dishwasher-safe by the manufacturer. While some brands design all non-electrical components to withstand the heat of a standard dishwasher cycle, others recommend hand-washing the blade assembly and silicone seals to prevent premature dulling of the blades or degradation of the rubber gaskets.
Hard-to-reach areas are another common pain point in daily cleaning. Examine the design of the blending jar and the steaming basket for narrow crevices, deep grooves, or hollow handles where food particles can easily become trapped. The underside of the blade assembly is particularly prone to accumulating residue. Models that allow you to completely unscrew and remove the blade unit from the bottom of the jar are significantly easier to clean thoroughly than those with fixed blades. If a model has a fixed blade or intricate steam vents, check if the manufacturer includes specialized cleaning brushes or recommends specific rinsing protocols immediately after use.
In addition to washing the food-contact surfaces, you must regularly maintain the internal heating element. Because steaming relies on heating water, mineral deposits (scale) will gradually accumulate inside the water reservoir, especially in areas with hard tap water. Review the manufacturer’s care guide for the recommended descaling procedure. Most brands advise against using harsh chemical cleaners, instead recommending a simple solution of food-grade citric acid or white vinegar mixed with water. Check the suggested frequency of this process—typically every few weeks or after a set number of uses—to ensure you can easily integrate this maintenance task into your household routine.
Decision Framework: Matching Features to Your Daily Routine
Choosing the right baby food maker comes down to matching the physical design of the appliance with your kitchen space, cooking habits, and storage preferences. If you live in a home with limited counter space, such as a compact apartment or HDB flat in Singapore, a combined, single-jar steamer and blender like the standard Philips Avent models is highly practical. Its vertical, all-in-one footprint takes up minimal space on your countertop and fits easily into standard kitchen cabinets when not in use. The streamlined “flip-and-blend” workflow is ideal for parents who prefer to prepare fresh, single-serving meals quickly without managing multiple loose parts or washing extra dishes.
On the other hand, if your primary goal is batch cooking—preparing large quantities of purees to portion out and freeze for the weeks ahead—a multi-function, larger-capacity appliance or a separate-unit setup may better suit your needs. These larger systems often feature wider steaming baskets, dual compartments, or side-by-side jars that allow you to steam different food groups simultaneously without mixing flavors. While these units require more counter space and involve more components to clean, they offer the throughput necessary to support batch-cooking routines for multiple children or busy households.
Before making your final purchase, verify that your kitchen setup can safely accommodate the appliance. Ensure you have a stable, level surface near a grounded power outlet, away from the edge of the counter. Because steaming units release hot vapor during operation, plan to position the machine in a well-ventilated area where the steam will not vent directly onto the underside of wooden cabinets or delicate wall finishes. Checking these physical and electrical requirements beforehand ensures a safe and convenient setup for your daily meal preparation.
Frequently Asked Questions (FAQ)
Can I use a baby food maker to reheat previously frozen purees?
Many baby food makers do include dedicated reheating or defrosting functions, but this capability varies by model. Before attempting to warm frozen food, check your specific appliance’s control panel and user manual to verify if it is designed for this purpose. If the manufacturer supports reheating, they will typically provide specific instructions, such as using a dedicated reheating basket or selecting a low-heat steam setting. Always follow the manufacturer’s guidelines regarding safe internal temperatures, and ensure you stir the food thoroughly after heating to eliminate any hot spots before feeding your baby.
How often should I descale the steaming unit?
The frequency of descaling depends largely on your usage rate and the hardness of your local water supply. You should perform a visual inspection of the water reservoir regularly. Common indicators that descaling is required include visible white or brown mineral buildup on the heating element, unusually long heating times, or louder noises than normal during the steaming cycle. Most manufacturers recommend descaling the unit every two to four weeks under normal usage conditions. Always use the approved descaling agents, such as white vinegar or food-grade citric acid, as outlined in your product’s care guide to avoid damaging the internal seals.

Community discussion
Share your experience or ask a question. Comments are reviewed before publication.