
Using a microwave sterilizer bag is a highly convenient way for busy parents to sanitize infant feeding equipment quickly. However, not all baby bottle materials are universally safe to use in these high-heat steam environments. Before placing any bottle component into a microwave sterilizer bag, you must verify its specific material composition and check the manufacturer’s guidelines.
Subjecting incompatible materials to intense microwave heat and pressurized steam can lead to severe consequences. These risks include melting, warping, structural weakening, or the potential leaching of chemical compounds into your baby’s milk. Ensuring compatibility is the first and most critical step in maintaining a safe feeding routine.
Material-by-Material Safety Guide for Microwave Sterilization
Different baby bottle materials react uniquely to the intense thermal energy generated inside a microwave sterilizer bag. While some materials can easily withstand temperatures exceeding the boiling point of water, others may degrade rapidly under the same conditions. Understanding these differences helps you protect both your investment in feeding gear and your child’s health.
Products mentioned in this guide
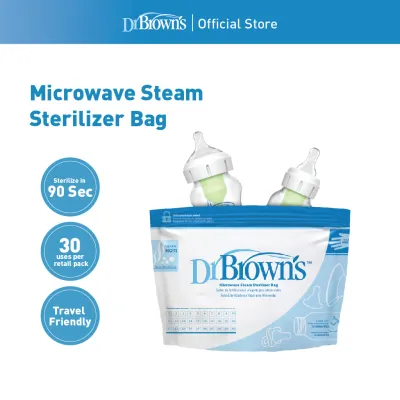
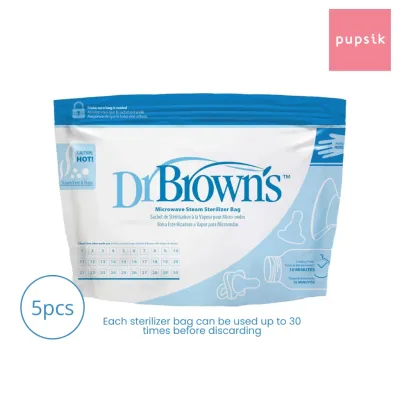
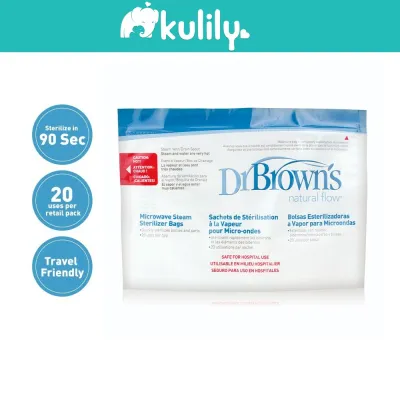
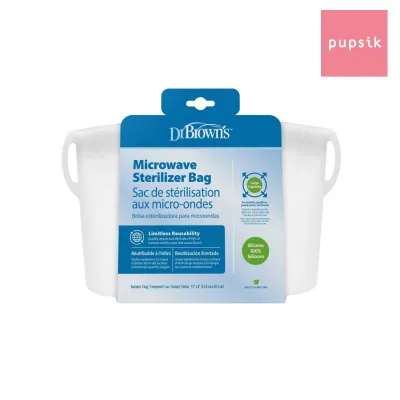
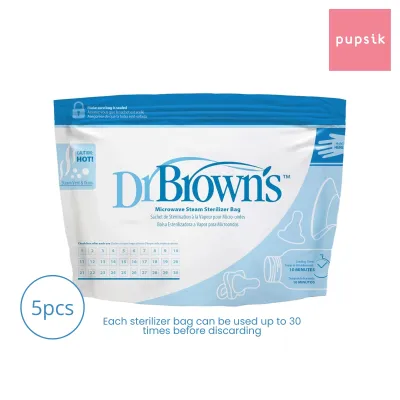
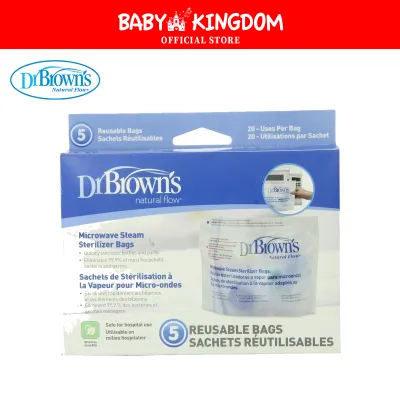
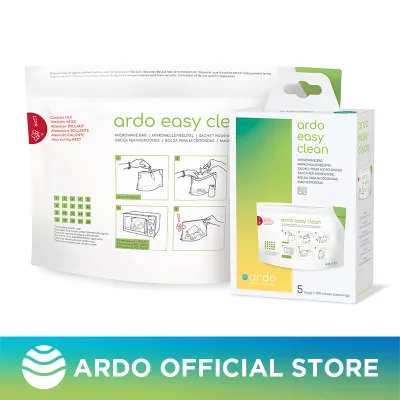
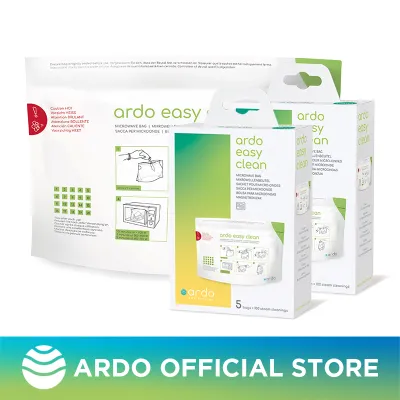
Prices are valid at publication and may change. Please refer to the product page for the latest price.
To evaluate your bottles, you must look at each component individually rather than treating the bottle as a single unit. A bottle assembly typically consists of a body, a collar ring, a nipple, and a protective cap, each potentially made from different substances. Regular visual inspections after every sterilization cycle are essential to catch early signs of heat-induced wear before they cause a failure during feeding.
Polypropylene (PP) and Polyphenylsulfone (PPSU) Plastics
Plastic baby bottles are lightweight and shatterproof, making them highly popular among parents. However, the term “plastic” covers several distinct polymers with vastly different heat tolerances. Polypropylene (PP) is the most common budget-friendly plastic used for bottles, but it has a lower heat resistance threshold compared to premium alternatives.
Polyphenylsulfone (PPSU) is a medical-grade plastic known for its distinct honey-colored tint and exceptional thermal durability. While PPSU can comfortably withstand repeated exposure to high-temperature steam up to 180 degrees Celsius, standard PP bottles are more susceptible to warping if subjected to localized hot spots or extended microwave cycles. Always check the base of the plastic bottle for the recycling triangle and specific microwave-safe markings before sterilization.
Over time, repeated exposure to microwave steam can accelerate the degradation of plastic bottles. You must inspect plastic components regularly for signs of wear such as persistent cloudiness, physical warping, or fine micro-scratches on the interior walls. These micro-scratches can harbor bacteria and make thorough cleaning difficult, indicating that the bottle has reached the end of its usable lifespan.
Glass Bottles
Glass baby bottles are favored by many parents for their chemical inertness and long-term durability. Most high-quality glass bottles are manufactured from borosilicate glass, which is specifically engineered to withstand high temperatures and rapid temperature fluctuations. This makes borosilicate glass generally safe for use in microwave sterilizer bags, provided you handle them with care.
However, standard soda-lime glass bottles are much more vulnerable to thermal shock. Thermal shock occurs when a rapid change in temperature causes uneven expansion or contraction within the glass, leading to sudden cracking or shattering. Placing a cold glass bottle directly into a hot microwave sterilizer bag, or rinsing a freshly sterilized hot glass bottle under cold tap water, can cause catastrophic failure.
Before and after every microwave sterilization cycle, you must carefully inspect glass bottles for hidden micro-cracks or chips. Even a tiny, invisible hairline fracture can expand under the pressure of hot steam, causing the bottle to break inside the bag or, worse, during a feeding session. If you detect any structural imperfection, discard the glass bottle immediately.
Silicone Bottles and Components
Silicone has become a highly popular material for both bottle bodies and flexible components like nipples, valves, and seals. Food-grade and medical-grade silicone possess excellent thermal stability, often rated to withstand temperatures well above 200 degrees Celsius. This high heat tolerance makes pure silicone exceptionally well-suited for the steam environment of a microwave sterilizer bag.
Despite the durability of silicone itself, you must remain vigilant about the other materials attached to it. Many silicone bottles feature rigid plastic collar rings, handles, or base connectors to maintain their shape and prevent leaks. These plastic parts may not share the same high heat resistance as the silicone body, making it vital to verify the microwave safety of every single component.
Silicone is also prone to absorbing oils from breast milk or infant formula, which can degrade the material over time when subjected to repeated heating. Inspect your silicone nipples and bottle bodies regularly for changes in texture, such as a sticky surface, structural limpness, or severe discoloration. If the silicone feels tacky or fails to spring back into shape when squeezed, it is time to replace it.
How to Verify Microwave Safety for Your Specific Bottles
Confirming whether your specific baby bottles can safely go into a microwave sterilizer bag requires a systematic verification process. Never assume a bottle is microwave-safe simply because it is a well-known brand or feels sturdy. Start by thoroughly reading the manufacturer’s packaging, instruction manuals, or official product inserts that came with your purchase.

Look for universal symbols molded directly into the material of the bottle or printed on the packaging. A microwave-safe symbol typically depicts a stylized microwave oven or a series of wavy horizontal lines representing heat waves. Do not confuse this with a dishwasher-safe symbol, which often shows dishes sprayed with water droplets; dishwasher safety does not guarantee that a material can withstand the concentrated steam of a microwave sterilizer.
If you have discarded the original packaging or the molded symbols on the bottle have faded from use, do not guess. Visit the manufacturer’s official website and search for the exact model name or product SKU to access the digital user manual. If the information remains unclear, contact the brand’s customer support team directly for clarification, or default to alternative sterilization methods like boiling or cold-water chemical sterilizing tablets.
Best Practices and Safety Precautions for Microwave Sterilizer Bags
To ensure effective sanitization and prevent damage to your feeding equipment, you must follow precise preparation steps. Always disassemble every bottle completely before placing the parts into the microwave sterilizer bag. Remove the nipple from the collar ring, detach any anti-colic valves, and separate the cap to allow the steam to circulate freely around every surface.
Water volume is the most critical factor in the steam sterilization process. You must add the exact amount of water specified by the sterilizer bag manufacturer—typically around 60ml to 120ml—using a clean measuring cup or the markings on the bag itself. Too little water can cause the bag and its contents to overheat and melt, while too much water prevents proper steam generation and leaves the items unsterilized.
Ensure the microwave sterilizer bag is sealed correctly according to its design instructions. Most bags require you to zip the seal closed while leaving a designated steam vent open to prevent pressure buildup. Place the bag upright in the center of your microwave turntable, ensuring it can rotate freely without touching the microwave walls or ceiling, which could cause localized overheating.
Adjust your microwave’s power level and heating time strictly according to the wattage chart printed on the sterilizer bag. A higher-wattage microwave requires a shorter heating cycle to prevent damage to the plastics. Once the cycle is complete, allow the bag to sit undisturbed inside the microwave for at least two to three minutes to cool down.
When removing the bag, always use the designated “cool touch” grip area to avoid severe steam burns. Carefully pour out any remaining hot water through the steam vent before opening the zip seal. Use clean plastic tongs to remove the sterilized bottle components, and place them on a clean, dry surface or a dedicated drying rack in a well-ventilated area of your kitchen to air dry completely.
When to Stop Using or Replace Sterilized Bottles
Even when using the correct materials and following all safety guidelines, baby bottles do not last indefinitely. The combination of physical wear, cleaning, and repeated exposure to high-heat steam sterilization will eventually degrade any material. Parents must establish a routine inspection habit to identify when a bottle has reached the end of its safe service life.
You must discard any bottle component immediately if you observe clear indicators of structural failure. For plastic bottles, this includes severe warping that prevents a tight seal, deep scratches, or a persistent cloudy appearance that does not wash away. For glass bottles, any chip, hairline crack, or internal star fracture means the bottle must be thrown out to prevent dangerous breakage.
Silicone nipples and valves require more frequent replacement than bottle bodies due to constant stretching and exposure to infant saliva. Replace nipples immediately if they show signs of thinning, tearing, stickiness, or if the flow rate has unexpectedly increased due to wear. As a general guideline, consider replacing plastic bottles every four to six months, and silicone nipples every two to three months, or sooner if you notice any physical changes after a microwave cycle.
Frequently Asked Questions (FAQ)
Can I microwave bottles with the nipples and caps attached?
No, you must never microwave baby bottles with the nipples, collar rings, or caps attached. Fully disassembling the bottle is essential to allow the hot steam to circulate freely and contact every surface for effective sterilization. Leaving the components assembled traps air inside the bottle, creating a barrier that prevents steam from sanitizing the interior and potentially causing a dangerous pressure buildup that can warp or pop the parts.
Do microwave sterilizer bags leave chemical residues on bottles?
High-quality microwave sterilizer bags made from food-grade, BPA-free plastics do not leave harmful chemical residues on your baby’s bottles when used correctly. To ensure safety, only purchase bags from reputable brands that explicitly state they are free from bisphenol-A (BPA) and phthalates. Additionally, you must strictly follow the manufacturer’s instructions regarding water volume and microwave timing to prevent the bag itself from overheating and degrading.
How many times can I reuse a microwave sterilizer bag?
Most microwave sterilizer bags are designed for multiple uses, typically ranging from 20 to 30 cycles per bag. Most manufacturers print a handy tracking grid on the back of the bag, allowing you to cross off a box after each use to keep an accurate count. You must discard the bag immediately if you notice any physical signs of wear, such as thinning plastic, localized melting, a compromised zip seal, or if the steam vent becomes damaged.

Community discussion
Share your experience or ask a question. Comments are reviewed before publication.