
When establishing a pigeon dish washing routine at home, the first step is recognizing that a one-size-fits-all approach does not work for every baby bottle. Pigeon baby bottles are crafted from three distinct materials—glass, plastic (such as PP and PPSU), and silicone—each requiring specific care to maintain hygiene and structural integrity. Glass is highly durable but vulnerable to sudden temperature changes; plastic is lightweight but prone to micro-scratches; and silicone is flexible but easily absorbs milk fats and odors. To clean these bottles effectively without causing damage, caregivers must fully disassemble every component and verify the manufacturer’s heat resistance guidelines before applying hot water or sterilization methods.
Preparing for the Wash: Tools and Safety Checks
Before wetting any bottle components, gather the correct cleaning tools to protect the materials from premature wear. Avoid standard kitchen sponges or abrasive scouring pads, which can leave microscopic scratches on plastic and silicone surfaces. Instead, opt for dedicated, soft-bristled bottle brushes made of high-quality silicone or soft nylon, alongside a small, detailed nipple brush designed to fit into tight crevices.
Complete disassembly is essential for a thorough clean. Separate the bottle hood, cap, collar ring, silicone nipple, and any internal ventilation valves. Leaving these parts assembled traps milk residue in the joints, creating a breeding ground for bacteria.
Products mentioned in this guide
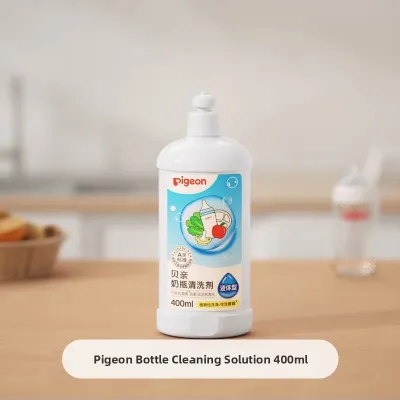
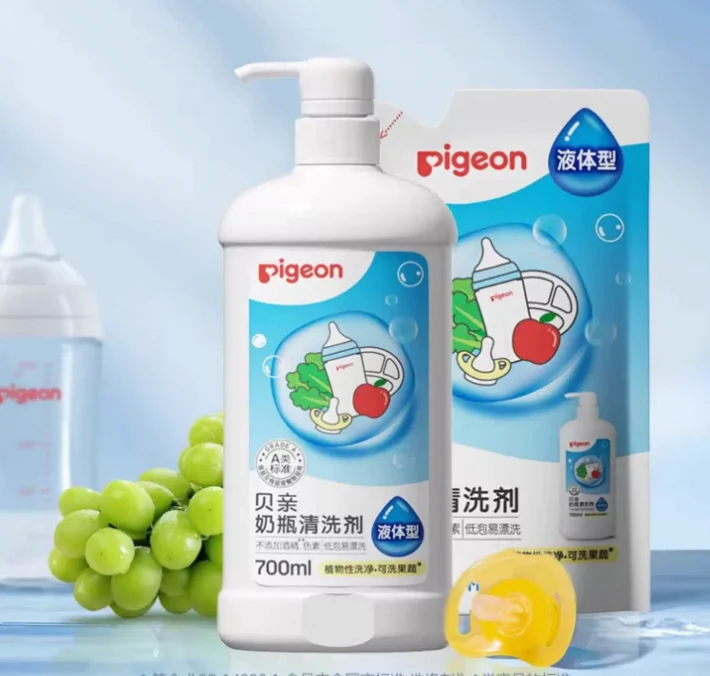
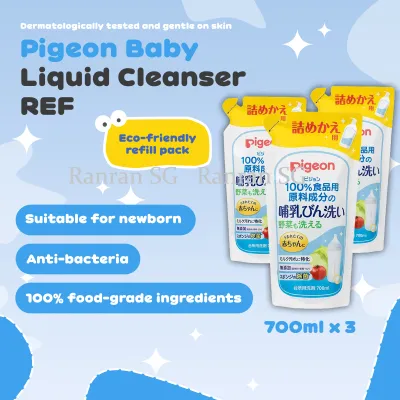
![[6-Pk] Pigeon Liquid Cleanser Refill 650ml [Exp:2028]](https://img.lazcdn.com/g/p/9b388095b25ffc97428971ef201d38c9.png_400x400q80.png_.webp)
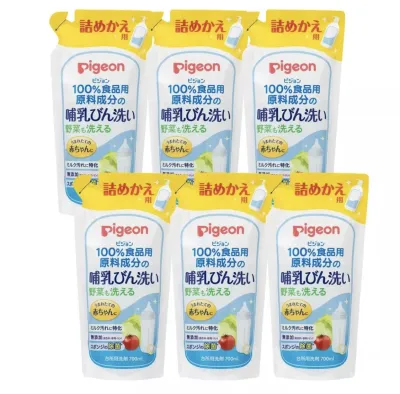
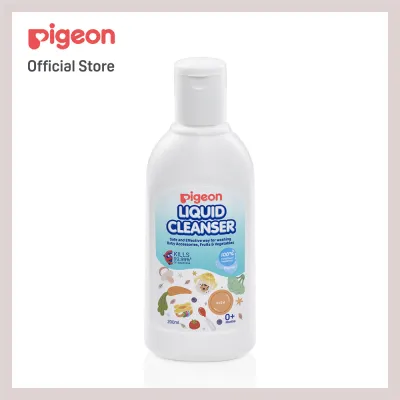
Prices are valid at publication and may change. Please refer to the product page for the latest price.
Once disassembled, perform a quick visual and tactile inspection of each part. Run your fingers along the rims of glass bottles to check for hairline cracks or chips, and inspect plastic bottles for deep scratches or cloudiness. Examine silicone nipples by gently pulling on the tip to check for tears, thinning, or structural weakness. If you detect any damage during this check, set the component aside for replacement rather than washing it.
Washing Glass Pigeon Bottles: Steps and Precautions
Glass Pigeon bottles are favored for their durability and resistance to scratching, but they require careful handling to prevent breakage. The primary risk associated with glass is thermal shock, which occurs when the material experiences a rapid, extreme temperature change. To prevent cracking, never pour boiling water directly into a cold glass bottle, and avoid placing a hot, freshly sterilized bottle onto a cold stone countertop or into cold water.

Begin the washing process by rinsing the glass bottle with lukewarm water to flush out loose milk residue. Fill a clean basin with warm water and add a small amount of mild, baby-safe liquid cleanser. Submerge the bottle and use a soft sponge or a nylon-bristled brush to gently clean the interior and exterior walls. Pay close attention to the threaded neck of the bottle, where dried milk often accumulates.
Because wet glass is exceptionally slippery, wash the bottles over a plastic basin or a lined sink to cushion any accidental drops. Once thoroughly cleaned, rinse the bottle under running water until all soap residue is completely gone. Place the bottle upside down on a stable, slip-resistant drying rack to dry.
Washing Plastic Pigeon Bottles: Avoiding Scratches and Stains
Plastic Pigeon bottles are typically made from either Polypropylene (PP) or Polyphenylsulfone (PPSU). While highly shatterproof and convenient for travel, plastic is much softer than glass and requires a gentle touch to prevent surface degradation. Abrasive scrubbers, steel wool, and harsh chemical detergents must be avoided, as they create micro-scratches that harbor bacteria and make subsequent cleaning more difficult.
Milk fat residue can sometimes leave a greasy film or a slight yellow tint on plastic surfaces. To resolve this without aggressive scrubbing, submerge the plastic components in a basin of warm water mixed with a mild baby bottle cleanser and let them soak for ten to fifteen minutes. This soaking process naturally loosens the fats, allowing you to wipe them away easily with a soft silicone brush or a microfiber sponge.
Before proceeding to any heat-based cleaning, check the base of the bottle to identify the specific plastic type. PP bottles generally have a lower heat tolerance than PPSU bottles. Knowing which plastic you are handling ensures you do not accidentally warp or damage the bottle during the sterilization phase.
Washing Silicone Pigeon Bottles and Nipples: Removing Odors and Residue
Silicone components, including Pigeon’s flexible bottles and soft nipples, require specialized care due to their porous nature. Silicone easily absorbs milk fats and ambient odors, which can lead to a cloudy appearance or a stubborn, stale smell over time if not cleaned promptly after feeding.
To clean the nipple thoroughly, gently press the tip to ensure the ventilation valve and feeding hole are clear of blockages. If permitted by the manufacturer’s instructions, you can gently turn the nipple inside out to clean the inner surface. Use a dedicated, rounded nipple brush to sweep away residue, taking care not to push the brush forcefully through the feeding hole, which can enlarge or tear the opening.
If silicone parts develop a persistent milk odor, avoid using harsh chemical solvents or heavily fragranced dish soaps, which can linger on the material. Instead, soak the silicone components in a mild solution of warm water and a small amount of baking soda for up to fifteen minutes, then rinse thoroughly. Always handle silicone with care, keeping fingernails short or avoiding sharp brush edges that could puncture the soft material.
Sterilization and Drying: Checking Material Heat Limits
Sterilization should only occur after all components have been thoroughly washed and rinsed. Before applying any heat, locate the exact heat resistance temperature printed on the bottle base, the nipple collar, or the original packaging. Different materials have vastly different limits:
- Glass: Highly heat-resistant but sensitive to rapid temperature fluctuations.
- PPSU Plastic: Typically tolerates temperatures up to 180°C.
- PP Plastic: Generally tolerates temperatures up to 110°C.
- Silicone: Usually withstands temperatures up to 120°C.
Match your sterilization method to these verified limits. If using the boiling method, ensure a deep pot is used so that plastic and silicone parts float freely and do not make direct contact with the hot metal bottom or sides of the pot, which can cause melting. For steam sterilizers, arrange all pieces face down so steam can circulate efficiently. If you use a UV sterilizer, verify that your specific plastic and silicone parts are rated for UV exposure, as prolonged UV light can accelerate the aging, discoloration, and brittleness of certain polymers.
In warm, humid climates like Singapore, proper drying is a critical step to prevent the growth of mold and bacteria on wet surfaces. Place all sterilized components on a clean, dedicated drying rack in a well-ventilated area away from cooking zones. Avoid wiping the bottles with kitchen towels or dishcloths, as these can transfer lint and household bacteria back onto the clean surfaces.
When to Replace Your Pigeon Bottles and Nipples
Regularly inspect your baby feeding equipment to determine when components have reached the end of their safe lifecycle. For glass bottles, replace them immediately if you observe any chips, deep scratches, or hairline cracks, as these compromise structural safety. For plastic bottles, look for persistent cloudiness, deep scratches that cannot be cleaned, or warping from heat exposure.
Silicone nipples and bottles require frequent replacement due to constant wear. Signs that silicone must be replaced include a sticky or gummy texture, permanent discoloration, tears, or a stretched feeding hole that allows milk to flow too quickly. Using degraded nipples poses a choking hazard if pieces tear off during feeding, and damaged plastics can harbor stubborn bacterial colonies.
As a general guideline, silicone nipples should be replaced every one to two months depending on usage, while PP plastic bottles are typically replaced every three to six months. PPSU and glass bottles can last significantly longer, provided they remain free of scratches, cracks, and structural defects.
Frequently Asked Questions (FAQ)
Can I wash Pigeon baby bottles in the dishwasher?
Whether you can use a dishwasher depends entirely on the specific material of the bottle and the manufacturer’s explicit instructions. While glass and certain high-grade plastics like PPSU are generally dishwasher-safe on the top rack, the intense heat and harsh detergents used in dishwashers can accelerate the wear of softer PP plastics and silicone parts.
If you choose to use a dishwasher, place all small components—such as nipples, collar rings, and caps—into a secured dishwasher basket. This prevents them from slipping through the racks and falling onto the heating element, which can melt or burn the parts. Avoid using high-heat sanitizing or heavy-duty drying cycles, as these temperatures may exceed the heat tolerance of PP plastic and silicone; opting for air-drying on a clean rack after the wash cycle is a safer alternative.

Community discussion
Share your experience or ask a question. Comments are reviewed before publication.