
Washing baby bottles is a fundamental daily chore for parents, yet a one-size-fits-all cleaning method does not work for every bottle. Glass, plastic, and silicone each possess distinct physical properties that dictate how they must be cleaned, scrubbed, and sterilized. Glass is durable and non-porous but prone to thermal shock and chipping; plastic is lightweight and shatterproof but easily scratched and degraded by high heat; silicone is flexible and heat-resistant but highly porous, making it prone to retaining odors and attracting lint.
To clean these bottles safely and effectively, you must adapt your cleaning techniques, water temperatures, and tools to the specific material at hand. Using a material-compatible baby bottle washer, selecting gentle cleaning agents, and applying the correct mechanical techniques will prevent micro-scratches, warping, and bacterial colonization. This tailored approach ensures your baby’s bottles remain hygienic and structurally sound throughout their usable lifespan.
Understanding How Material Affects Bottle Cleaning
Each baby bottle material reacts differently to heat, physical friction, and chemical exposure. Glass is exceptionally hard and non-porous, meaning it does not easily scratch or absorb milk fats, odors, or chemical residues. However, its rigidity makes it susceptible to chipping and cracking under physical impact or sudden temperature changes.
Products mentioned in this guide
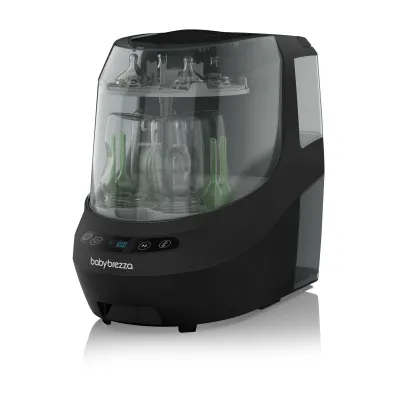
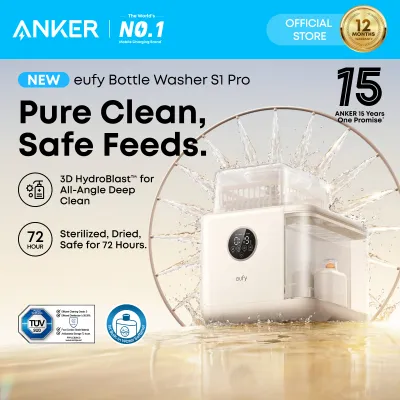
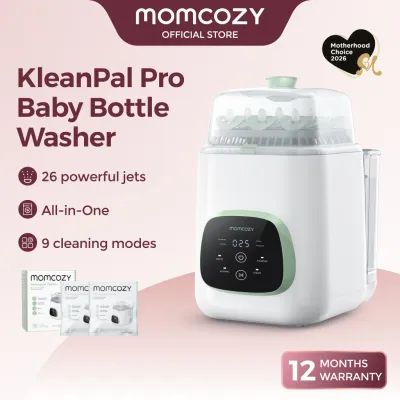
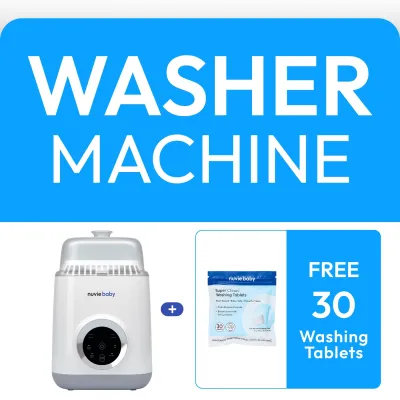
Prices are valid at publication and may change. Please refer to the product page for the latest price.
Plastic bottles, typically made from polypropylene (PP), polyphenylsulfone (PPSU), or polyethersulfone (PES), are highly valued for being lightweight and shatterproof. However, plastic is a relatively soft material that scratches easily under abrasive scrubbing. These microscopic scratches can harbor milk proteins and bacteria, rendering standard cleaning less effective over time. Furthermore, certain plastics have lower heat tolerances and can degrade or warp when exposed to extreme temperatures.
Silicone is a highly flexible, rubber-like material that is virtually unbreakable and boasts high heat resistance. However, silicone is highly porous compared to glass. This porosity means it can easily absorb food odors, soap fragrances, and milk fats, leaving a stubborn film or persistent smell if not washed correctly. Because of these distinct material profiles, applying the wrong washing technique can permanently damage the bottle, degrade the material, or leave behind harmful residues. Always verify the specific care instructions on your product’s label before applying general guidelines.
Selecting the Best Baby Bottle Washer and Cleaning Tools
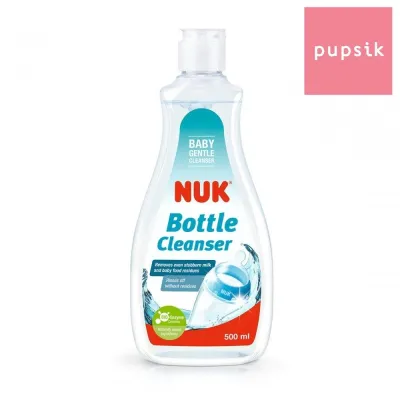
Maintaining bottle hygiene starts with choosing the right cleaning agents and tools. Standard household dish soaps often contain harsh surfactants, synthetic fragrances, and dyes that can leave a chemical film on bottles or degrade sensitive silicone parts. Instead, opt for dedicated, baby-safe dishwashing liquid. These formulas are typically plant-based, fragrance-free, and specifically designed to break down stubborn breast milk and formula fats without leaving residues.

Equally important is selecting a dedicated baby bottle washer that matches the bottle material. Using the same sponge you use for family dishes introduces cross-contamination risks, transferring grease, food particles, and bacteria to your baby’s feeding equipment. Dedicate a specific set of cleaning tools solely to your baby’s bottles, nipples, and pump parts.
Manual Baby Bottle Washers and Brushes
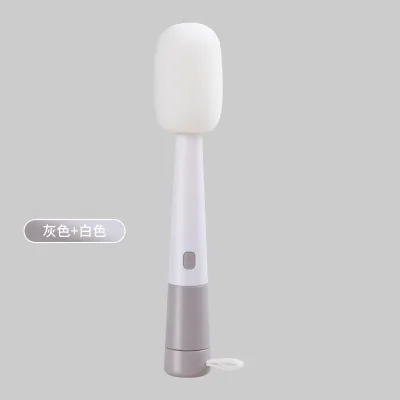
Manual bottle brushes remain the most common tool for daily cleaning, but the brush head material must be paired carefully with the bottle type. Sponge brushes are incredibly soft and gentle, making them the preferred choice for plastic bottles. They glide over plastic surfaces without creating the micro-scratches that ruin bottle clarity and harbor bacteria. However, sponge brushes retain moisture longer and must be wrung out thoroughly and stored in a well-ventilated area to prevent mold.
Silicone-tipped brushes are highly hygienic, durable, and easy to clean. They do not scratch plastic or silicone bottles and can be easily sanitized in boiling water. For glass bottles, firmer nylon bristle brushes are highly effective at scrubbing away dried milk residue. While glass can withstand firm scrubbing, you must still handle the brush carefully to avoid forcefully striking and chipping the delicate glass rim.
Regardless of the material you choose, manual baby bottle washers do not last indefinitely. You should replace sponge brushes every four to six weeks, and bristle or silicone brushes every two to three months, or immediately if you notice tearing, bristles falling out, or a persistent sour odor.
Electric and Specialized Bottle Washers
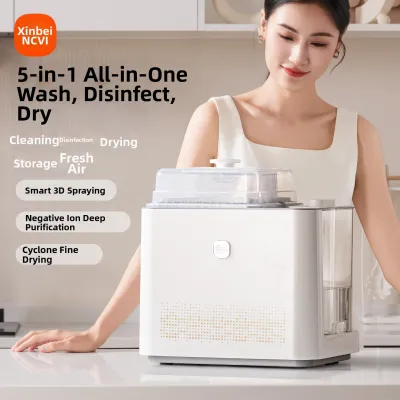
For added convenience, electric baby bottle washers and automated countertop cleaning appliances offer a hands-free alternative. These devices use high-pressure water jets and integrated heating elements to wash, sterilize, and dry bottles in a single cycle. Before investing in or using an electric baby bottle washer, you must check the manufacturer’s compatibility guidelines for your specific bottles.
Glass bottles are heavy and can crack if they rattle against other components under high-pressure water jets, while lightweight plastic parts can easily be displaced if not secured properly. When loading an electric washer or a standard dishwasher, place all bottles upside down on the designated spikes so water can directly penetrate the interior. Secure small parts, such as silicone nipples, collars, and anti-colic valves, in a dedicated mesh basket on the top rack. This prevents them from falling onto the heating element, which would cause immediate melting or warping.
Washing Glass Baby Bottles: Techniques and Safety Checks
Glass bottles are highly hygienic and durable, but their weight and fragility require specific handling techniques during the washing process. Because glass is slippery when wet and soapy, always wash them over a clean plastic basin placed inside your sink rather than directly over a hard ceramic or stainless steel sink basin. This cushioning minimizes the risk of breakage if a bottle slips from your hands.
To wash glass bottles effectively, follow these steps:
- Pre-rinse immediately: Rinse the bottle with lukewarm water right after a feeding. This simple step prevents milk proteins and fats from drying and sticking to the glass, making the actual wash much easier.
- Soak to loosen residue: If milk residue has dried, submerge the disassembled bottle parts in warm, soapy water for five to ten minutes to loosen the debris naturally before scrubbing.
- Scrub gently but thoroughly: Insert your baby bottle washer brush and rotate it gently against the bottom and sides of the bottle. Pay close attention to the curved shoulder and bottom edges of the bottle where milk fat tends to collect. Avoid slamming the plastic or metal stem of the brush against the bottle's rim, as repeated impact can cause micro-chipping.
- Prevent thermal shock: Glass expands and contracts in response to temperature changes. Never plunge a cold glass bottle directly into hot or boiling water, and never rinse a hot, sterilized glass bottle with cold tap water. Sudden temperature swings can cause the glass to crack or shatter instantly. Allow the glass to transition to room temperature gradually.
- Perform a routine safety inspection: Before and after every wash, hold the dry glass bottle up to a strong light source. Inspect the entire body and rim for hairline fractures, chips, scratches, or weak points. If you detect even the slightest flaw, discard the bottle immediately to prevent glass fragments from entering your baby's feed or causing injury during assembly.
Washing Plastic Baby Bottles: Preventing Scratches and Cloudiness
Plastic baby bottles require a gentle touch to preserve their structural integrity and prevent aesthetic degradation. Because plastic is highly susceptible to physical wear, aggressive scrubbing is counterproductive and can shorten the lifespan of the bottle.
To maintain plastic bottles and prevent cloudiness, implement these practices:
- Use non-abrasive tools: Never use stiff nylon bristle brushes, steel wool, or abrasive scouring pads on plastic bottles. Instead, use a soft sponge or a gentle silicone baby bottle washer. These tools clean the surface thoroughly without creating microscopic grooves where bacteria can hide and multiply.
- Observe temperature limits: Plastic has a much lower heat tolerance than glass or silicone. Always check the manufacturer's packaging for the maximum temperature rating of your plastic bottles (typically around 100°C to 120°C for PP, and up to 180°C for high-grade PPSU). Avoid exposing lower-tolerance plastics to boiling water for extended periods, as excess heat can cause warping, preventing the collar from forming a watertight seal.
- Remove stains and odors naturally: Plastic is lipophilic, meaning it naturally attracts and bonds with fats, which can lead to a cloudy film or a sour milk smell. To remove this buildup without scratching the plastic, soak the bottles in a solution of warm water and white vinegar (equal parts) or warm water with a tablespoon of baking soda for 30 minutes, then rinse thoroughly.
- Recognize replacement signals: Plastic bottles do not last forever. Monitor your bottles for signs of wear, including persistent cloudiness that does not resolve with washing, deep scratches, warping, or a sour smell that remains after sanitizing. As a general safety guideline, consider replacing standard PP plastic bottles every three to six months, or sooner if they show clear signs of physical degradation.
Washing Silicone Baby Bottles: Removing Odors and Residue
Silicone baby bottles are popular for their soft, breast-like feel and durability, but their flexible, porous nature presents unique cleaning challenges. Because silicone easily absorbs external elements, a specialized cleaning routine is necessary to keep them clean and odor-free.
To wash silicone bottles safely, follow these guidelines:
- Execute complete disassembly: Silicone bottles often feature multi-part designs, including protective outer plastic sleeves, wide-neck collars, and internal anti-colic venting systems. You must completely disassemble every single component before washing. Leaving the silicone body attached to a plastic collar traps moisture and milk residue in the seams, creating an ideal environment for mold growth.
- Master the flexible scrub: Because the body of a silicone bottle is flexible, standard brushing can be tricky. Use a dedicated baby bottle washer designed for wide-neck bottles. Gently squeeze the silicone body from the outside while rotating the brush on the inside to ensure the bristles make consistent contact with all interior contours. Be exceptionally gentle with the soft silicone nipple; use a small, dedicated nipple brush to clean the feeding hole without stretching or tearing the slit.
- Eliminate soap smells and greasy films: If your silicone bottles develop a strong soap fragrance or a sticky film, it means milk fats or detergent surfactants have bonded with the porous material. To strip these residues, soak the silicone parts in a mixture of warm water and baking soda for an hour, or boil them in plain water for five minutes (only if explicitly permitted by the manufacturer's care instructions) to open the pores and release the trapped odors.
- Dry to prevent lint attraction: Wet silicone acts like a magnet for airborne dust, lint, and pet hair. In Singapore's humid climate, drying bottles quickly is essential. After washing, immediately place all silicone components on an elevated, clean drying rack in a well-ventilated area away from open windows or high-traffic household zones. Avoid drying silicone parts on cloth towels, which transfer lint directly back onto the clean silicone surfaces.
Post-Wash Sterilization and Drying Rules for Each Material
Washing with soap and water removes physical milk residue, but sterilization is the crucial next step to eliminate lingering pathogens. Once sterilized, proper drying ensures that bacteria do not repopulate the clean surfaces. However, sterilization and drying methods must be matched directly to your bottle’s material to prevent damage.
Heat-Based Sterilization Limits
Heat-based sterilization, which includes boiling and electric steam sterilizers, is highly effective but must be applied with care:
- Glass: Glass bottles are highly compatible with steam and boiling water. However, always place them gently into the sterilizer rack to prevent physical impact with other items. Allow glass bottles to cool completely inside the sterilizer before handling them, as hot glass is highly sensitive to temperature drops and physical shocks.
- Plastic and Silicone: High-grade plastics like PPSU and medical-grade silicone tolerate heat well, but standard PP plastics can warp or degrade if exposed to high heat for too long. Always check the manufacturer's instructions for maximum sterilization times—usually no more than three to five minutes for boiling. Never let plastic parts touch the bottom or sides of a boiling pot, as direct contact with the hot metal can melt the plastic instantly.
UV Sterilization and Drying Best Practices
UV sterilizers have grown in popularity because they dry and sanitize bottles simultaneously without using wet steam. However, UV-C light interacts differently with various materials:
- Material degradation: Prolonged, repeated exposure to UV-C radiation can accelerate the aging of certain plastics, causing them to become yellow, brittle, or prone to cracking. It can also cause silicone nipples to lose their elasticity and discolor over time. Before using a UV sterilizer, check your bottle manufacturer's guidelines to ensure UV exposure is approved for all parts.
- Drying rack hygiene: If you do not use an automated drying sterilizer, place all washed parts on an open, well-ventilated drying rack. Avoid placing bottles on flat counter mats or closed cupboards where moisture can pool, creating a damp environment that encourages bacterial growth. Wash and sanitize your drying rack weekly to keep the drying environment clean.
Frequently Asked Questions (FAQ)
Can I put all baby bottles in the dishwasher?
No, not all baby bottles are suitable for the dishwasher. While glass and high-grade silicone bottles are generally dishwasher-safe, many plastic bottles can warp or degrade under the intense heat of a dishwasher’s washing and heated drying cycles. Always check the manufacturer’s care label first. If dishwasher-safe, place bottles on the top rack only, and secure smaller parts like silicone nipples, collars, and valves in a closed dishwasher basket to prevent them from falling onto the heating element.
How do I remove cloudy stains from plastic bottles?
Cloudiness in plastic bottles is typically caused by mineral deposits from hard water or residual milk fat that has bonded to the plastic. To remove these stains safely, soak the disassembled bottles in a mixture of equal parts warm water and white vinegar, or warm water with a tablespoon of baking soda, for 30 minutes. After soaking, wash them thoroughly with a soft sponge and baby-safe detergent, then rinse with clean water. Never use abrasive scrubbers, as they will scratch the plastic and make the cloudiness worse.
Why does my silicone bottle smell like soap after washing?
Silicone is a highly porous material that can easily absorb synthetic fragrances and chemical surfactants from standard dishwashing liquids. To resolve this, switch to a fragrance-free, plant-based baby bottle detergent. If your silicone bottle already has a strong soap smell, you can neutralize it by soaking the silicone parts in a warm water and baking soda bath for an hour, or by boiling them in plain water for five minutes, provided the manufacturer’s care instructions explicitly permit boiling.

Community discussion
Share your experience or ask a question. Comments are reviewed before publication.