
Cleaning baby bottles is a fundamental daily task, but the correct approach is not one-size-fits-all. Because baby bottles are manufactured from a variety of materials—including glass, various plastics, and silicone—each requires specific handling to maintain hygiene and prevent premature wear. Using the wrong washing or sterilization method can degrade the material, cause warping, or even release unwanted compounds. To keep your feeding equipment safe and durable, you must match your cleaning routine, tools, and sterilization techniques directly to the physical properties of your bottle’s material.
Preparing for Bottle Cleaning: Tools and Safety Checks
Before wetting a single bottle, gathering the appropriate tools is essential for a hygienic workflow. Standard kitchen sponges and dish soaps are often too harsh or carry food residues from adult dishes. Instead, set aside a dedicated set of cleaning tools reserved exclusively for infant feeding items. This includes a high-quality bottle brush, a smaller, specialized nipple brush, and a mild, fragrance-free baby dish wash formulated specifically to break down stubborn milk fats and proteins without leaving synthetic chemical residues.
Equally important is establishing a dedicated washing zone. Kitchen sinks are hotbeds for household bacteria; washing baby bottles directly in the sink basin increases the risk of cross-contamination. Use a clean, dedicated washbasin that is only used for baby items. Before starting, always consult the manufacturer’s packaging or instruction manual. Look for specific temperature limits, dishwasher compatibility symbols, and warnings against certain chemical agents. These safety checks prevent accidental melting, cracking, or degradation of the bottle parts during the cleaning and sterilization processes.
Products mentioned in this guide
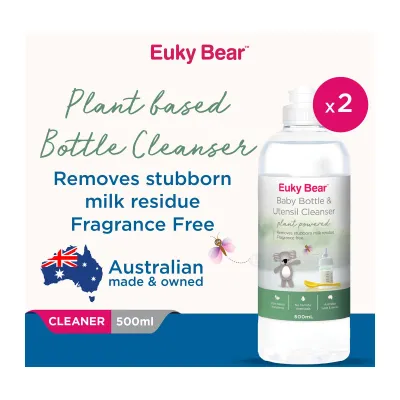
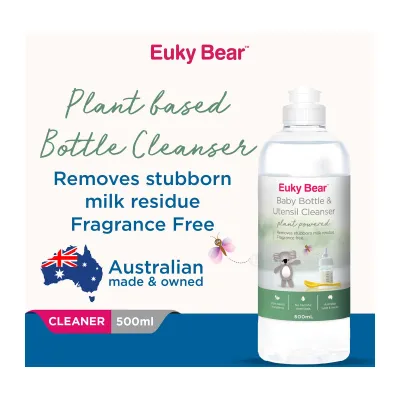
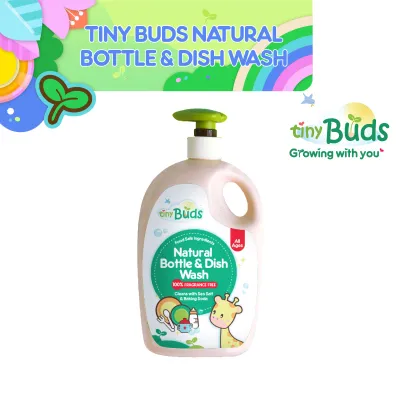
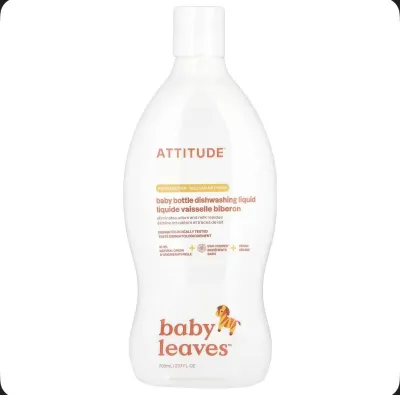
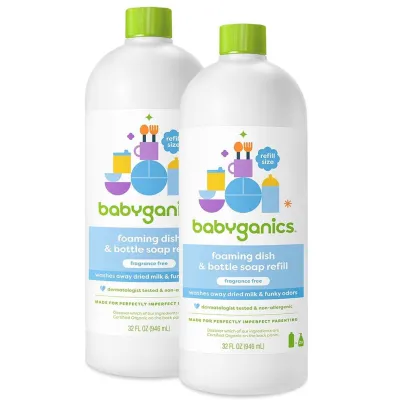
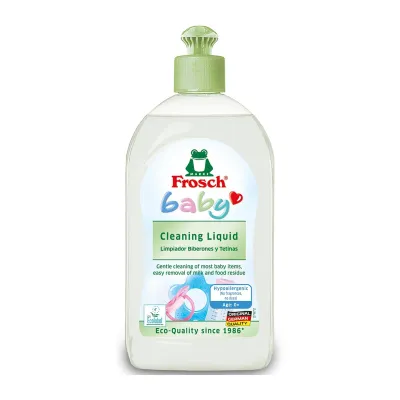


Prices are valid at publication and may change. Please refer to the product page for the latest price.
Identifying Your Bottle Material and Its Care Limits
Understanding the material composition of your baby bottles allows you to tailor your cleaning methods to their physical limits. The three most common materials on the market today are glass, plastic, and silicone, each possessing distinct thermal and structural characteristics.

Glass Bottles Glass is highly favored for its chemical inertness and exceptional heat tolerance. It does not absorb odors, discolor, or scratch easily, making it highly hygienic. However, glass is heavy and fragile. When handling glass bottles, you must inspect them regularly for hairline cracks, chips, or structural weaknesses. Glass is also susceptible to thermal shock—sudden, extreme temperature changes, such as pouring boiling water into a cold bottle, can cause it to shatter instantly.
Plastic Bottles (PP, PPSU, and PES) Plastic bottles are lightweight and shatterproof, but they vary significantly in quality and heat resistance depending on the specific polymer used:
- Polypropylene (PP): This is the most common and affordable plastic. It is translucent and flexible but has a lower heat tolerance (typically up to 110°C to 120°C) and is highly prone to micro-scratches from stiff bottle brushes. These tiny scratches can harbor milk proteins and bacteria over time.
- Polyphenylsulfone (PPSU) and Polyethersulfone (PES): These high-grade, medical-quality plastics have a distinct honey-colored tint. They offer superior durability, high scratch resistance, and can withstand much higher temperatures (often up to 180°C), making them highly compatible with frequent steam or boiling sterilization.
Silicone Bottles and Parts Silicone is a soft, flexible, and highly heat-resistant material frequently used for bottle nipples, valves, and entire bottle bodies. While silicone can easily withstand high temperatures, it is highly porous compared to glass. This means it can absorb food odors, oils, and colors if washed alongside adult dishes. Silicone parts are also sensitive to harsh chemical agents, which can cause the material to swell, soften, or become sticky, compromising the fit and function of the bottle’s anti-colic valves and nipples.
Step-by-Step Guide to Washing Baby Bottles
A systematic washing routine is the foundation of bottle hygiene. Sterilization is only effective on surfaces that are completely free of physical residue, meaning a thorough manual wash with a dedicated baby dish wash must always precede any sterilization step.
Step 1: Complete Disassembly Begin by completely disassembling every part of the bottle. Separate the bottle body, collar, nipple, cap, and any internal anti-colic valves, vents, or straw systems. Skipping this step allows milk residue to trap inside the threads and crevices, creating an ideal breeding ground for bacteria.
Step 2: Immediate Rinsing Rinse all parts under cool or lukewarm running water immediately after feeding. This simple step prevents milk proteins from drying, crusting, and adhering to the inner surfaces, which makes subsequent scrubbing much more difficult and increases the risk of scratching the material.
Step 3: Washing with Baby Dish Wash Fill your dedicated washbasin with warm water and add a small amount of specialized baby dish wash. Submerge all parts. Use your dedicated bottle brush to clean the interior walls and bottom of the bottle. For plastic bottles, use a soft silicone brush or a gentle sponge brush to avoid creating micro-scratches. Use the smaller nipple brush to clean the inside of the nipple and collar. Be exceptionally gentle when cleaning silicone nipples; pushing a brush too forcefully through the feeding hole can tear or stretch the silicone, altering the milk flow rate.
Step 4: Thorough Rinsing Hold each part under clean, running tap water to rinse away all soap suds. Ensure that no soapy film or scent remains on any of the components. Visually inspect each part under good lighting to confirm that all milk residue has been completely removed before moving on to drying or sterilization.
How to Sterilize Baby Bottles Safely by Material
Sterilization provides an extra layer of protection by eliminating remaining pathogens. However, the sterilization method you choose must align with the heat and chemical limits of your bottle’s specific material.
The Boiling Method Boiling is a traditional, accessible sterilization method. It is highly suitable for glass bottles and high-grade plastics like PPSU. To boil safely, submerge the disassembled parts in a pot of clean water, bring it to a rolling boil, and let it boil for the manufacturer’s recommended duration (typically 3 to 5 minutes). Ensure that plastic and silicone parts do not touch the hot bottom or sides of the pot directly, as this localized high heat can melt or warp them. Avoid boiling standard PP plastic bottles too frequently, as constant exposure to boiling water can accelerate material degradation.
Steam Sterilizers (Electric and Microwave) Electric steam sterilizers and microwave steam bags use high-temperature steam to sanitize equipment quickly. This method is highly compatible with glass, silicone, and most plastics. Always verify that your plastic bottles are rated for steam sterilization. When using these devices, ensure you add the exact minimum water requirement specified by the manufacturer; too little water can cause the unit to run dry, potentially overheating and damaging the bottles.
Chemical Sterilization (Cold Water) Cold-water chemical sterilization involves dissolving specialized sterilizing tablets or liquid in cold water and submerging the bottle parts completely. This method is highly useful when traveling or when dealing with materials that cannot tolerate high heat. Ensure all air bubbles are pressed out of the bottles so the solution contacts every surface. Keep the parts submerged for the exact time recommended on the product packaging. Once completed, handle the parts with clean hands or sterilizing tongs, and follow the manufacturer’s instructions regarding whether a rinse with cooled, boiled water is required before use.
UV Sterilizers UV sterilizers use ultraviolet light to eliminate microorganisms without heat or moisture. While highly convenient, UV sterilization has specific material limits. UV light cannot penetrate opaque materials, meaning any shadow cast by a curved part or valve will remain unsterilized. Furthermore, prolonged exposure to UV radiation can accelerate the aging, discoloration, and degradation of certain plastics, particularly polypropylene (PP) and silicone. If you use a UV sterilizer, inspect your plastic and silicone parts regularly for signs of brittleness or yellowing.
Drying, Storing, and Knowing When to Replace
The cleaning process is not complete until the bottles are dried and stored in a manner that prevents re-contamination. In warm, humid climates like Singapore, improper drying can quickly lead to mold and bacterial growth on damp surfaces.
Drying Protocols Always air-dry baby bottles and parts on a dedicated, elevated drying rack. Position the bottles upside down so water drains freely, and spread out the nipples and collars to ensure maximum airflow. Avoid using kitchen towels or paper towels to dry the parts, as towels can easily transfer lint, dust, and household bacteria back onto the freshly sanitized surfaces.
Safe Storage Once every component is completely dry, store them in a clean, dry, and enclosed environment, such as a dedicated cupboard or a sealed storage container with a lid. This protects the clean items from airborne dust, pests, and kitchen grease. You may store the bottles fully assembled or keep the parts disassembled until you are ready to prepare a feed.
Replacement Checklist Even with meticulous care, baby bottles and nipples do not last indefinitely. Conduct a regular visual inspection of all feeding equipment:
- Glass Bottles: Replace immediately if you detect any chips, deep scratches, or hairline cracks.
- Plastic Bottles: Replace PP bottles every 3 to 6 months, or sooner if they become cloudy, heavily scratched, or discolored. High-grade PPSU bottles can last longer but should be replaced if they show signs of physical wear.
- Silicone Nipples and Parts: Inspect nipples weekly by pulling on the bulb. Replace them immediately if you notice swelling, stickiness, discoloration, tears, or if the feeding hole has enlarged, causing the milk to flow too quickly for your baby. Generally, nipples should be replaced every 2 to 3 months for hygiene and safety.
Frequently Asked Questions (FAQ)
Can I wash baby bottles and nipples in the dishwasher?
Many modern baby bottles are labeled as dishwasher-safe, but this convenience comes with specific conditions. Only place bottles and parts on the top rack of the dishwasher to keep them away from the heating element at the bottom, which can warp plastic and damage silicone. Use a dedicated dishwasher basket or a closed mesh bag to secure small parts like nipples, collars, and valves, preventing them from falling to the bottom of the machine. Keep in mind that dishwasher detergents can be highly abrasive and may cause glass to cloud or plastic to degrade faster. For delicate silicone nipples and anti-colic parts, hand-washing with a gentle baby dish wash remains the most reliable method to preserve their shape and structural integrity.
How often should I sterilize baby bottles after the initial wash?
The frequency of sterilization depends largely on your baby’s age, health status, and developmental stage. For newborns, premature infants, or babies with weakened immune systems, daily sterilization after every wash is highly recommended to protect their developing immune systems from harmful pathogens. For older, healthy infants, pediatric guidelines often suggest that a thorough wash with warm water and a dedicated baby dish wash is sufficient for daily cleaning, with sterilization scaled back to once a week or as needed. However, environmental factors and local water quality can influence this routine. Always consult your pediatrician to establish a personalized cleaning and sterilization schedule that aligns with your baby’s specific health needs.

Community discussion
Share your experience or ask a question. Comments are reviewed before publication.