
Transitioning to a hands-free pumping system can transform your daily breastfeeding routine, offering the flexibility to multi-task while maintaining a robust milk supply. Whether you are returning to a busy office, managing household tasks, or simply seeking a more relaxed pumping experience, achieving maximum milk output requires a precise combination of correct assembly, proper positioning, and optimized pump settings. By mastering these technical adjustments, you can ensure that your hands-free setup performs just as efficiently as a traditional flange setup.
Many mothers find that switching to a hands-free configuration initially feels different from using standard bottles and flanges. This guide provides a step-by-step approach to configuring your Spectra system, troubleshooting common suction issues, and maintaining your equipment for consistent, comfortable milk expression.
Preparing Your Spectra Hands-Free Pumping Kit
Hygiene is the foundation of safe and successful pumping. Before assembling your Spectra hands-free cups or traditional flanges with a hands-free bra, ensure all components that come into direct contact with breast milk are thoroughly cleaned and sanitized. Follow the manufacturer’s instructions for initial sterilization, which typically involves boiling the parts or using a steam sterilizer, to eliminate any manufacturing residues and protect your infant’s health.
Products mentioned in this guide
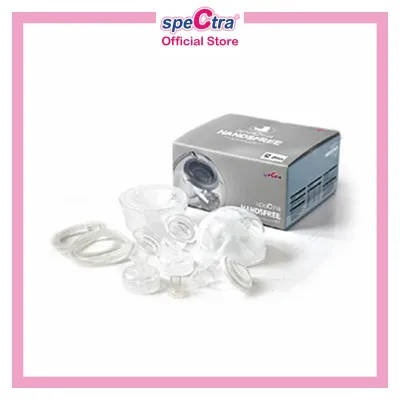
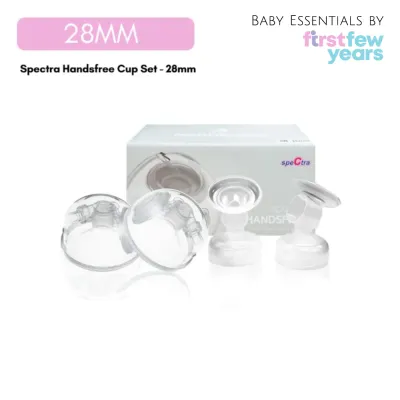
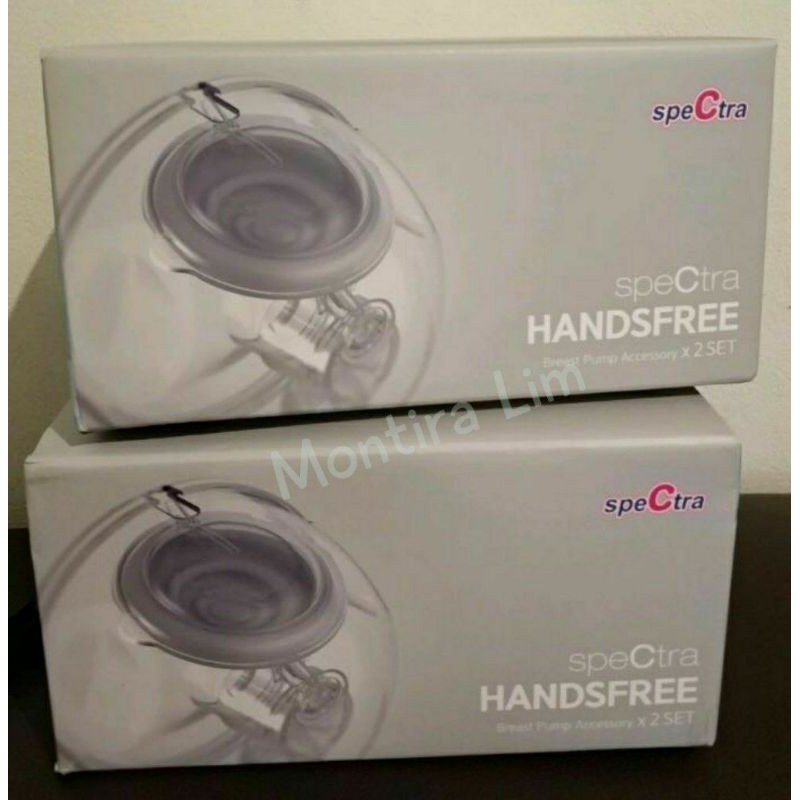
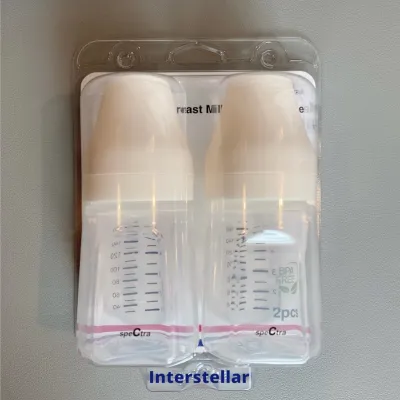

Prices are valid at publication and may change. Please refer to the product page for the latest price.
Flange sizing is the most critical factor influencing both comfort and milk output. An incorrectly sized flange can restrict milk flow, cause friction, and lead to painful tissue damage. To find your correct size, measure the diameter of your nipple base in millimeters before a pumping session, excluding the surrounding areola. Add two to three millimeters to this measurement to determine your starting flange size, and monitor how your nipple behaves inside the tunnel during operation; it should move freely without rubbing against the walls.
Compatibility is another essential check before you begin your session. If you are using Spectra CaraCups or a third-party wearable insert, verify that the tubing adapters match your specific Spectra pump model, such as the Spectra S1, S2, or 9 Plus. Check the product packaging or official guidelines to ensure the connection is secure, as mismatched tubing or loose adapters can lead to immediate suction loss and poor motor performance.
Keep in mind that your flange size can change throughout your breastfeeding journey. It is highly recommended to re-measure your nipple base if you experience sudden discomfort or a noticeable drop in milk output. Keeping a spare set of flanges in a slightly different size can help you adapt to these physical changes without interrupting your pumping schedule.
Step-by-Step Guide to Positioning and Wearing the Pump
Achieving a secure, leak-proof seal starts with precise physical alignment. When placing the hands-free cup or flange over your breast, ensure your nipple is centered directly within the tunnel. Even a slight misalignment can cause the nipple to rub against the sides of the plastic, leading to swelling, friction burns, and restricted milk ducts that limit your overall output.

To ensure perfect alignment, try leaning forward slightly as you position the cup against your breast. This allows your breast tissue to fall naturally into the flange. Once the cup is in place, gently press it against your skin to create an initial seal before securing your bra over it.
The fit of your pumping bra plays a dual role in maintaining suction and protecting your breast tissue. Your bra must hold the hands-free cups or flanges firmly against your chest to prevent gaps, yet it should not be so tight that it compresses your breasts. Excessive pressure from an overly tight bra can pinch the milk ducts, preventing complete emptying and potentially leading to painful clogged ducts or mastitis.
Before turning on the pump motor, perform a quick visual inspection of the internal components. Ensure the silicone membranes, backflow protectors, and duckbill valves are completely flat and free of folds or gaps. Even a microscopic tear or a slightly misaligned valve will prevent the system from building the vacuum pressure necessary for efficient milk extraction.
Once the cups are positioned inside your bra, sit in a comfortable, slightly upright position. Leaning too far forward or slouching can shift the alignment of the cups and cause milk to pool incorrectly, which may lead to leaks or backflow issues. Maintaining a relaxed posture also supports the release of oxytocin, the hormone responsible for the milk let-down reflex.
Adjusting Settings for Efficient and Comfortable Expression
Spectra breast pumps are designed to mimic a baby’s natural nursing pattern through a two-phase expression system. Always begin your session in stimulation mode, which is characterized by fast, shallow cycles designed to trigger your let-down reflex. On most Spectra models, this is activated by pressing the three-wave button, starting at a cycle speed of 70.
Once you observe milk starting to flow or drip consistently into the collection cups, switch the pump to expression mode. This mode features slower, deeper cycles that draw milk out efficiently. You can adjust the cycle speed down to a range that feels comfortable and matches your natural milk flow rate, typically between 38 and 54 cycles per minute.
Vacuum strength should always be adjusted gradually and customized to your comfort level on any given day. Start at a low suction level and slowly increase it step by step. Stop increasing the vacuum immediately when you reach the highest level that still feels completely comfortable; pumping at a level that causes pain or pinching will actually inhibit your let-down and reduce your total output.
Keep in mind that hands-free cups may distribute suction slightly differently than traditional flanges. You may find that you need to adjust your usual settings slightly higher or lower when transitioning between standard flanges and wearable cups. Always refer to your device manual for specific button sequences and mode transitions to avoid accidental setting jumps.
Record your preferred settings once you find a combination that works well for you. While your body’s needs may vary slightly from day to day, having a baseline set of cycle speeds and vacuum levels makes it much easier to start each session efficiently, especially when pumping during a busy workday.
Troubleshooting Common Hands-Free Pumping Issues
Milk leaking from the bottom or sides of the hands-free cups is a common frustration that usually points to a physical alignment issue. If you experience leaks, pause the pump and check if your bra is holding the cups flush against your skin. If the bra is too loose, the seal will break when you move; if it is too tight, it can warp the silicone rim of the cup and cause gaps.
A sudden drop in suction is almost always caused by an air leak or moisture in the system. Inspect the tubing connections at both the pump motor and the backflow protectors to ensure they are pushed in tightly. Additionally, check the silicone duckbill valves for any stretching or tiny tears, as these small parts are responsible for maintaining the vacuum seal and wear out quickly with daily use.
Moisture inside the tubing is a serious issue that can damage the pump motor and compromise hygiene. If you notice condensation or milk droplets in the tubes, turn off the pump immediately. Replace the wet tubing with a clean, dry spare, and inspect your backflow protectors to ensure the silicone membranes are intact and properly assembled to prevent liquid from reaching the motor.
While troubleshooting technical issues is straightforward, physical discomfort should never be ignored. If you experience persistent pain, skin damage, bruising, or a sudden, unexplained drop in your milk supply, stop using the hands-free system immediately. Consult a qualified lactation professional or your healthcare provider to assess your pumping technique and ensure your breast health is protected.
Cleaning and Maintaining Your Pumping System
Proper post-session care is essential for preventing bacterial growth and maintaining the longevity of your hands-free kit. Immediately after you finish pumping, carefully disassemble all parts that have come into contact with breast milk. Rinse these components under cold running water to remove residual milk proteins before they have a chance to dry and stick to the plastic.
Wash the disassembled parts in warm, soapy water using a mild dish soap, keeping a dedicated washbasin and brush solely for your baby’s feeding equipment. Avoid using harsh abrasive pads that can scratch the plastic and create microscopic crevices where bacteria can hide. Rinse thoroughly with clean water, sterilize according to the manufacturer’s guidelines, and allow all parts to air-dry completely.
In Singapore’s humid climate, ensuring parts air-dry completely on a clean, dedicated drying rack is crucial to prevent mold and bacterial growth. Avoid storing damp parts in closed cupboards or bags. If you are pumping at an office, consider using a dedicated UV sterilizer with a drying function or a well-ventilated drying area to ensure all components are bone-dry before assembly.
Silicone components, including duckbill valves, backflow protector membranes, and cup seals, require regular inspection and routine replacement. Because silicone stretches and degrades over time from washing and sterilization, these parts will gradually lose their elasticity, leading to a subtle but steady decline in pump suction. Plan to replace duckbill valves every one to three months, and backflow membranes every three to six months, depending on your pumping frequency.
Frequently Asked Questions (FAQ)
Can I use any hands-free bra with my Spectra pump?
While many universal pumping bras are compatible with Spectra flanges, the bra you choose must be supportive enough to handle the specific weight of the flanges and attached bottles or the hands-free cups when they fill with milk. A flimsy bra may sag, pulling the flange away from your breast and breaking the vacuum seal. Look for structured bras with adjustable straps and secure panels that hold the equipment firmly in place without compressing your breast tissue.
How long should a typical hands-free pumping session last?
A typical hands-free pumping session generally lasts between 15 and 20 minutes, but you should always prioritize your body’s physical cues over a strict timer. Watch the flow of milk in the collection cups and continue pumping for a minute or two after the milk flow stops to ensure your breasts are thoroughly emptied. Avoid pumping for extended periods past this point, as prolonged suction on empty breasts can cause tissue irritation, swelling, and discomfort.

Community discussion
Share your experience or ask a question. Comments are reviewed before publication.