
Cleaning Dr. Brown’s narrow-neck bottles and their signature internal vent tubes requires a systematic approach, a specialized narrow-neck bottle brush, and a dedicated micro-vent brush. Because these bottles feature a unique anti-colic system designed to channel air away from the milk, standard kitchen sponges and wide brushes cannot reach the tight corners or the interior of the narrow tube. To maintain hygiene and ensure the vent system functions correctly, caregivers must disassemble every component after each feed, wash them with warm soapy water using the correct tools, and allow them to air-dry completely.
Taking the time to clean these specialized parts properly is essential for your baby’s feeding comfort. While the multi-piece design is highly effective at reducing gas, spit-up, and colic, it does require a more detailed cleaning routine than standard wide-neck bottles. By establishing a consistent washing and maintenance habit, you can protect your infant from harmful bacteria and keep the bottle’s venting mechanism operating at its best.
Understanding the Unique Design and Cleaning Challenges
The primary appeal of these narrow-neck bottles lies in their internal venting system, which prevents vacuum formation and minimizes air bubbles in the milk. However, this same innovative design introduces specific geometry challenges when it comes to daily washing. The narrow opening of the bottle restricts access, making it impossible for standard dishwashing sponges or wide-handled brushes to reach the bottom and the curved shoulders of the bottle body.
Products mentioned in this guide


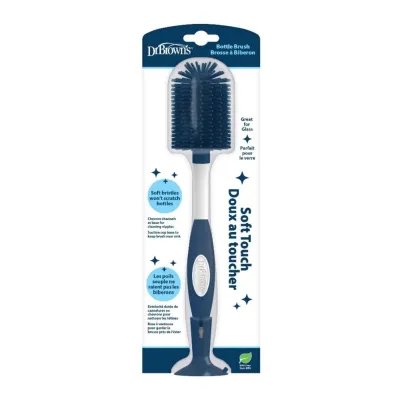


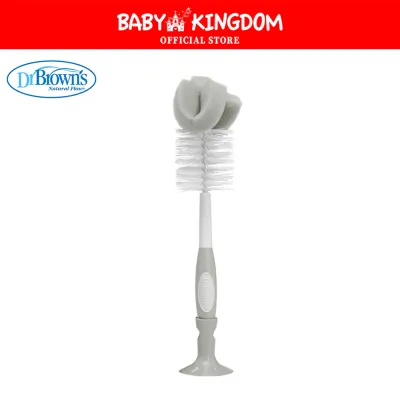
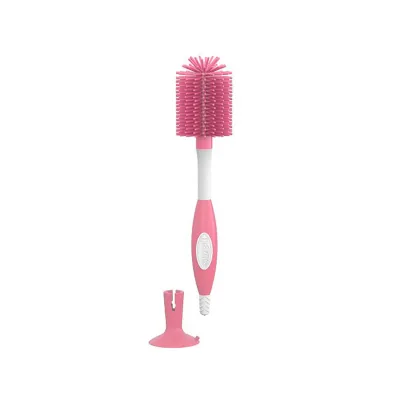
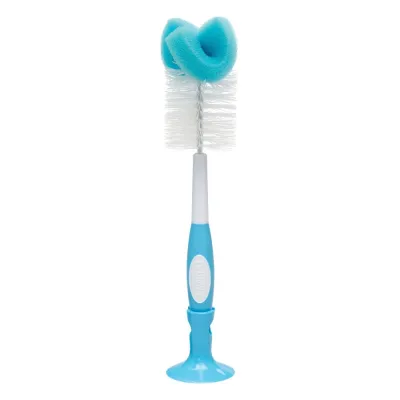
Prices are valid at publication and may change. Please refer to the product page for the latest price.
Inside the bottle, the two-piece vent system consists of a wide reservoir (the funnel-like piece) and a long, narrow vent tube. During a feed, milk can easily splash into these components. If the bottle is left sitting after use, the milk proteins and fats dry into a stubborn film along the inner walls of the tube. This residue is highly resilient and cannot be rinsed away with water alone; it requires physical scrubbing to break down.
Failing to clean these components thoroughly poses both hygiene and functional risks. Clogged air vents compromise the anti-colic performance, which can cause the silicone nipple to collapse during feeding or force your baby to swallow excess air. More importantly, the warm, damp environment inside a dirty vent tube is an ideal breeding ground for bacteria and mold. In warm, humid climates like Singapore, mold can develop rapidly on damp plastic surfaces, making meticulous cleaning and drying a top priority for infant health.
Choosing the Right Brush for Narrow Necks and Vent Tubes
To clean these bottles effectively without damaging the materials, you must use the correct tools. A standard bottle brush is often too wide to fit through the narrow neck, and forcing it inside can bend the handle or tear the bristles. Look for a dedicated narrow-neck bottle brush featuring a slim profile, a flexible head, and soft, non-scratch nylon bristles or a gentle silicone brush head. The brush should also have a comfortable, non-slip grip to give you precise control while scrubbing.

In addition to the main bottle brush, a micro-cleaning brush—often referred to as a vent brush—is absolutely essential. This ultra-thin brush is specifically designed to slide easily through the narrow diameter of the internal vent tube. It typically features soft nylon bristles wrapped around a flexible wire core, with a protective coated tip to prevent scratching the plastic or glass interior. These micro-brushes are usually included with the bottles, but they can also be purchased separately in multi-packs.
Caregivers should strictly avoid using inappropriate tools that can degrade the bottle components. Stiff wire brushes, metal-tipped pipe cleaners, oversized kitchen sponges, and abrasive scouring pads should never be used. These harsh materials can create micro-scratches on the plastic (such as polypropylene or PPSU) or glass surfaces. Micro-scratches are highly problematic because they trap milk fat and bacteria, making the bottles increasingly difficult to sanitize over time.
Step-by-Step Guide to Washing the Bottle and Vent System
A successful cleaning routine begins with immediate disassembly. Never attempt to wash the bottle while it is fully or partially assembled, as soapy water cannot circulate effectively through the joined parts. Carefully separate all five main components: the bottle body, the silicone nipple, the collar ring, the vent reservoir, and the long internal vent tube.
Prepare a clean washing basin filled with warm water and a mild, baby-safe dishwashing liquid. Avoid washing baby items directly in the kitchen sink, as the sink surface can harbor food bacteria and grease. Submerge all the disassembled parts in the warm, soapy water to loosen any remaining milk residue.
To wash the bottle body, insert your slim narrow-neck bottle brush into the opening. Gently rotate the brush in a circular motion, ensuring the bristles sweep across the bottom corners and up along the curved shoulders of the bottle. Avoid shoving the brush in aggressively, as this can cause soapy water to splash out and may prematurely wear out the brush bristles.
Next, focus on the internal vent system. Take the wet, soapy vent reservoir and use a soft sponge or the nipple brush attachment to clean its wide funnel and outer channels. For the long vent tube, insert the thin vent brush into the top opening. Gently push the brush all the way through until it emerges from the opposite end, then pull it back out. Repeat this motion two or three times to ensure the entire inner pathway is thoroughly scrubbed.
Clean the silicone nipple with extreme care. Use a soft nipple brush or your fingers to gently wash the inside of the nipple bulb. Do not force the thin vent brush or any sharp tool through the tiny nipple hole at the tip, as this can easily tear the silicone, permanently altering the milk flow rate and creating a choking hazard.
Before rinsing, perform a quick visual inspection of each component. Hold the vent tube and the bottle body up to a bright light source to check for any lingering cloudy patches, milk film, or blockages. Once you are satisfied that all parts are clean, rinse them thoroughly under warm, running tap water to remove all soap residue.
Drying and Storing Parts to Prevent Mold and Clogs
Proper drying is just as important as washing when it comes to preventing bacterial growth and mold. After rinsing, place all disassembled components on a dedicated baby bottle drying rack. Position the bottle bodies upside down so that water can drain out freely without pooling at the bottom.
The internal vent parts require special attention during the drying process. Place the vent reservoirs and the long vent tubes vertically on the drying rack’s prongs. This vertical orientation allows gravity to pull moisture out of the narrow tube, ensuring complete airflow through both ends. In Singapore’s humid environment, keep the drying rack in a well-ventilated area away from the cooking zone to facilitate faster drying and prevent airborne grease from settling on the clean parts.
Never use standard kitchen towels or dishcloths to dry the inside of the bottles or the vent components. Towels can easily transfer lint, fibers, and household bacteria onto the freshly cleaned surfaces. Allowing the parts to air-dry naturally is the safest and most hygienic method.
To make your daily routine more manageable, establish a habit of rinsing all bottle parts with cool water immediately after a feed. If you cannot wash the bottles right away, this quick rinse prevents the milk proteins from drying and hardening inside the narrow vent tube, saving you significant scrubbing time later.
Knowing When to Replace Brushes and Bottle Components
Even with meticulous care, bottle brushes and feeding components will eventually wear out and require replacement. Inspect your narrow-neck bottle brush and micro-vent brushes weekly. Replace them immediately if you notice frayed, missing, or matted bristles, a torn sponge head, or a bent wire core that makes it difficult to navigate the narrow tubes. A worn-out brush cannot clean effectively and increases the risk of scratching the bottle parts.
You must also monitor the condition of the bottle components themselves. Over time, frequent washing and sterilization can cause plastic bottles and vent parts to degrade. Look for signs of wear such as deep scratches, persistent cloudiness that does not clear after washing, or lingering sour odors. Silicone nipples should be checked for elasticity; replace them if they become sticky, discolored, or show signs of tearing.
Always prioritize safety by adhering to clear replacement boundaries. If you notice any cracks, warping, or structural damage to the bottle body, collar, or vent system, stop using those parts immediately. Damaged vent tubes can leak or fail to regulate air pressure correctly, while cracked plastic or glass poses an immediate safety risk to your infant. Consult the manufacturer’s guidelines to source official, compatible replacement parts.
Frequently Asked Questions (FAQ)
Can I put Dr. Brown's narrow-neck bottles and vent parts in the dishwasher?
Yes, most Dr. Brown’s narrow-neck bottles, silicone nipples, collars, and vent components are dishwasher-safe, but they must be placed on the top rack only. To prevent the small vent tubes and reservoirs from falling through the racks onto the heating element—which can melt or warp the plastic—always secure them inside a dedicated dishwasher basket. Before washing, verify the specific material limits of your bottles, as glass bottles require careful placement to avoid chipping. While the dishwasher is highly convenient, the water jets may not always fully penetrate the narrow interior of the vent tube. For the most thorough hygiene, it is highly recommended to manually run the thin vent brush through the tube before placing it in the dishwasher.
How do I clear a clogged vent tube if the cleaning brush gets stuck?
If a cleaning brush becomes stuck or if you encounter a stubborn, hardened milk clog inside the vent tube, never attempt to force or yank the brush. Applying excessive force can break the wire core of the brush, tear the plastic tube, or leave loose bristles trapped inside. Instead, submerge the vent tube and the stuck brush in a bowl of warm, soapy water and let them soak for 15 to 20 minutes. This soaking period softens the dried milk residue and lubricates the inner walls of the tube. After soaking, gently twist the brush handle while pulling slowly to ease it out. If the clog cannot be cleared safely or if the brush remains permanently wedged, discard the vent tube and replace it with a new, manufacturer-approved spare part to ensure safe feeding.

Community discussion
Share your experience or ask a question. Comments are reviewed before publication.