
Installing a eudemon safety lock correctly is one of the most effective steps you can take to baby-proof your home. As infants transition into the crawling and pulling-up stages, cabinets and drawers quickly become prime targets for curious hands. Securing these areas prevents access to cleaning chemicals, sharp utensils, and heavy cookware, significantly reducing the risk of household accidents. However, the protective value of any child safety lock depends entirely on how securely it is mounted to your furniture.
A common mistake is treating all cabinet surfaces the same. Wood, laminate, and glass each possess distinct physical properties that dictate how adhesives bond or how hardware must be anchored. In Singapore’s warm, humid climate, factors like moisture and temperature play a massive role in how well these safety devices perform over time. Understanding these material differences and following a precise installation protocol ensures that your baby-proofing efforts remain durable and reliable.
It is important to remember that child safety locks are designed to serve as deterrents rather than absolute security systems. They are secondary safety aids and must never replace active adult supervision. Keep a close eye on your child’s physical development and cognitive milestones; once a child learns how to bypass a locking mechanism, or if the lock begins to show signs of structural wear, you should immediately upgrade the system or consult a professional childproofing service.
Products mentioned in this guide
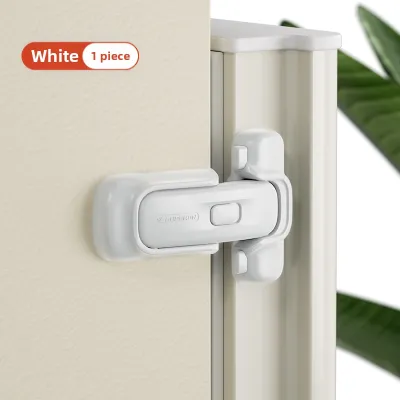
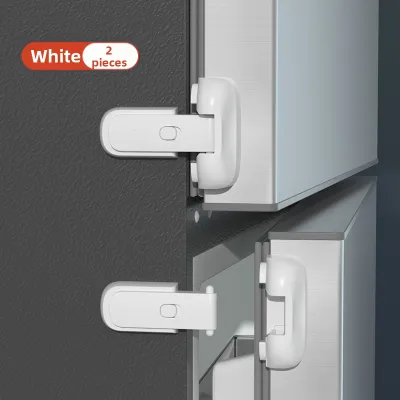
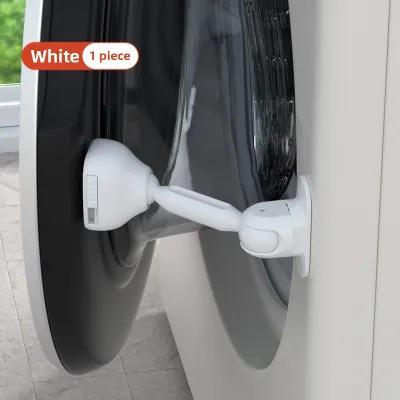
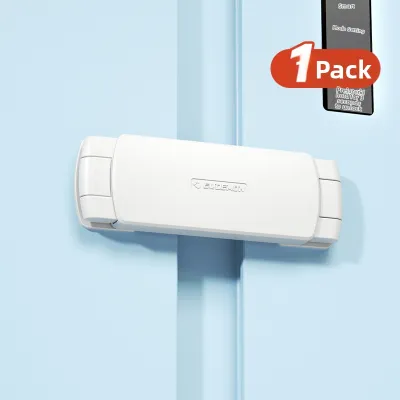
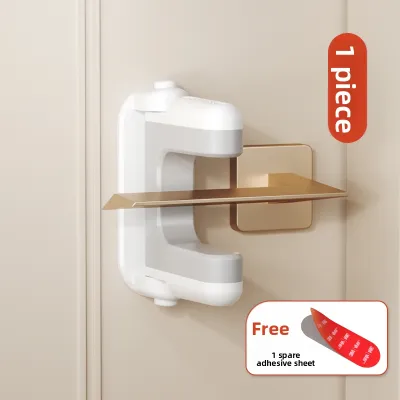
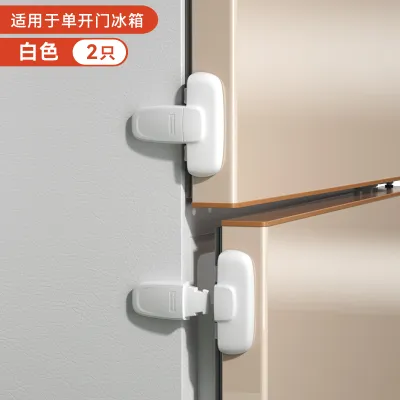
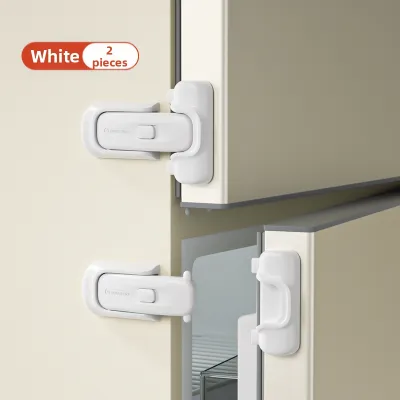
Prices are valid at publication and may change. Please refer to the product page for the latest price.
Preparing Your Cabinets and Gathering Tools
Before unboxing your eudemon safety lock, you must identify the specific locking mechanism you are working with. Eudemon manufactures several variations, including adhesive latches, magnetic cabinet locks, and adjustable strap locks. Each type has its own physical requirements and weight limits. Review the manufacturer’s included instruction leaflet to verify surface compatibility, weight ratings, and specific installation parameters for your exact model.
Preparing a dedicated toolkit beforehand prevents interruptions and ensures a clean, long-lasting installation. You will need:
- Isopropyl alcohol (ideally 70% concentration or higher) for surface preparation.
- A clean, lint-free microfiber cloth.
- A measuring tape and a pencil for precise alignment.
- Painter's tape (optional, for temporary marking).
- A manual screwdriver (if installing screw-mounted variants).
Do not use standard household glass cleaners, soapy water, or wet wipes to clean your cabinets. These products often contain silicones, oils, or surfactants that leave a microscopic film behind, which will severely compromise the adhesive bond.
Once your tools are ready, empty the contents of the cabinets and drawers you plan to secure. Removing heavy ceramic plates, glassware, or sharp items prevents them from shifting or falling if a drawer accidentally slides open during the installation process. It also gives you unrestricted access to the interior frame of the cabinet, making it much easier to align internal latches and catches.
Step-by-Step Installation for Adhesive Locks
Adhesive-based eudemon safety lock models are highly popular because they do not require drilling into your expensive cabinetry. However, achieving a bond strong enough to withstand a toddler’s persistent pulling requires strict adherence to a clean installation sequence.

Surface Cleaning Begin by thoroughly cleaning both the cabinet frame and the door or drawer surface where the lock will be attached. Dampen your microfiber cloth with isopropyl alcohol and scrub the area vigorously. This step is crucial in kitchen environments, where airborne grease, cooking oils, and dust accumulate on surfaces. Allow the alcohol to evaporate completely; the surface must be bone-dry before the adhesive pad makes contact.
Measuring and Alignment Close the cabinet door or drawer completely to determine the exact placement of the lock. Hold the lock assembly against the cabinet to mock up its position. The latch must engage smoothly with the catch plate without requiring you to force the door shut or pull it too tightly. Use a pencil or a small piece of painter’s tape to mark the precise boundaries of both the lock base and the catch plate.
Application Carefully peel the protective backing off the adhesive pad. Avoid touching the exposed adhesive with your fingers, as natural skin oils will immediately degrade the glue’s bonding capacity. Align the lock base with your pencil marks and press it firmly onto the surface. Apply sustained, even pressure across the entire surface of the lock base for at least 30 seconds. Repeat this exact process for the catch plate.
Curing Time Once the adhesive parts are applied, leave them completely undisturbed. Do not attempt to test the lock, close the latch, or pull on the cabinet door. The pressure-sensitive adhesive requires time to flow into the microscopic pores of the surface and establish a permanent chemical bond. Refer to the manufacturer’s instructions for the precise curing time, which is typically between 24 and 48 hours. Testing the lock too early will permanently weaken the bond, causing the lock to fail when your child pulls on it.
Stop Condition Stop and evaluate your cabinet surface before applying any adhesive. If the cabinet has peeling paint, delicate wallpaper, or a highly textured, unsealed finish, do not use adhesive locks. The adhesive will fail to hold securely on these unstable surfaces and will likely tear away the finish or paint when removed, causing irreversible cosmetic damage to your home.
Adapting the Installation for Wood, Laminate, and Glass
Different cabinet materials interact with adhesives and hardware in unique ways. Adapting your installation technique to the specific material of your cabinetry is essential for maintaining both child safety and furniture integrity.
Wood Cabinets
Natural wood and engineered wood (such as plywood or MDF) present distinct challenges for adhesive-based baby locks. Unsealed, highly textured, or porous wood surfaces prevent the adhesive pad from making full contact, which significantly weakens the bond. Ensure the wood surface is smoothly sanded, sealed, and finished before attempting an adhesive installation.
If you are installing screw-mounted locks on wood cabinets, never force the screws directly into the timber. Always pre-drill small pilot holes using a drill bit that is slightly smaller than the screw shank. Pre-drilling prevents the wood grain from splitting or cracking under the pressure of the screw threads, ensuring a strong, permanent mechanical anchor.
Laminate Surfaces
Modern kitchen and bathroom cabinets in Singapore frequently feature high-pressure laminate (HPL) or melamine finishes. These smooth, non-porous surfaces are highly compatible with adhesive locks, making them relatively easy to baby-proof.
However, laminate surfaces are highly sensitive to chemical residues. Avoid using harsh chemical degreasers, aerosol furniture polishes, or oil-based wood cleaners on laminates immediately before installation. These products leave a slick, microscopic barrier that prevents the adhesive from gripping the laminate. Stick exclusively to isopropyl alcohol for cleaning, and verify that no slippery residue remains.
Glass Cabinets
Glass display cabinets require a completely different safety protocol. You must never attempt to drill holes or use screw-mounted locks on glass panels, as this poses an immediate shattering hazard that can cause severe injury.
For glass cabinets, rely exclusively on high-strength adhesive locks or specialized strap locks that are explicitly approved by the manufacturer for glass surfaces. Before applying any lock, inspect the glass panel to ensure it is tempered and structurally sound. Tension-based locks can exert continuous pulling force on the glass; if the glass is too thin or already compromised by hairline cracks, it may fail under pressure. If you are unsure of the glass quality, relocate hazardous items to wood or laminate cabinets instead.
Installing Screw-Mounted and Strap Lock Alternatives
While adhesive locks are convenient, certain scenarios call for mechanical fasteners or flexible strap alternatives to ensure reliable child safety.
Screw-Mounted Locks Screw-mounted eudemon safety lock variants are highly recommended for heavy drawers, high-traffic kitchen cabinets, or surfaces where adhesive pads cannot maintain a secure grip. These locks provide a robust, mechanical connection that is completely unaffected by ambient heat or humidity.
To install a screw-mounted lock, position the internal latch and catch plate inside the cabinet frame. Use a pencil to mark the exact screw hole locations. Carefully drill shallow pilot holes, taking extreme care not to drill entirely through the cabinet door or drawer front. Secure the components using a manual screwdriver. Avoid using power drills for this step, as excessive torque can easily strip the threads in MDF or particleboard, ruining the mounting point.
Adjustable Strap Locks Strap locks are highly versatile and are ideal for securing double-door cabinets, curved appliances, or cabinets with existing handles and knobs. They feature a flexible plastic or fabric strap that bridges the gap between two surfaces.
Route the strap through or around the cabinet handles or knobs, and adjust the sliding buckle to set the appropriate length. The tension of the strap must be adjusted carefully: it should be tight enough to restrict the cabinet doors from opening more than a narrow, safe gap (preventing a child from reaching inside or pinching their fingers), but loose enough to prevent the strap from snapping or placing excessive bending stress on the cabinet handles. Once the length is set, lock the buckle mechanism firmly into place.
Testing the Bond and Removing Locks Safely
An improperly installed lock provides a false sense of security. Verifying the strength of your installation and knowing how to remove the locks without damaging your furniture are equally important aspects of the baby-proofing process.
The Pull Test Once the full curing period specified by the manufacturer has passed, you must test the integrity of the installation. Grip the cabinet door or drawer handle and apply a firm, steady pulling force, simulating the physical effort of an active toddler.
Verify that the latch remains securely engaged and that the adhesive plates or screw mounts do not lift, shift, or flex. If you detect any movement or peeling, the installation is compromised. You must remove the lock, clean the surface again, and apply a fresh adhesive pad or adjust the screws.
Routine Maintenance Baby-proofing devices are subject to daily wear and tear. Establish a routine to inspect all cabinet locks at least once a month.
Check for visible signs of adhesive degradation, loose mounting screws, or stretched and frayed straps. In high-humidity areas like kitchens and bathrooms, moisture and heat can slowly break down adhesives over time. If a lock feels loose or fails to engage smoothly, replace it immediately to maintain a safe environment.
Safe Removal When your child outgrows the need for cabinet locks, adhesive-mounted models can be removed cleanly without leaving permanent marks. Use a handheld hairdryer on a low or medium heat setting to gently warm the adhesive pad. This softens the glue and makes it pliable.
Once the adhesive is warm, gently slide a piece of dental floss, sturdy sewing thread, or a flexible plastic scraper behind the lock base. Work your way through the adhesive pad to separate the lock from the cabinet surface. Wipe away any remaining sticky residue using a microfiber cloth dampened with a small amount of isopropyl alcohol or eucalyptus oil.
Stop Condition If you notice the cabinet paint, wood veneer, or laminate finish beginning to lift, bubble, or crack during the heating or scraping process, stop immediately. Do not force the removal. Consult a professional furniture restoration specialist or a qualified handyman to safely remove the remaining adhesive without causing further cosmetic damage to your cabinetry.
Frequently Asked Questions (FAQ)
Why do adhesive cabinet locks fail in humid environments?
In tropical environments like Singapore, high relative humidity and ambient warmth can gradually degrade the chemical bonds of pressure-sensitive adhesives. This breakdown is often accelerated on cabinets located directly adjacent to heat and moisture sources, such as hobs, ovens, and dishwashers.
To prevent premature failure, ensure that the kitchen or bathroom is well-ventilated and completely dry during the installation process. Strictly observe the manufacturer’s recommended curing time before subjecting the lock to any physical tension. For high-humidity zones or cabinets containing heavy items, opting for screw-mounted locks instead of adhesive models provides a more durable, long-term safety solution.

Community discussion
Share your experience or ask a question. Comments are reviewed before publication.