
Installing child safety locks on kitchen and bathroom cabinets requires a systematic approach of surface preparation, precise alignment, and secure fastening to ensure the locks withstand a toddler’s curiosity. Whether you choose adhesive straps, magnetic latches, or screw-mounted hardware, the success of the installation depends on matching the lock type to your cabinet material and following the manufacturer’s specific guidelines. While these devices add an essential layer of protection in the home, they are designed to complement, not replace, active adult supervision.
Preparation and Tools Needed for Cabinet Lock Installation
Before purchasing or installing any child safety lock, evaluate your cabinet materials. Solid wood, wood veneer, laminate, metal, and glass all react differently to adhesives and hardware. Heavy-duty adhesives bond exceptionally well to smooth, non-porous surfaces like laminate or metal, but they can strip paint or varnish from finished wood during removal. If you plan to use screw-mounted locks, inspect the cabinet frame and door thickness. Thin cabinet doors or hollow-core panels may split or fail to hold screws securely, requiring shorter screws or alternative adhesive options.
Gather your preparation tools before starting. You will need a high-quality cleaning agent, such as isopropyl alcohol, to remove grease and grime. Avoid household cleaners that leave a slick residue, as these prevent adhesives from bonding. Keep a clean microfiber cloth, a pencil or painter’s tape for marking positions, and a measuring tape nearby. For hardware-based installations, prepare a hand drill, drill bits matching the manufacturer’s recommended size, a screwdriver, and safety glasses.
Products mentioned in this guide
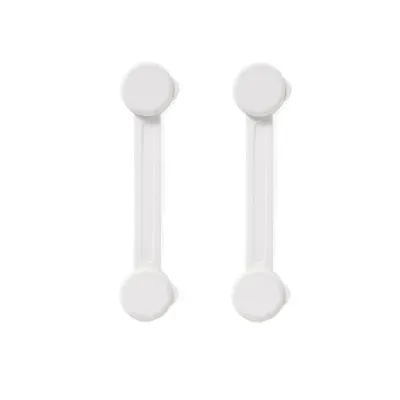
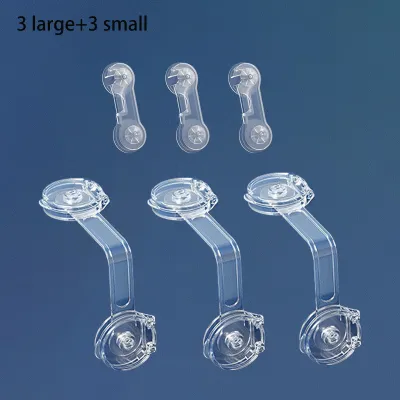

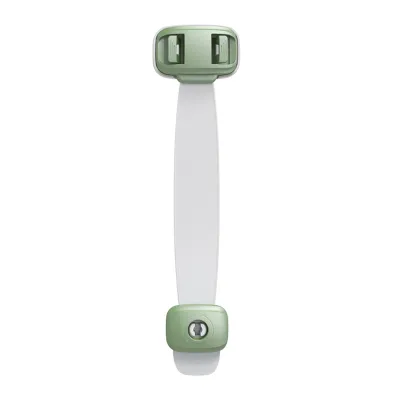
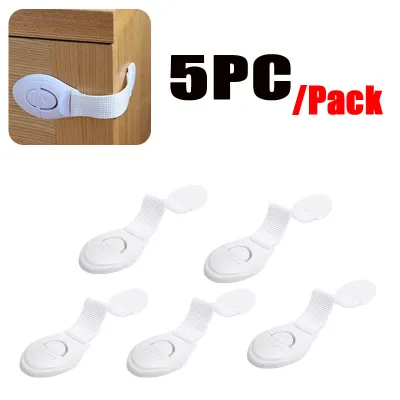
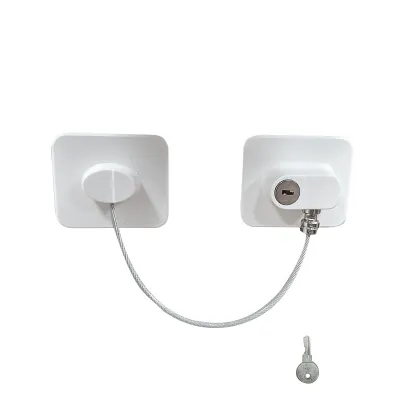
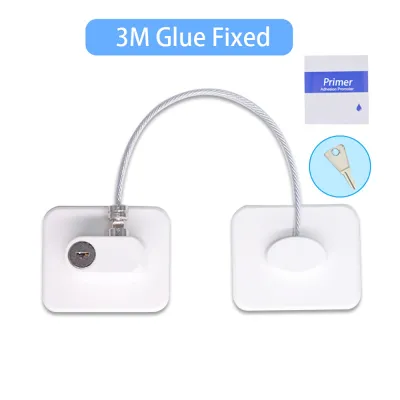
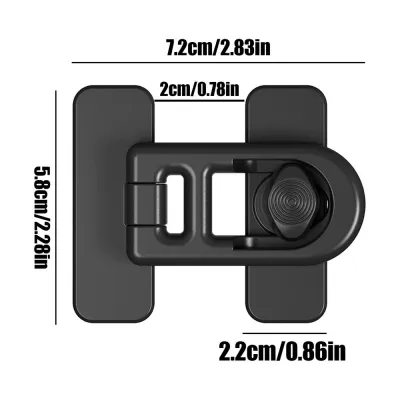
Prices are valid at publication and may change. Please refer to the product page for the latest price.
Identify the specific lock mechanism you are installing. Adhesive strap locks are highly versatile and work well on curved corners or uneven surfaces. Magnetic locks offer a completely hidden aesthetic but require precise internal alignment and a designated storage spot for the magnetic key. Spring-loaded latches require physical drilling but provide a robust mechanical barrier. Understanding these differences helps you select the right tools and prepare the installation site effectively.
Step-by-Step Installation Guide for Adhesive Cabinet Locks
Begin by thoroughly cleaning the exact area where the adhesive pads will rest. Kitchen cabinets often accumulate a thin layer of cooking grease, while bathroom cabinets collect hairspray, soap residue, and moisture. Wipe the surface with isopropyl alcohol and allow it to dry completely. Even a tiny amount of moisture or oil will compromise the adhesive bond.

Before peeling off the protective backing, perform a dry run. Assemble the lock and hold it against the cabinet door and frame. Use a pencil or a small piece of painter’s tape to mark the exact boundaries of both the lock body and the catch. This ensures that the two parts align perfectly when permanently attached.
Peel the backing from the first adhesive pad. Press it firmly onto the marked spot on the cabinet frame or door. Apply steady, even pressure with your thumb or palm for at least thirty seconds. Repeat this process for the second pad, ensuring the strap or latch is positioned with the correct amount of tension.
High-humidity environments, such as bathrooms or areas near kitchen sinks, require extra care. Moisture in the air can interfere with the chemical bonding process of the adhesive. To prevent premature failure, ensure the room is well-ventilated during installation and allow the adhesive to cure for the full duration specified by the manufacturer—often 24 hours—before subjecting the lock to any pulling force.
Adjust the strap tension or latch alignment to accommodate your specific cabinet style. If your cabinets have a wide gap between the doors, a slightly tighter strap prevents the doors from opening far enough for small fingers to get pinched. For cabinets with decorative molding or handles, position the adhesive pads on flat, stable surfaces where the strap can stretch smoothly without bending over sharp edges.
Installation Steps for Screw-Mounted and Magnetic Locks
Screw-mounted and magnetic locks offer a highly durable solution, but they require careful drilling to avoid damaging your cabinetry. Start by holding the internal latch and catch in their closed positions inside the cabinet. Mark the screw hole locations precisely with a pencil. Double-check that the door can close fully without the lock hitting any internal shelves or drawers.
Select a drill bit that matches the core diameter of the mounting screws, excluding the thread width. To prevent drilling completely through the cabinet door, wrap a piece of painter’s tape around the drill bit at the desired depth to act as a visual stop. Drill slowly and steadily, keeping the drill perfectly perpendicular to the wood surface to avoid splintering or cracking the laminate.
Position the lock components over the pre-drilled pilot holes. Secure the screws evenly using a manual screwdriver rather than a power drill, as over-tightening can easily strip the wood threads or crack plastic lock housings. Once secured, gently close the cabinet door to verify that the latch catches smoothly and releases without binding.
For magnetic lock systems, the magnetic key is the single point of access. Establish a dedicated, high-level storage location for the key, such as a magnetic hook placed high on the refrigerator or a nearby wall. Ensure this spot is completely out of reach and sight of children, yet easily accessible for adults during daily kitchen or bathroom tasks. It is highly recommended to keep a spare key in a separate, secure location in case the primary key is misplaced.
Testing and Verifying Lock Effectiveness
Once the installation is complete and any adhesives have fully cured, you must verify the lock’s effectiveness. Perform a firm pull test by tugging on the cabinet door with moderate force, simulating the persistent pulling of a toddler. The lock should remain firmly attached, and the door should not open wide enough to allow a child’s hand to slip inside.
Observe the cabinet hinges during your pull test. The lock should absorb the force of the pull without putting excessive stress on the cabinet hinges or causing the door frame to warp. If you notice the door bending or the hinges straining, you may need to reposition the lock closer to the opening edge of the door.
Test the release mechanism from an adult’s perspective. You should be able to disengage the lock smoothly, using one hand if the manufacturer’s design allows, without having to struggle or apply excessive force. If the lock is difficult for an adult to operate, double-check the alignment of the latch and catch, as minor friction can cause the mechanism to stick.
Establish a routine inspection schedule to check the condition of all household safety locks. Over time, daily use, kitchen grease, and bathroom humidity can degrade adhesives, loosen mounting screws, or wear down plastic latches. Inspect each lock monthly, tightening any loose hardware and replacing any adhesive pads that show signs of peeling or lifting.
Safe Removal and Furniture Protection
When your child outgrows the need for cabinet locks, removing them safely prevents damage to your furniture’s finish. For adhesive-based locks, avoid prying them off with force, which can tear away paint, varnish, or wood veneer. Instead, use gentle heat from a hairdryer set to a low or medium temperature to soften the adhesive backing.
Direct the warm air at the adhesive pad for one to two minutes, keeping the hairdryer moving to avoid overheating the cabinet finish. Once the adhesive is warm and pliable, slide a piece of dental floss or a thin plastic spudger underneath the edge of the pad. Gently saw back and forth to slice through the softened adhesive layer until the lock lifts away.
Any remaining sticky residue can be cleaned off using a mild, finish-safe solvent. For varnished wood or delicate laminates, test a small, inconspicuous area first with a drop of vegetable oil, rubbing alcohol, or a dedicated adhesive remover. Wipe the residue away gently with a microfiber cloth, then clean the area with mild soapy water and dry it thoroughly to restore the cabinet’s original appearance.
Frequently Asked Questions (FAQ)
Can I install adhesive child safety locks on glass or mirrored cabinet doors?
Adhesive child safety locks can be installed on glass or mirrored cabinet doors, but you must verify the manufacturer’s instructions for explicit glass compatibility and weight limits. Glass surfaces are highly smooth and provide excellent adhesion, but they also carry a risk of shattering if subjected to sudden, heavy pulling forces by a child. When removing adhesive locks from glass, avoid using metal scrapers or excessive prying force; instead, rely entirely on heat and plastic tools to prevent scratching or cracking the fragile surface.
What should I do if the adhesive lock keeps falling off the cabinet?
If an adhesive lock repeatedly fails, it is usually due to hidden surface contaminants, textured finishes, or high humidity preventing a proper cure. Clean the surface again thoroughly with isopropyl alcohol to remove any invisible grease or soap film, and ensure the area dries completely. If the cabinet surface has a textured, matte, or highly porous finish, adhesives may not be able to form a complete bond; in these cases, switching to a mechanical, screw-mounted lock or relocating the lock to a smoother, flat surface on the cabinet frame is the most reliable solution.

Community discussion
Share your experience or ask a question. Comments are reviewed before publication.