
Securing kitchen cabinets and drawers is a fundamental step in creating a safe home environment as your child begins to crawl and explore. While the primary goal is to prevent access to hazardous items like cleaning chemicals, sharp utensils, and heavy cookware, many parents worry about leaving permanent scars on their kitchen cabinetry. Fortunately, modern child safety locks offer a range of installation methods—from damage-free adhesives to concealed magnetic hardware—that balance home safety with furniture preservation. To achieve the best results, you must evaluate your specific cabinet materials, understand how local environmental factors like high humidity affect installation, and carefully follow the manufacturer’s instructions for your chosen lock. Remember that child safety locks are designed to assist caregivers, not to replace active adult supervision.
Assess Your Cabinets to Choose the Right Lock Type
Different cabinet designs and materials require specific locking mechanisms to function effectively. Adhesive strap locks are highly versatile and work well on curved surfaces, corner drawers, and gloss-finished laminates. They use heavy-duty double-sided tape to secure a flexible strap across the opening, making them ideal for temporary childproofing. However, these adhesives can fail or lift paint on untreated wood, highly textured surfaces, or delicate wood veneers.
Magnetic catches and internal latches offer a concealed alternative that keeps the safety hardware hidden inside the cabinet. Magnetic locks use a spring-loaded latch that only releases when an external magnetic key is held against the outside of the door. Internal latches, on the other hand, allow the door to open slightly before catching on a plastic hook, requiring an adult to reach in and press the latch down to open it fully. While these options preserve the external aesthetic of your kitchen, they often require drilling into the interior frame, which may affect your furniture warranties.
Products mentioned in this guide
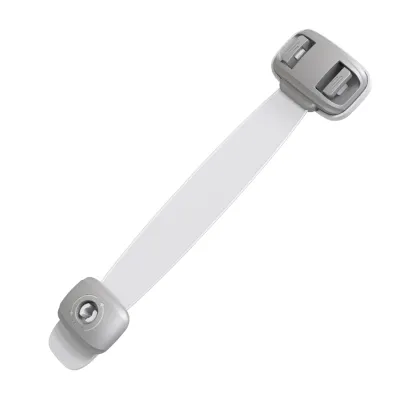
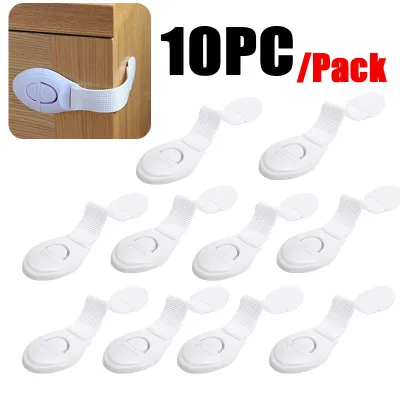
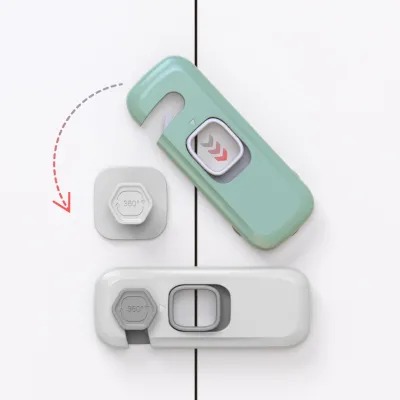

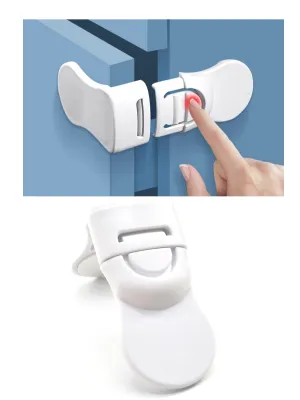
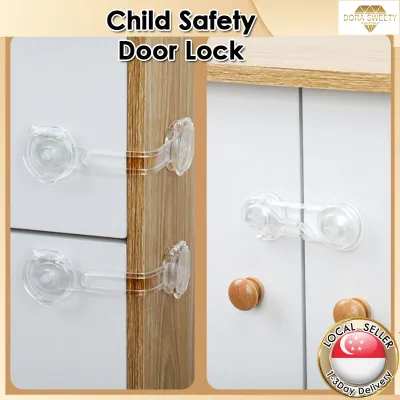
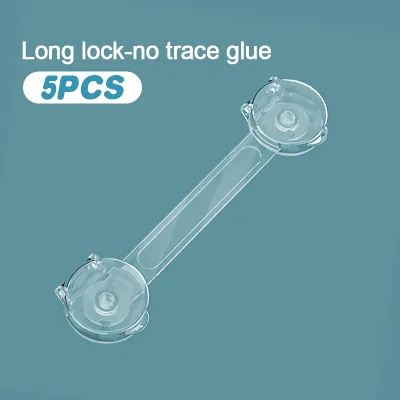
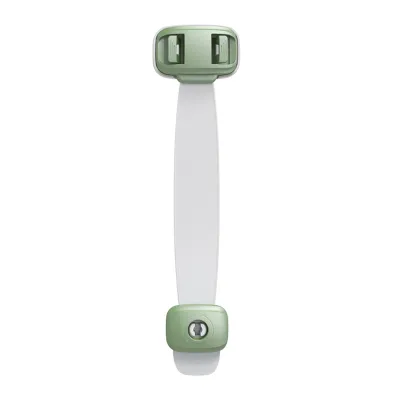
Prices are valid at publication and may change. Please refer to the product page for the latest price.
Sliding locks or U-shaped locks are excellent for double-door cabinets with side-by-side D-shaped handles or knobs. These locks slip through the handles and slide tight, requiring no adhesive or drilling whatsoever. They are completely damage-free but are limited strictly to cabinets with compatible external hardware.
Before purchasing any lock, always verify the manufacturer’s documentation for age recommendations, weight limits, and developmental stages. Some children quickly learn how to bypass simple latches, meaning you may need to upgrade to more complex locking systems as your child grows. Additionally, check for any product recalls or safety certifications specified by the manufacturer to ensure the product meets current safety expectations.
Gather Tools and Prepare the Cabinet Surface
Proper preparation is the key to ensuring your safety locks remain securely attached, especially when using adhesive-based options. To begin, gather your basic tools: rubbing alcohol (isopropyl alcohol), a clean microfiber cloth, a measuring tape, a pencil for marking, and a screwdriver if you are installing hardware-mounted locks. Having these items on hand prevents interruptions during the installation process.

In warm, high-humidity environments like Singapore, kitchen grease, moisture, and airborne oils can quickly degrade adhesives, causing locks to fail prematurely. Thoroughly clean the target area on the cabinet frame and door using rubbing alcohol and a microfiber cloth. Avoid using standard household glass cleaners or multi-purpose sprays, as these often leave behind a thin, slick residue that prevents the adhesive from bonding properly. Allow the surface to dry completely before proceeding.
When preparing your workspace, keep all cleaning agents, small screws, and tools well out of reach of children. Ensure the kitchen is well-ventilated while using rubbing alcohol, and avoid working near open flames or active cooking areas. Taking these precautions protects both your family and your cabinetry during the setup phase.
Install Adhesive and Strap Locks Step-by-Step
To install adhesive strap locks, start by planning the exact placement. Use your measuring tape to find a position that is high enough to be out of your child’s direct line of sight but still accessible for adults. Mark the positions lightly with a pencil. The lock should be positioned so that the strap is taut but not overly stretched, ensuring there is minimal “give” when a child attempts to pull the door or drawer open.
Once you have marked the placement, peel the protective backing off one side of the adhesive pad. Press the pad firmly onto the prepared cabinet surface, applying steady, direct pressure with your thumb for at least thirty seconds. This pressure activates the adhesive bond. Repeat the process for the second pad on the adjacent door or cabinet frame, ensuring the strap aligns perfectly.
The most critical step for adhesive locks is the curing process. Most manufacturers require the adhesive to cure undisturbed for twenty-four to forty-eight hours before subjecting it to any pulling force. Do not attempt to test or use the lock during this window, as doing so will significantly weaken the bond and likely cause the lock to fall off later.
Always monitor the condition of your cabinet surfaces during the initial application. If you notice the paint, lacquer, or veneer beginning to bubble, peel, or lift under the pressure of the adhesive pad, halt the installation immediately. This indicates that the cabinet finish is too fragile for adhesive locks, and you should transition to a hardware-mounted or external sliding lock instead.
Install Magnetic and Internal Latch Locks Step-by-Step
Magnetic and internal latch locks require precise alignment to ensure they catch and release smoothly. For magnetic locks, start by installing the latch template or the latch receiver inside the cabinet frame according to the manufacturer’s instructions. Many kits include an installation template or alignment tool to help you position the cabinet-side receiver and the door-side lock perfectly without guessing.
Hold the door-side lock piece against the inside of the door, aligning it with the receiver. Before securing it with screws or adhesive, test the alignment by closing the door slowly and holding the magnetic key against the outside. The lock should engage and disengage smoothly without requiring you to force or slam the door. Once aligned, mark the screw holes with a pencil.
For internal latches on drawers, ensure there is sufficient clearance between the top of the drawer box and the cabinet frame. The latch must have enough space to catch securely while allowing enough room for an adult’s finger to depress the lever. Carefully measure this clearance to prevent the latch from jamming or scraping against the drawer contents.
Before drilling any pilot holes into your cabinetry, consult your furniture manufacturer’s warranty guidelines. Drilling into high-end or custom cabinets can void warranties or permanently damage delicate materials like MDF or glass-front frames. If you are unsure about the structural integrity of your cabinets, or if they are made of fragile materials, consult a professional carpenter or installation specialist before proceeding.
Remove Safety Locks Safely Without Damaging Finishes
When your child outgrows the need for cabinet locks, or if you need to reposition a misplaced latch, removing them safely is essential to preserve your kitchen’s appearance. For adhesive locks, do not try to pry them off with your fingers or a metal tool, as this can easily rip the paint or wood veneer off the cabinet. Instead, use a piece of dental floss or strong nylon thread.
Slide the dental floss behind the adhesive pad and use a gentle sawing motion to slice through the foam backing. This separates the plastic lock from the cabinet, leaving only a thin layer of adhesive residue behind. To remove the remaining residue, apply a small amount of a gentle, furniture-safe solvent, such as a citrus-based adhesive remover or mineral oil, to a clean cloth.
Before applying any solvent to your cabinets, perform a spot test on an inconspicuous area, such as the inside of a cabinet door, to ensure it does not discolor or dissolve the finish. Gently rub the residue until it lifts, then wipe the area clean with a damp cloth and mild soapy water. Avoid using harsh chemical solvents, acetone, or metal blades, as these can permanently scratch, dull, or strip the protective lacquer on your cabinetry.
Test and Maintain Your Locks for Ongoing Safety
Once your child safety locks are installed and fully cured, establish a routine to verify their ongoing effectiveness. To test a lock, pull on the cabinet door or drawer with a firm, steady tug—simulating the force a curious toddler might apply. Do not yank with destructive force, as this can damage both the lock and the cabinet frame. The lock should hold the door firmly closed or allow only a minimal gap that prevents small hands from reaching inside.
Perform regular inspections of all safety locks in your kitchen, ideally every few weeks. Check adhesive pads for signs of lifting, peeling, or cracking, especially on cabinets near the stove or sink where heat and steam are common. For hardware-mounted locks, check that the screws remain tight and that the plastic components have not become brittle or worn down over time.
If you observe any signs of wear, such as a latch failing to click into place, a magnetic key losing its strength, or an adhesive pad peeling at the edges, replace the lock immediately. Do not attempt to repair a broken lock with household tape or glue, as these temporary fixes cannot guarantee child safety. Keep spare locks on hand so you can replace compromised units without delay.
Frequently Asked Questions (FAQ)
Can I install adhesive safety locks on glass cabinet doors?
Installing adhesive safety locks on glass cabinet doors requires caution. While adhesives bond well to smooth glass, the tension from a child pulling on the lock can put uneven pressure on the glass pane, potentially causing it to crack or shatter. Always check the lock manufacturer’s specifications to see if the adhesive is rated for glass surfaces, and verify the glass door’s weight and safety rating before proceeding. If in doubt, consider using external sliding locks that bypass the glass entirely.
What should I do if the adhesive lock falls off repeatedly?
If an adhesive lock repeatedly fails to stay attached, the issue is usually related to surface preparation or environmental conditions. Invisible grease residue, high kitchen humidity, or textured cabinet finishes can prevent a secure bond. Ensure you clean the area thoroughly with rubbing alcohol and allow it to dry completely before reapplying. If the surface is highly textured or porous, adhesive options may not work, and you should consider switching to hardware-mounted locks or magnetic catches that secure directly to the cabinet frame.
Community discussion
Share your experience or ask a question. Comments are reviewed before publication.