
Securely installing a child safety latch on your kitchen cabinets is one of the most effective ways to protect a curious toddler from household hazards. As babies reach developmental milestones like crawling, pulling up, and exploring their surroundings, low-lying kitchen cabinets filled with cleaning agents, heavy cookware, or sharp utensils become immediate areas of concern. Achieving a secure fit that withstands daily tugging requires selecting the right latch type for your specific cabinet material, preparing the mounting surfaces meticulously, and executing the installation with precision.
While many childproofing products are designed for straightforward home installation, success depends heavily on the quality of your preparation. Taking the time to measure accurately and understand the physical limits of your cabinetry will prevent damage to your furniture and ensure the safety devices function exactly as intended when your child attempts to open them.
Preparation and Tools Required
Before beginning the installation process, gathering the correct tools and preparing your cabinet surfaces will save time and prevent errors. For most installations, you will need a reliable measuring tape, a pencil for marking alignment points, cleaning supplies, and a screwdriver. If you are installing hardware-mounted latches, a power drill with small drill bits suitable for wood or MDF is also highly recommended.
Products mentioned in this guide
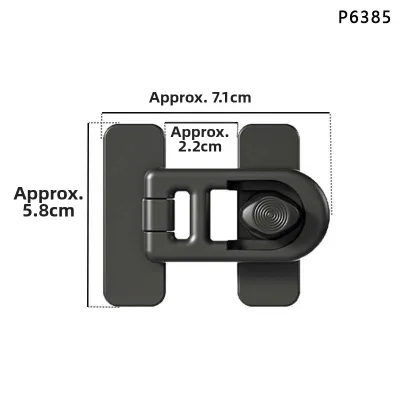
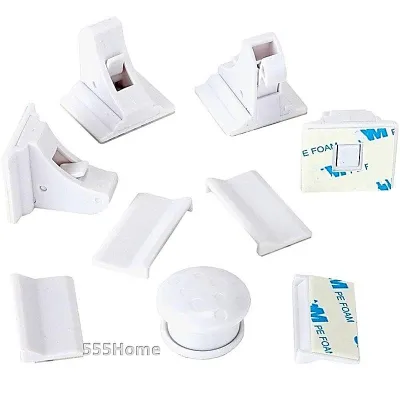
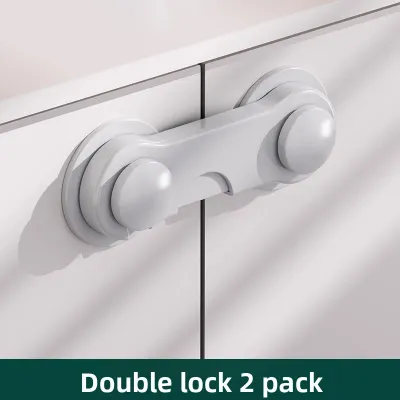
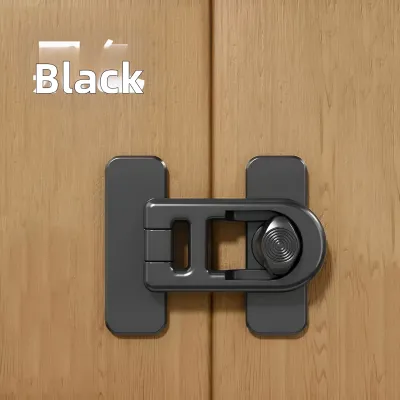
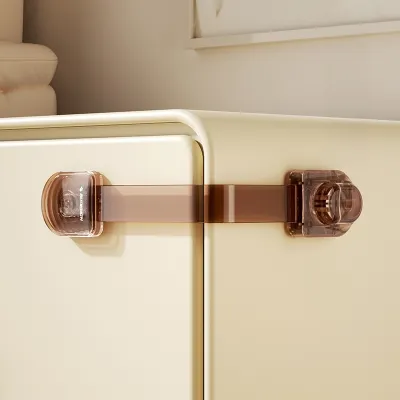
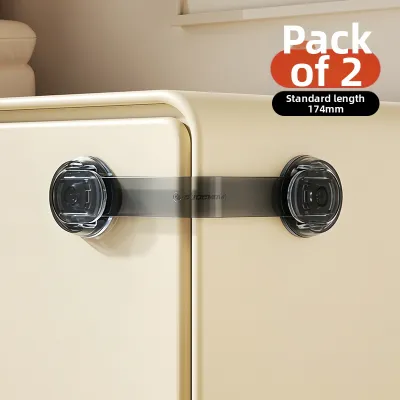
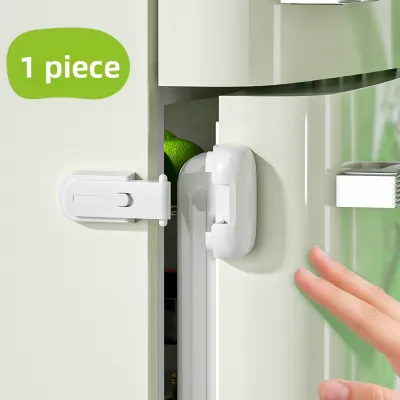
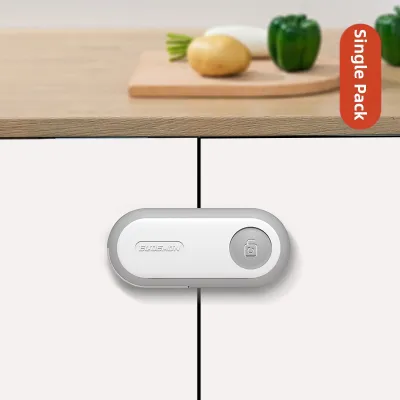
Prices are valid at publication and may change. Please refer to the product page for the latest price.
Always begin by thoroughly reading the manufacturer’s instructions included with your child safety latch. Different brands have specific requirements regarding weight limits, age suitability, and surface compatibility that must be verified before application. Checking these details ensures you do not install a latch on a surface material that might cause the adhesive or screws to fail under pressure.
Surface preparation is the most critical step for ensuring long-term durability, especially in busy kitchen environments. Kitchen cabinets accumulate a thin layer of grease, steam residue, and dust over time, which severely compromises both adhesive bonds and drilling accuracy. Wipe down the target installation areas with a mild degreasing cleaner, follow up with isopropyl alcohol to remove any soapy residue, and allow the surface to dry completely. In humid climates, moisture can easily become trapped under adhesive pads, so ensuring a bone-dry surface is paramount before proceeding.
Determining the Best Placement for Cabinet Latches
Proper positioning of the latch and its corresponding catch mechanism determines how effectively the lock will resist a child’s pull. Use your measuring tape to find the optimal mounting height, ensuring that both parts of the latch align perfectly when the cabinet door is closed. Mark these positions lightly with a pencil on both the inside of the door and the cabinet frame to serve as your guide during mounting.

Different cabinet styles require distinct placement strategies to remain functional. For handle-less cabinets, the latch must be positioned where an adult can still comfortably reach the release mechanism through the small gap created when the door is slightly ajar. Double-door cabinets often require a bridge-style latch or two individual internal latches mounted to a central divider or the top frame. Deep drawers typically benefit from top-mounted or side-mounted latches that prevent the drawer from sliding open more than a few centimeters.
When planning your placement, aim to keep the latch mechanism out of your child’s direct line of sight and physical reach. Placing internal latches near the top edge of high base cabinets makes it difficult for a toddler to peer inside and figure out how the mechanism works. At the same time, ensure the placement remains ergonomically accessible for adults, allowing you to operate the lock smoothly with one hand while managing daily kitchen tasks.
Step-by-Step Installation Process
Child safety latches generally fall into two categories: adhesive-based models that require no drilling, and screw-mounted models that secure directly into the cabinet structure. The choice between these methods depends on whether you rent or own your home, the material of your cabinets, and how much wear and tear you expect the locks to endure.
Regardless of the method you choose, proceed slowly and double-check your pencil marks before making any permanent changes. If your cabinet doors are made of unusual materials such as metal, glass, or highly delicate wood veneers, pause and consult the latch manufacturer’s manual to verify if alternative mounting hardware is required.
Installing Adhesive Child Safety Latches
Adhesive latches are highly popular because they do not require drilling into your cabinetry, making them ideal for rental properties. To install them, carefully peel the protective backing off the adhesive pad on the latch body, taking care not to touch the sticky surface with your fingers, as skin oils can weaken the bond. Align the latch precisely with your pencil marks and press it firmly against the prepared cabinet surface.
Apply continuous, firm pressure across the entire adhesive pad for at least thirty seconds to activate the pressure-sensitive bonding agent. Repeat this exact process for the catch mechanism on the cabinet frame, ensuring the two parts line up perfectly. Avoid shifting or sliding the parts once they make contact with the cabinet, as this can ruin the adhesive structure.
Once the adhesive parts are in place, you must allow the adhesive to cure completely before subjecting it to any physical stress. Most manufacturers specify a curing time of twenty-four hours, during which the cabinet doors should be left undisturbed. Note that adhesive latches may fail on heavily textured surfaces, unfinished wood, or in areas exposed to extreme kitchen humidity; if you observe peeling during the curing phase, stop the installation and consider an alternative mounting method.
Installing Screw-Mounted Child Safety Latches
Screw-mounted latches offer a highly robust and permanent childproofing solution, particularly for solid wood or sturdy MDF cabinets. Start by holding the latch and catch in their marked positions and use a sharp pencil or an awl to mark the exact center of each screw hole. This step prevents the drill bit from slipping when you begin to drill.
Using a drill bit that is slightly smaller than the diameter of the provided screws, carefully drill shallow pilot holes into the marked spots. Drilling pilot holes is essential because it prevents the cabinet wood from splitting or cracking as the screw enters. Be extremely careful not to drill too deeply, especially on thinner cabinet doors, to avoid puncturing through to the front face of the cabinet.
Position the latch over the pilot holes and secure it using a manual screwdriver rather than a power drill. Driving the screws in by hand gives you better control, preventing you from over-tightening the screws and stripping the wood or cracking the plastic latch housing. Ensure the latch moves freely and catches securely on the mounting plate without binding.
Testing and Adjusting the Installed Latches
Once the installation is complete and any adhesives have fully cured, you must thoroughly test the system to ensure it provides reliable security. Approach the cabinet from a child’s height and attempt to pull, push, and wiggle the door to simulate how a toddler would interact with it. The door should not open wide enough for a child to reach their hand inside or get their fingers pinched in the gap.
If you find that the cabinet door does not close completely flush or if the lock feels loose, you will need to adjust the alignment. For screw-mounted latches, loosen the screws slightly, shift the latch or catch by a millimeter or two, and retighten the hardware. For adhesive latches, minor misalignments might require removing the adhesive pad entirely and applying a fresh adhesive strip to reposition the component.
A successful installation is characterized by a latch that engages automatically when the cabinet door is pushed shut, holds firm against moderate pulling force, and releases smoothly when operated by an adult. If the latch fails to catch consistently or if the plastic components bend significantly under light pressure, the unit may be defective or incompatible with your cabinet style, and you should replace it immediately.
Safe Removal and Ongoing Maintenance
When your child outgrows the need for cabinet locks, removing them safely is important to preserve the appearance of your kitchen. To remove adhesive latches without damaging the cabinet finish, apply gentle heat to the plastic body using a hairdryer on a low setting to soften the glue. Once warmed, slide a piece of dental floss or a flexible plastic scraper behind the pad to lift it away from the wood.
Any remaining sticky residue can usually be cleaned off using a mild adhesive remover, eucalyptus oil, or soapy water, depending on what is safe for your specific cabinet finish. For screw-mounted latches, simply unscrew the hardware and fill the small pilot holes with a matching wood putty or wax filler stick to restore the cabinet’s appearance.
Over time, daily use can cause screws to loosen or adhesives to degrade due to kitchen heat and humidity. Establish a routine check every few months to inspect all safety latches for signs of wear, plastic fatigue, or loose fittings. If you encounter stubborn adhesive residue or fear damaging custom-built cabinetry during removal, stop your DIY efforts and consult a professional cabinet maker to avoid costly surface repairs.
Frequently Asked Questions (FAQ)
Can I install child safety latches on glass cabinet doors?
Installing screw-mounted latches on glass cabinet doors is not highly recommended due to the high risk of cracking or shattering the glass during drilling. If your cabinets have glass panels framed in wood or metal, you can mount the latches directly onto the solid frame portions instead. For fully glass doors, high-quality adhesive latches are the primary option, but you must verify that the adhesive manufacturer explicitly lists glass as a compatible, safe surface.
What should I do if the adhesive latch keeps falling off?
If an adhesive latch repeatedly fails to stay attached, the issue is usually caused by invisible grease residues, high kitchen humidity, or an incompatible cabinet finish like wax or oil-rubbed wood. To resolve this, clean the area again thoroughly with isopropyl alcohol and allow it to dry completely before applying a replacement adhesive pad. If the adhesive continues to fail despite proper cleaning and curing times, switching to a screw-mounted latch or an alternative magnetic locking system is the most reliable course of action.

Community discussion
Share your experience or ask a question. Comments are reviewed before publication.