
As infants reach major developmental milestones, such as crawling, scooting, and pulling themselves up to stand—typically between 6 and 12 months of age—their natural curiosity drives them to explore every accessible nook of the home. Low-lying kitchen and bathroom drawers present an immediate temptation, often housing heavy utensils, fragile dishware, or household cleaning agents. Securing these spaces is a critical step in baby proofing, and a high-quality child safety drawer lock offers a reliable physical barrier to protect your little one.
However, many parents and tenants worry that installing these safety devices will leave permanent scars on their cabinetry. Screwing hardware directly into solid wood, wood veneer, or high-pressure laminate can leave unsightly holes that are difficult to repair, potentially jeopardizing rental deposits or ruining expensive custom carpentry. Fortunately, modern adhesive-based locks provide an exceptionally secure hold without the need for drilling, provided you prepare the surface correctly, align the components precisely, and follow safe removal techniques when your child outgrows them.
To achieve a damage-free installation that withstands the persistent tugging of a curious toddler, you must understand the interaction between pressure-sensitive adhesives and your cabinet’s specific finish. In Singapore’s warm, highly humid climate, adhesive performance and curing behavior require careful attention to detail. By taking a systematic approach to preparation, installation, and eventual removal, you can keep your child safe while maintaining the pristine condition of your home’s interior finishes.
Products mentioned in this guide
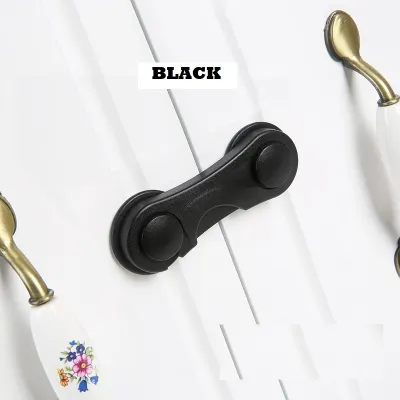

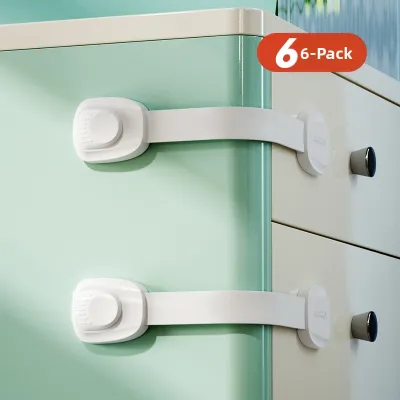
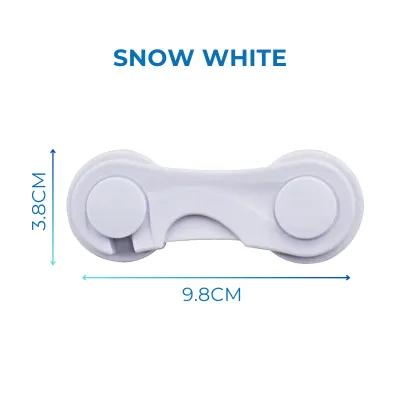
![[Ship in 24 Hours] Baby Safety Lock Cupboard Lock Cabinet Locks Wardrobe Drawer Fridge Lock Child Safe Lock Kid Safety Door Latches Children Day Gifts](https://img.lazcdn.com/g/p/e09ea02a4ce08945db1e68c840159c92.jpg_400x400q80.jpg_.webp)
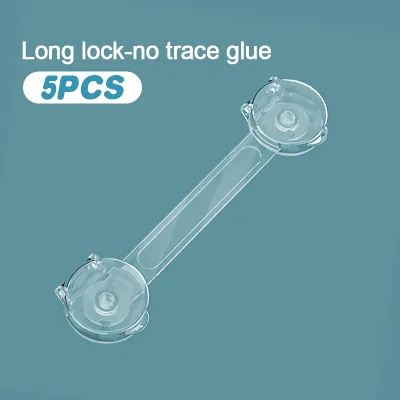
Prices are valid at publication and may change. Please refer to the product page for the latest price.
Preparation: Tools and Surface Checks
Before peeling any adhesive backing, gathering the correct tools and evaluating your cabinet’s material composition is essential. Having the right items on hand prevents mid-installation mistakes that could compromise the adhesive bond or scratch the cabinet finish.
To begin, assemble the following essential tools:
- A flexible measuring tape or ruler for precise alignment
- A standard pencil for marking temporary reference points
- Rubbing alcohol (70% isopropyl alcohol) to prepare the surface
- A clean, lint-free microfiber cloth
- A household hairdryer (reserved for the eventual removal process)
Next, identify the exact material and finish of your cabinetry. Modern homes feature a wide array of surfaces, including solid timber, natural wood veneer, high-pressure laminate (HPL), thermofoil (vinyl wrap), and tempered glass. Each material interacts differently with pressure-sensitive adhesives. For instance, solid wood with a polyurethane finish is highly durable, whereas delicate wood veneer consists of a paper-thin layer of real wood glued to an underlying particle board. Pulling an adhesive lock off wood veneer without proper preparation can easily tear the fibers away from the substrate.
Always read the lock manufacturer’s instructions to verify compatibility with your specific cabinet type. Pay close attention to specified weight limits, temperature ranges, and necessary curing times. Some heavy-duty adhesives are formulated specifically for non-porous surfaces like glass or laminate and may bond too aggressively to painted wood, leading to damage later.
There is a critical safety boundary to observe before proceeding: avoid using adhesive-based locks on antique furniture, freshly painted cabinets, or surfaces that are already peeling, cracked, or showing signs of water damage. Fresh paint requires a substantial curing period—often up to 30 days—to fully harden. Applying an adhesive lock to paint that has not completely cured will trap solvents, preventing the paint from bonding to the wood and ensuring that the paint will peel off when the lock is eventually removed. Always refer to the specific cabinet manufacturer’s care instructions and the child safety drawer lock packaging before application. If your cabinets fall into any of these high-risk categories, consult the furniture manufacturer or a professional carpenter for alternative baby-proofing solutions.
Step-by-Step Guide to Installing Adhesive Drawer Locks
Installing a child safety drawer lock successfully requires a balance of physical alignment and chemical bonding. Skipping minor steps can lead to a lock that either falls off under minimal pressure or binds unevenly, putting unnecessary leverage on your cabinet doors. Follow this systematic process to ensure a secure, flush fit.

Step 1: Measuring and Alignment Begin by closing the drawer completely to assess how the drawer front sits against the cabinet frame. You must determine the optimal placement where both the lock body (the latching mechanism) and the catch (the piece that secures the latch) can meet without obstruction. Use your measuring tape to find a position that allows the drawer to close fully flush, avoiding any gap that might let a toddler’s fingers get pinched. Hold the lock pieces in place without removing the adhesive backing to test the clearance. Once you find the perfect alignment, use a pencil to lightly mark the outer corners of both the lock and the catch on the cabinet surface. These pencil marks will serve as your exact placement guides, preventing the need to reposition the adhesive once it touches the cabinet.
Step 2: Deep Cleaning the Surface Kitchen and bathroom cabinets naturally accumulate an invisible layer of airborne grease, cooking oils, dust, and moisture. This residue acts as a barrier, preventing the adhesive from making direct contact with the cabinet material. To eliminate this layer, pour a small amount of 70% isopropyl alcohol onto a clean microfiber cloth and thoroughly wipe the marked installation zones. Avoid using standard household glass cleaners, multi-surface sprays, or dish soaps; these products often leave behind chemical surfactants or silicone residues that actively repel adhesives. After wiping with rubbing alcohol, allow the surface to air-dry completely for at least five minutes. Ensure the wood pores or laminate surface are entirely free of moisture, as trapped humidity will compromise the polymer chains in the adhesive.
Step 3: Applying the Adhesive Once the surface is completely dry, carefully peel the protective backing off the adhesive pad on the first lock component. Avoid touching the exposed adhesive with your fingers, as skin oils will immediately degrade its bonding capacity. Align the component precisely with your pencil marks. Once the lock is positioned, press it firmly against the cabinet surface. Apply deep, even pressure across the entire surface of the lock body using the palm of your hand or your thumbs for 30 to 60 seconds, or as specified by the manufacturer. Pressure-sensitive adhesives rely on this physical force to flow into the microscopic valleys of the cabinet surface, creating a mechanical grip. Repeat this exact process for the corresponding catch component.
Step 4: The Curing Period After both components are firmly pressed into place, you must leave the lock completely undisturbed to cure. Do not attempt to close the latch, test the strength, or use the drawer during this timeframe. Most high-quality adhesives require a minimum of 24 hours to reach 50% to 70% of their ultimate bond strength, and a full 48 hours to cure completely. In highly humid environments like Singapore, extending this waiting period to a full 48 hours is highly recommended, as moisture in the air can slow down the polymerization process. Testing the lock prematurely or allowing a child to pull on the drawer before the curing period ends is the single most common cause of adhesive failure. This premature stress forces the adhesive to peel away partially, requiring you to scrape off the ruined pad and start over, which increases the risk of surface damage during reapplication.
How to Remove Drawer Locks Without Peeling Paint or Wood
When your child reaches an age where they understand household safety rules and no longer attempt to open restricted drawers, it is time to remove the safety locks. Attempting to pry or pull an adhesive lock straight off the cabinet is a recipe for disaster. The tension can easily delaminate wood veneer, pull chunks of paint from drywall or timber, or even cause micro-fractures in glass panels. Safe removal relies on breaking down the adhesive’s physical properties through controlled heat and shear force.
Heat Application To safely soften the adhesive bond, plug in a household hairdryer and set it to a low or medium heat setting. Hold the hairdryer approximately 10 to 15 centimeters away from the plastic lock body. Move the hairdryer continuously in a slow, circular motion to distribute the heat evenly. Never hold the dryer in one spot for more than a few seconds, as excessive heat can warp thermofoil finishes, melt plastic lock components, or cause the protective lacquer on solid wood to blister or discolor. After two to three minutes of continuous heating, the foam adhesive layer beneath the plastic lock should become soft, pliable, and slightly gummy.
Slicing the Adhesive While the adhesive is still warm, take a length of unflavored dental floss or a strong piece of nylon thread. Wrap the ends around your fingers to create a taut line, and slip the floss behind the plastic lock body, resting it against the cabinet surface. Using a gentle, back-and-forth sawing motion, pull the floss downward through the softened foam adhesive layer. This action slices the adhesive pad in half, separating the plastic lock from the cabinet without applying outward tension to the cabinet finish. If you do not have dental floss, a flexible plastic scraper or an old credit card can be used to gently slide behind the lock, but exercise extreme caution to avoid scratching the surface. Never use metal putty knives, butter knives, or screwdrivers, as these will gouge solid wood and chip laminates.
Residue Cleanup Once the plastic lock body is removed, a sticky layer of foam residue will likely remain on your cabinet. To clean this up safely, apply a small amount of a mild, surface-safe solvent, such as standard cooking oil (olive or canola oil) or a dedicated citrus-based adhesive remover, to a clean cloth. Gently rub the residue in circular motions to break down the remaining glue.
Before applying any solvent to your cabinet, you must perform a spot test: find a hidden area of the cabinet, such as the inside of the drawer front or the lower edge near the floor, and apply a small drop of the solvent. Wait five minutes, then wipe it off and inspect the area under direct light. If the finish becomes dull, tacky, soft, or discolored, stop immediately and do not use that solvent on the visible areas. If you are unsure of your cabinet’s finish, or if a solvent begins to dull the surface during a spot test, stop immediately and consult a professional carpenter or furniture restoration specialist. Once the residue is gone, wipe the area with a damp cloth and mild dish soap to remove any oily film, then dry the surface thoroughly.
Testing the Lock and Maintaining Adhesive Strength
Once the curing period has fully elapsed, you can safely verify that your child safety drawer lock is ready for daily use. To test the installation, gently pull the drawer front with gradual, increasing pressure. Do not yank or jerk the drawer violently, as this does not mimic the typical behavior of a toddler and can put unnecessary stress on both the cabinet glides and the lock itself. The lock should hold firmly, preventing the drawer from opening wide enough for a child to reach inside or trap their fingers.
Adhesive bonds are not permanent fixtures and can degrade over time, particularly in high-traffic or high-humidity zones like kitchens and bathrooms. Establish a routine inspection schedule every three to four months. Inspect each lock for lifting edges, cracking plastic, or a spongy feel when pulled. If you notice any play in the lock body or if the adhesive pad begins to separate from the cabinet, plan to replace the lock immediately.
Always remember that child safety drawer locks are designed as physical deterrents and are not a substitute for active adult supervision. Curious toddlers are highly creative and may eventually figure out how to manipulate latches or apply enough body weight to break them. For absolute peace of mind, always store highly hazardous items—such as prescription medications, liquid detergents, sharp knives, and heavy cookware—on high, inaccessible shelves that are completely out of your child’s reach.
Frequently Asked Questions (FAQ)
Can I use adhesive drawer locks on glass cabinets?
Yes, you can use adhesive drawer locks on glass cabinets, provided you select locks that feature adhesives specifically rated as safe for non-porous glass surfaces. Meticulous surface preparation is even more critical here; any microscopic pocket of air or grease trapped behind the adhesive will be highly visible through the glass and will weaken the bond. When it comes time to remove the lock, proceed with extreme caution. Glass is highly sensitive to thermal shock and physical stress. Keep the hairdryer on its lowest heat setting and move it constantly to prevent localized overheating, which can cause the glass panel to crack or shatter. Avoid applying any prying pressure; rely entirely on the dental floss sawing method to separate the lock from the glass surface.
What should I do if the adhesive fails after a few months?
If an adhesive lock fails prematurely, do not simply try to push it back into place or apply fresh glue over the old residue. First, safely remove the failed lock and clean the cabinet surface completely using the heat and dental floss method, followed by a surface-safe solvent to remove all old adhesive. Once the surface is entirely clean and dry, you have two options. If the plastic lock body is undamaged, you can reapply it using a fresh piece of heavy-duty, surface-safe double-sided mounting tape (such as those rated for cabinet use). Alternatively, replace the entire lock unit with a new one. Ensure you repeat the full deep-cleaning, alignment, and 24-to-48-hour curing process to guarantee a long-lasting bond.

Community discussion
Share your experience or ask a question. Comments are reviewed before publication.