
Installing child safety door locks is a practical way to keep curious toddlers out of restricted areas like kitchens, bathrooms, or home offices. However, the prospect of drilling holes into solid wood or applying permanent adhesives to delicate finishes can be daunting. For renters concerned about security deposits, or homeowners wishing to preserve the pristine condition of their doors, finding a damage-free solution is a priority. By selecting the right reversible lock type, preparing the surface meticulously, and following proper installation and removal techniques, you can secure your home effectively without leaving permanent marks, scratches, or stubborn adhesive residue.
Choosing a Reversible Child Safety Door Lock for Your Door Type
Selecting the appropriate child safety door lock requires matching the lock mechanism to your specific door style and material. Standard options generally fall into two categories: adhesive-based latch locks and multi-purpose strap locks. Adhesive latch locks are ideal for flat, flush doors where the lock and the frame sit on the same plane. Multi-purpose strap locks, which feature a flexible plastic or fabric band connecting two adhesive bases, are highly versatile and work well around corners, on double doors, or across uneven surfaces.
Before purchasing any lock, check the manufacturer’s packaging labels to verify compatibility with your door’s surface finish. Painted wood, varnished timber, glass, metal, and textured laminates all react differently to adhesives. For instance, some heavy-duty adhesives can bond so strongly to painted surfaces that they may pull the paint off during removal, while others might not adhere well to highly textured wood grain or matte finishes.
Products mentioned in this guide
![[SG]✅Door Lever Safety Lock For Kids/ Toddler /Pets#Cats#Dogs Proof Door Opening Safety Lock](https://img.lazcdn.com/g/ff/kf/S22b790b8fe98485cbc3c42fe486cdb3eG.jpg_400x400q80.jpg_.webp)
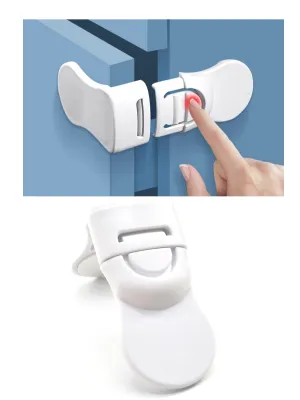
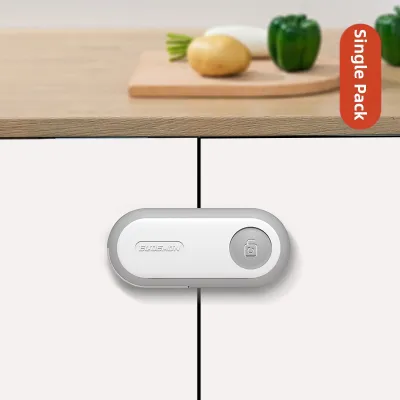
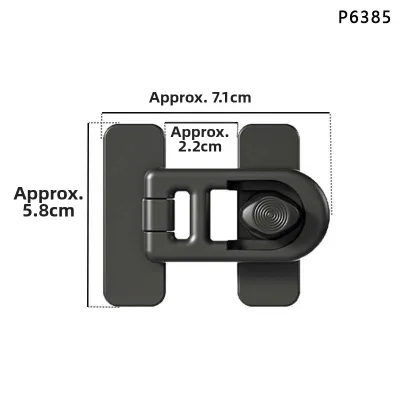
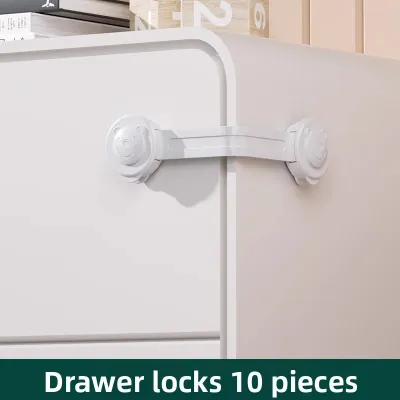
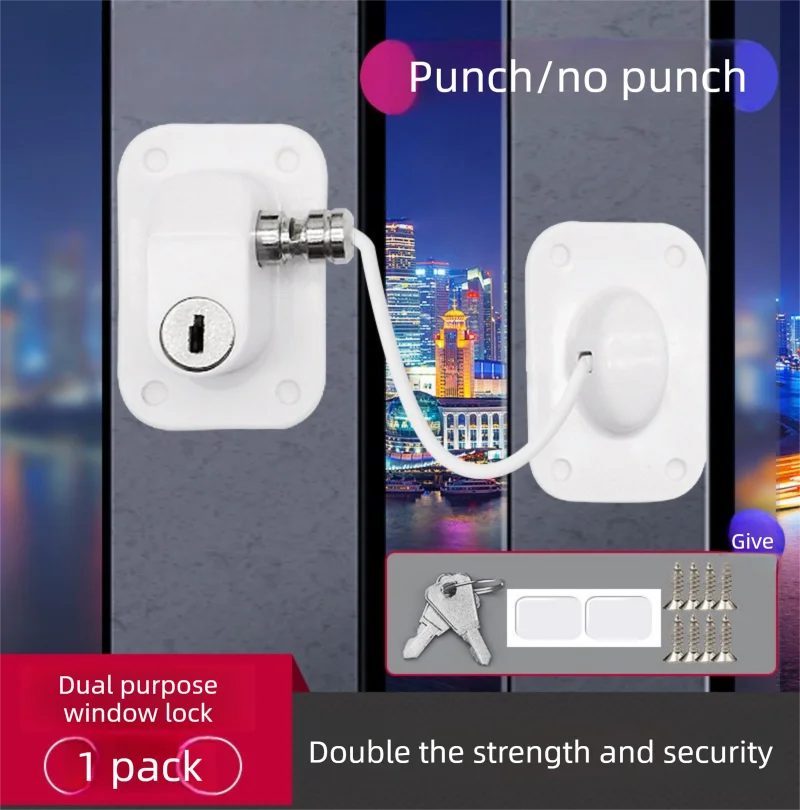
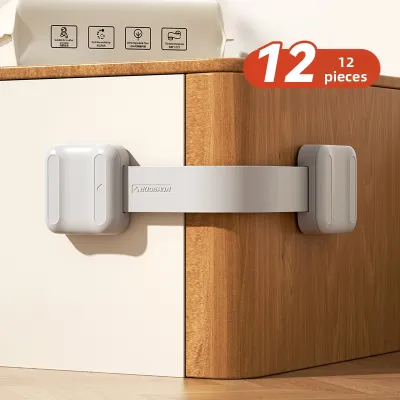
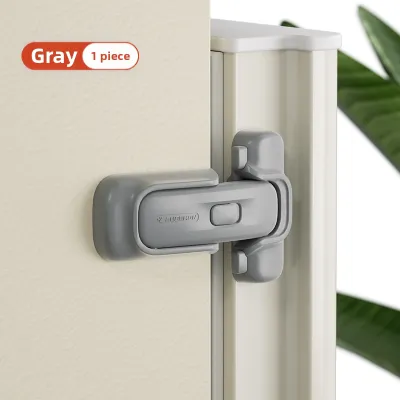
Prices are valid at publication and may change. Please refer to the product page for the latest price.
If you are renting your home, review your tenancy agreement or consult your landlord before installing any adhesive products. While these locks are designed to be reversible, some agreements have strict clauses regarding any modifications to fixtures and fittings. Confirming the guidelines beforehand helps ensure you remain compliant while keeping your child safe.
Preparing Your Tools and Door Surface
A successful, long-lasting installation depends heavily on how well you prepare the door surface before applying any adhesive. You do not need heavy machinery or specialized hardware. Gather a few basic items: isopropyl alcohol (or a mild dish soap solution), clean lint-free microfibre cloths, a measuring tape, and a pencil for temporary marking.

The primary cause of adhesive failure is the presence of invisible oils, dust, and moisture on the door surface. To ensure a strong bond, thoroughly clean the exact area where the lock will be mounted. Wipe the surface with a lint-free cloth dampened with isopropyl alcohol to degrease the area. If you are working with a delicate finish that might be sensitive to alcohol, use a mild soap and water solution instead, ensuring you rinse any soapy residue away with a damp cloth.
Allow the surface to dry completely before proceeding. Even a tiny amount of residual moisture can trap air bubbles under the adhesive pad, significantly reducing its holding power. Avoid using abrasive scrubbers, steel wool, or harsh chemical solvents like acetone or paint thinner during this preparation phase. These aggressive cleaning agents can permanently strip the door’s protective varnish, dull the paint, or degrade plastic laminates before you even begin the installation.
Installing Adhesive-Based Door Locks Step-by-Step
Once the door surface is clean and dry, you can begin the physical installation of your adhesive-based door lock. Start by closing the door completely. Hold the lock assembly against the door and the door frame to find the optimal position. The lock must be placed high enough to remain completely out of reach of your child, yet low enough for adults to operate comfortably. Use your measuring tape to ensure the lock is level, and use a pencil to lightly mark the outer edges of both the lock body and the catch mechanism on the frame.
Double-check the alignment of your pencil marks. The lock and the catch must align accurately so that the latch engages smoothly without friction. If the alignment is off by even a few millimetres, the lock may fail to secure the door, or it may put constant, uneven tension on the adhesive pads, causing them to peel prematurely.
When you are satisfied with the alignment, carefully peel the protective backing off the adhesive pad on the main lock body. Avoid touching the exposed adhesive with your fingers, as skin oils will weaken the bond. Align the lock body with your pencil marks and press it firmly against the door surface. Apply steady, even pressure across the entire surface of the lock for at least 30 seconds. Repeat this exact process for the catch mechanism on the door frame.
After pressing the components into place, resist the temptation to test the lock immediately. Almost all pressure-sensitive adhesives require a specific curing period to reach their full bonding strength. Refer to the manufacturer’s instructions for the exact duration, which is typically 24 hours. Keep the lock disengaged during this curing window to prevent any tension or pulling forces from disrupting the chemical bond.
Installing Multi-Purpose Strap Locks on Door Handles
Multi-purpose strap locks are an excellent alternative for securing lever-style door handles or double doors where standard latch locks cannot bridge the gap. These locks consist of two adhesive anchor points connected by a flexible, adjustable strap. To begin, measure the distance between the two points where the anchors will sit. If you are securing a lever handle, ensure the strap is adjusted to a length that prevents the handle from being pulled down far enough to unlatch the door, while still allowing enough slack for adult operation when unlocked.
Because door handles and the areas immediately surrounding them are touched frequently throughout the day, they accumulate a significant buildup of natural skin oils, lotions, and dirt. Spend extra time cleaning these specific zones with isopropyl alcohol or mild soap. Ensure the entire path of the strap and the mounting areas for both anchor bases are completely free of grime.
Adjust the strap to the correct length according to the manufacturer’s instructions before peeling the adhesive backing. Once adjusted, peel the backing from the first anchor base and press it firmly onto the door or frame, holding it for 30 seconds. Thread the strap through the locking mechanism, then repeat the peeling and pressing process for the second anchor base. Ensure the strap sits flat and is not twisted, as twists can cause uneven wear and tear over time. Just like standard latch locks, allow the adhesive bases to cure fully for the recommended time before subjecting them to any pulling force.
Testing the Lock for Child Safety and Adult Access
After the adhesive has fully cured, you must verify that the installation is secure and functional. Begin by simulating the physical force a toddler might apply. Gently but firmly pull or push on the door to ensure the lock holds securely and the adhesive bases do not lift or shift. Do not yank the door with excessive adult force, as these locks are designed to resist the physical capabilities of young children, not full-grown adults.
Next, practice operating the release mechanism yourself. A child safety lock must be reliable, but it must also allow adults to open the door quickly and smoothly, especially in an emergency. Ensure you can operate the latch or strap release with one hand, as caregivers often have their hands full. If the mechanism feels sticky or difficult to release, check for any physical obstructions or alignment issues.
Child safety locks are subject to daily wear and environmental stress. Establish a regular schedule—such as once a month—to perform a quick visual inspection of all safety locks in your home. Look closely for any signs of peeling edges, cracking plastic, or adhesive degradation. If you notice the edges of an adhesive pad starting to lift, or if a strap shows signs of fraying, replace the lock immediately to maintain a safe environment.
Removing the Lock Safely Without Damaging the Door
When your child outgrows the need for safety locks, or when it is time to move out of a rental property, removing the locks safely is just as important as installing them correctly. To detach an adhesive lock without peeling paint or damaging the wood finish, use a household hairdryer. Set the hairdryer to a warm, medium heat setting and direct the airflow at the adhesive base for one to two minutes. The heat will gently soften the adhesive, making it pliable.
Once the adhesive is warm, slowly and gently peel the lock base away from the door surface. You can use a piece of dental floss or a flexible plastic card (like an old gift card) slid behind the base to help slice through the softened adhesive. Never use metal scrapers, screwdrivers, or razor blades, as these will easily gouge wood, scratch paint, or chip glass.
If any sticky residue remains on the door, do not scrub it aggressively. Instead, apply a small amount of cooking oil, mineral oil, or a mild commercial adhesive remover to a clean cloth and gently rub the residue in a circular motion. Always test any oil or commercial remover on an inconspicuous area of the door first—such as the bottom edge or inside the frame—to ensure it does not discolor or damage the finish. Once the residue is gone, wipe the area clean with a damp cloth and mild soap to remove any oily film. If the door finish appears exceptionally fragile or starts to peel during the heating process, stop immediately and consult a professional or your landlord to avoid further damage.
Frequently Asked Questions (FAQ)
Can adhesive locks be used on textured or uneven door surfaces?
Adhesive-based child safety locks are generally designed for flat, smooth surfaces where the entire adhesive pad can make direct contact with the door. On textured wood, heavily grained surfaces, or uneven panels, the adhesive cannot form a complete bond, which significantly reduces its holding power and makes it easy for a child to pull off. If your doors are textured, check the manufacturer’s packaging labels for specific warnings regarding textured surfaces. You may need to look for alternative mounting solutions, such as strap locks that can be anchored to nearby smooth surfaces, or tension-based door guards that do not rely on adhesives.
How does high humidity affect the adhesive on safety locks?
Prolonged exposure to high humidity or direct moisture can gradually weaken the chemical bonds of pressure-sensitive adhesives over time. In humid environments, such as bathrooms or homes in tropical climates like Singapore, the moisture in the air can seep under the edges of the adhesive pads, causing them to peel or slide. To mitigate this, ensure the door surface is absolutely dry during the initial installation, and consider using a hairdryer on a cool setting to ensure no micro-condensation remains on the surface. Monitor the locks in high-humidity areas more frequently for any signs of lifting.
Is it safe to install safety locks on hollow core doors?
Yes, adhesive-based safety locks are generally safe and highly suitable for hollow core doors because they do not require any drilling or screws, which can compromise the thin outer veneer of a hollow door. However, because hollow core doors often feature thin layers of paint or lightweight wood veneers, you must ensure the surface finish is in good, stable condition before installation. If the paint is already peeling or the veneer is cracked, the adhesive will bond to the loose paint rather than the door itself, which can cause the lock to fail under tension or pull the finish off entirely when removed.

Community discussion
Share your experience or ask a question. Comments are reviewed before publication.