
Baby-proofing your home is a major milestone as your little one transitions from crawling to pulling themselves up, which typically occurs around 6 to 9 months of age. Securing your storage spaces with a reliable child lock is one of the most effective ways to prevent access to sharp objects, cleaning chemicals, and heavy items. In Singapore’s typical high-density housing, such as HDB flats and condominiums, built-in carpentry is standard in kitchens, living rooms, and bedrooms. These cabinets present unique configurations, from standard drawers to sliding wardrobe doors, each requiring a tailored approach to baby-proofing.
Installing these safety devices correctly ensures they withstand a curious toddler’s persistent pulling while preserving your home’s carpentry. By choosing the right locking mechanism and preparing your surfaces properly, you can create a secure environment without causing permanent damage to your cabinets.
Preparation and Tools for Cabinet Lock Installation
Before purchasing or installing any child lock, gathering the right tools is essential for a seamless process. You will generally need a measuring tape, a pencil for marking alignment, high-quality rubbing alcohol (isopropyl alcohol), a clean microfiber cloth, and a screwdriver if you opt for hardware-mounted locks. Having these items on hand prevents interruptions and ensures precise placement.
Products mentioned in this guide
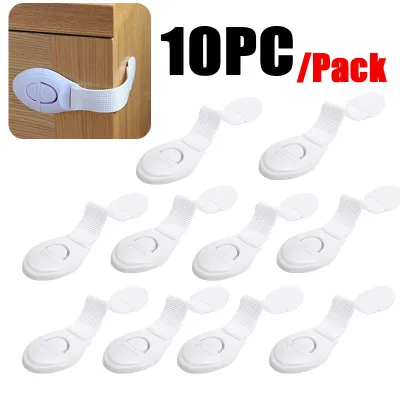
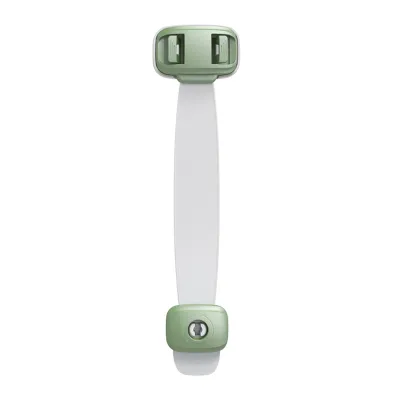
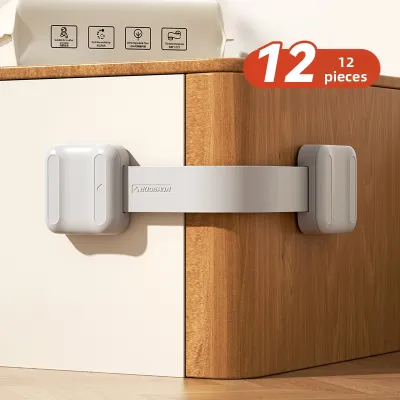
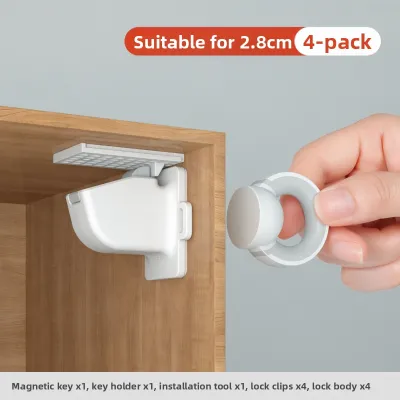
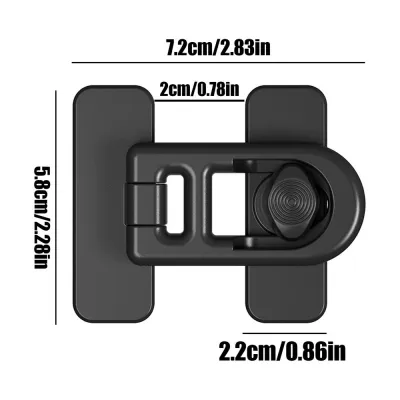
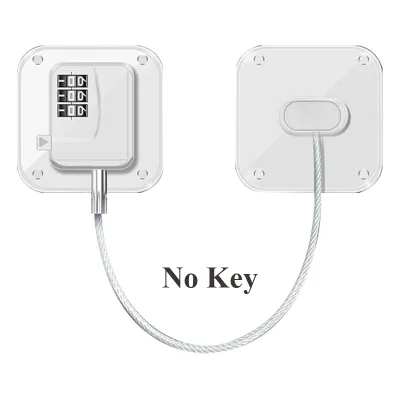
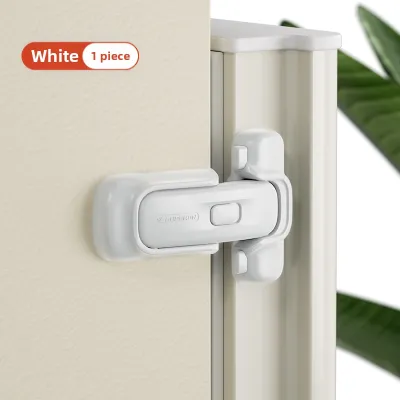
Prices are valid at publication and may change. Please refer to the product page for the latest price.
Surface preparation is the single most critical factor for adhesive-based locks. Singapore’s tropical climate brings high humidity, which can easily compromise adhesive backing if the surface is oily, dusty, or damp. Wipe the target application area thoroughly with rubbing alcohol to strip away grease, cooking residue, and dust. Avoid generic household spray cleaners, as they often leave behind a thin, slick residue that prevents the adhesive from bonding securely. Allow the cleaned area to dry completely for several minutes before proceeding.
You must also assess your cabinet’s surface material and finish before applying any strong adhesive. Adhesive locks can bond so intensely that they may peel delicate wood veneers, lift cheap laminate, or pull paint off unvarnished or poorly primed wood. Always consult the lock manufacturer’s instructions for surface compatibility. If you are unsure about how your cabinet finish will react, perform a spot test on a small, hidden interior section of the cabinet first.
Step-by-Step Installation of a Child Lock on Drawers
Drawers are highly attractive to toddlers because they function like steps and can easily pull out to spill their contents. Securing standard pull-out drawers typically involves choosing between external adhesive strap locks or internal drawer latches. External strap locks are highly visible but incredibly versatile, whereas internal latches remain hidden from view, preserving your kitchen’s aesthetic.

To install an external adhesive strap lock, follow these steps:
- Measure and mark: Close the drawer completely. Use your measuring tape and pencil to mark where the two adhesive pads will sit. One pad must adhere to the stationary cabinet frame, while the other attaches to the moving drawer front.
- Check the tension: Ensure the flexible strap is taut enough to prevent the drawer from opening more than a tiny crack. It should allow no more than a few millimeters of movement—just enough to confirm it is locked, but not enough for tiny fingers to slip inside and get pinched.
- Apply pressure: Peel the protective backing off the first adhesive pad, align it with your pencil mark, and press it firmly against the cabinet frame. Repeat the process for the second pad on the drawer front. Press and hold each pad with firm, even pressure for at least 30 seconds to activate the pressure-sensitive adhesive.
To install an internal drawer latch, follow these steps:
- Position the catch: The catch is the stationary piece that mounts to the inside underside of the cabinet frame or countertop overhang. Hold it in place and mark the screw holes or adhesive placement.
- Align the hook: The hook mechanism attaches to the inside top edge of the drawer front. When the drawer is closed, the hook must slide smoothly over the catch and click into place. Use a pencil to mark the alignment carefully, as even a minor misalignment will prevent the drawer from latching or opening properly.
- Secure the hardware: If you are using hardware-mounted latches, pre-drill small pilot holes to prevent the wood from splitting, then secure the components with the provided screws. For adhesive versions, press the parts firmly onto the cleaned surfaces.
- Allow to cure: Do not test or pull on the drawer immediately. Adhesive-backed locks require a curing period—often up to 24 or 48 hours—to reach full bonding strength. Pulling on them too early will cause premature failure, especially in humid environments.
Step-by-Step Installation for Hinged Cabinets
Hinged cabinet doors, common in under-sink areas and pantries, present a major hazard because children can easily trap their fingers in the closing seams. Securing these doors requires choosing between external adhesive latches or internal magnetic child lock systems. External latches are simple to operate and install, while magnetic systems offer a completely invisible security barrier that requires a special magnetic key to open.
To install external adhesive latches, follow these steps:
- Determine placement: For double-door cabinets, the latch must bridge the gap where the two doors meet in the middle. For single-door cabinets, the latch should span from the door edge to the side panel of the cabinet frame.
- Clear the hinges: Position the lock away from the hinge side to ensure it does not interfere with the natural swing of the door. Make sure the door can close completely flat before sticking the lock down.
- Mount the latch: Peel the backing tape and press the lock parts firmly onto the marked spots. Apply steady pressure across the entire surface of the adhesive pad to eliminate air bubbles and ensure maximum contact.
To install internal magnetic locks, follow these steps:
- Install the template: Most high-quality magnetic lock kits include an installation template or cradle. This plastic guide aligns the lock body on the inside of the door with the catch on the inside of the cabinet frame automatically.
- Mount the catch: Secure the catch to the underside of the cabinet shelf or the upper frame. Ensure it is set back far enough to allow the door to close fully.
- Mount the lock body: Place the lock body into the installation cradle, peel the adhesive backing, and close the cabinet door firmly. The door will pick up the adhesive lock body in the exact position needed to align with the catch.
- Secure and set: Open the door, remove the installation template, and press the lock body firmly against the door surface for 30 seconds. Keep the lock in the "unlocked" or "off" position (most magnetic locks have a manual disengagement switch) for the first 24 hours to let the adhesive cure completely without any pulling stress.
Step-by-Step Installation for Sliding Cabinets
Sliding doors, often found on wardrobes, TV consoles, or kitchen bypass cabinets, present a distinct baby-proofing challenge. Standard strap locks are completely ineffective here because sliding doors move laterally, meaning there is no stationary front frame to anchor a traditional lock. Instead, you must use specialized sliding door track locks or flat, overlapping adhesive locks.
To install sliding door track locks, follow these steps:
- Locate the track: Identify the metal or plastic track along which the door slides. These locks are typically mechanical clamps that tighten onto the track itself.
- Position the clamp: Slide the door closed, then place the track lock on the track directly behind the door's closed position. This block prevents the door from sliding open.
- Tighten securely: Turn the thumb screw or key to clamp the lock onto the track. Ensure it is tight enough that a child cannot slide the door past it, but avoid over-tightening, which can warp or scratch plastic or aluminum tracks.
To install adhesive sliding door locks (often called butterfly locks), follow these steps:
- Identify the overlap: Locate the narrow vertical space where the two sliding doors overlap when closed. The lock must be mounted on the inner door, just next to the outer door's edge.
- Check the clearance: When the lock is folded flat, the outer door must be able to slide over it smoothly without catching. If the clearance is too tight, an adhesive lock may scratch the wood or glass surface.
- Apply the lock: Clean the mounting area on the inner door. Peel the adhesive backing, press the lock flat against the surface, and hold firmly. When activated, the wings of the butterfly lock pop up, physically blocking the outer door from sliding open. To unlock, an adult simply presses the wings flat.
Testing, Maintenance, and Safe Removal of Child Locks
Once your child lock installation is complete and the adhesive has fully cured, you must verify its security. Test each lock by pulling on the drawer or cabinet door with moderate force, simulating the persistent tugging of a determined toddler. Inspect the locked door for any gaps; if a gap wider than a few millimeters exists, a child could still pinch their fingers or drop small objects inside. Adjust the alignment or tension immediately if you detect any movement.
Maintaining your safety locks is an ongoing responsibility. Regularly inspect the adhesive pads and mechanical components for signs of wear, loosening, or stickiness. Singapore’s high indoor humidity, especially in kitchens and bathrooms, can accelerate the degradation of adhesive tapes over time. If a lock feels loose, wobbles, or fails to latch smoothly, replace the adhesive tape or the entire unit immediately. Remember that child locks are secondary safety aids and cannot replace active, vigilant adult supervision. Stop using any lock once your child is old enough to understand or bypass the mechanism, or if they grow strong enough to pull the lock off the cabinet.
When it is time to remove adhesive child locks—such as when moving out of a rental property or when your child outgrows the need—doing so carefully prevents damage to your carpentry:
- Soften the adhesive: Use a hairdryer on a low or medium heat setting to gently warm the adhesive pad. This softens the glue and makes it pliable. Avoid high heat, which can warp plastic locks or damage delicate wood finishes.
- Slice through the bond: Take a piece of dental floss or thin fishing line, slide it behind the plastic mount, and use a sawing motion to slice through the softened foam tape. This separates the lock from the cabinet without pulling on the wood grain.
- Clean the residue: Gently rub away any remaining adhesive residue using your fingers, a microfiber cloth, or a mild household oil like cooking oil. For stubborn spots, a gentle citrus-based commercial adhesive remover can be used, but always test it on a hidden area first. Never use sharp metal scrapers, screwdrivers, or harsh chemical solvents, as these will gouge, scratch, or discolor your cabinets.
Frequently Asked Questions (FAQ)
Can I install child locks on glass cabinets?
Installing a child lock on a glass cabinet requires extra caution. Strong adhesives can bond so tightly to glass that attempting to remove them later can cause stress fractures or even shatter the glass panel. Additionally, adhesive residue on glass is highly visible and difficult to clean without scratching the surface. If you must secure a glass cabinet, look for specialized glass-safe locks, tension-based external straps that wrap around the handles, or consult the manufacturer’s guidelines for safe baby-proofing alternatives.
How long should I wait before using the child locks after installation?
For adhesive-based child locks, you should wait at least 24 to 48 hours before allowing any tension or testing on the lock. This curing period is essential for the pressure-sensitive adhesive to form a permanent, secure chemical bond with the cabinet surface. In humid climates like Singapore, the moisture in the air can slow down this curing process, making it even more critical to wait the full recommended time before testing the lock’s strength.
Are magnetic locks better than adhesive strap locks?
Neither lock is universally superior, as the best choice depends entirely on your cabinets and personal preferences. Magnetic locks are completely hidden inside the cabinet, making them ideal for maintaining a clean, modern aesthetic, but they require a physical magnetic key to open, which can be inconvenient if misplaced. Adhesive strap locks are highly visible and less aesthetically pleasing, but they are incredibly easy to install, highly versatile across different furniture types, and can be quickly opened by adults pressing a button without needing a separate key. While strap locks are highly affordable (often under S$10 for a multi-pack), magnetic lock kits typically range from S$15 to S$40 depending on the pack size.

Community discussion
Share your experience or ask a question. Comments are reviewed before publication.