
Securing your home for a curious toddler involves addressing one of the most common household hazards: accessible cabinets. Installing cabinet child locks effectively requires matching the specific lock mechanism to your cabinet’s material, whether it is wood, glass, or metal. By preparing the surfaces correctly, choosing the right mounting method, and allowing adhesives to cure fully, you can create a reliable barrier that keeps curious hands away from cleaning supplies, sharp objects, and fragile items. While these safety devices are highly effective tools for childproofing, they are designed to assist caregivers and should never replace active adult supervision.
Before purchasing any locking system, verify the age and development stage of your child against the manufacturer’s specifications. Different lock designs offer varying levels of resistance, and a lock that deters a young infant might be easily bypassed by an older toddler. Always check the product packaging for specific weight limits, size ranges, and installation warnings to ensure the lock is suitable for your household’s needs.
Preparing Your Cabinets and Gathering Tools
Before beginning the installation process, evaluate the condition of your cabinet surfaces. Kitchen and bathroom cabinets are prone to accumulating a thin layer of grease, dust, cooking oils, and moisture over time. This invisible barrier can severely compromise the bonding strength of adhesive-mounted locks, leading to premature failure when a child pulls on the door. In humid tropical climates, such as in Singapore, moisture on cabinet surfaces can also interfere with the chemical curing process of double-sided tapes.
Products mentioned in this guide
![[SG Local Stock] Baby Safety Lock Childrens Anti-pinch Safety Lock Catch Anti-collision Premium Safety Locks Self-adhesive Baby Safety Buckle For Cabinet Drawer Fridge Door Wardrobe Children Day Gifts](https://img.lazcdn.com/g/p/638abdf5a97199a85681991ebc624026.jpg_400x400q80.jpg_.webp)
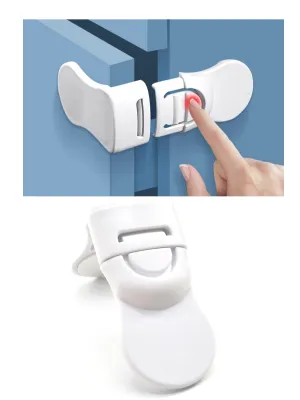
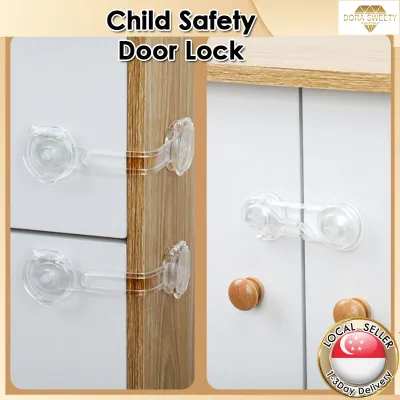
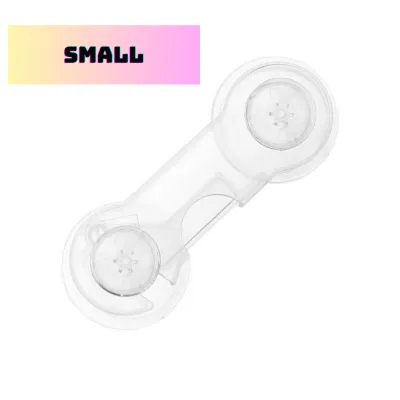
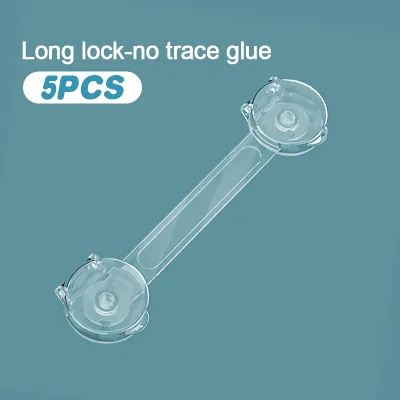
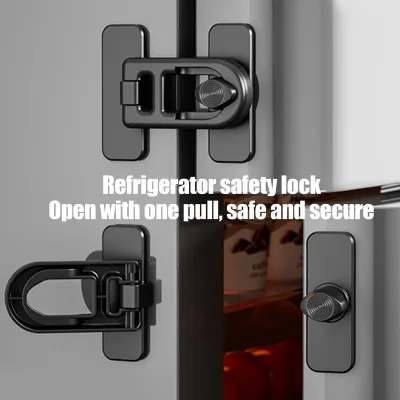
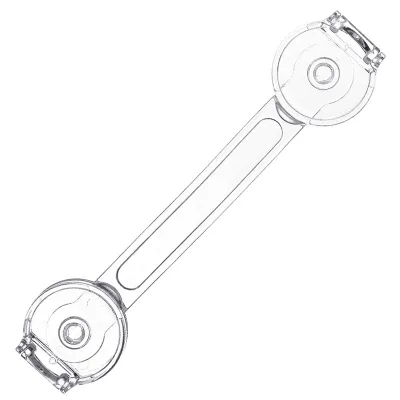
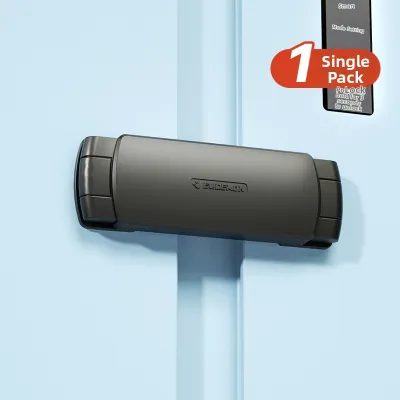
Prices are valid at publication and may change. Please refer to the product page for the latest price.
Gather all the necessary tools before you start to ensure a smooth installation process. For adhesive locks, you will generally need a clean microfiber cloth, a mild cleaning agent or rubbing alcohol, and a pencil for marking. If you are installing hardware-mounted or magnetic locks, you will also need a measuring tape, a hand screwdriver, a power drill with small drill bits, and painter’s tape. Always verify that your cleaning agents are safe for your specific cabinet finish to avoid stripping paint or varnish.
Before unpacking your locks, thoroughly read the manufacturer’s instruction manual. Every brand has unique specifications regarding alignment, clearance, and mounting depth. Checking these details beforehand prevents alignment errors that could render the lock useless or damage your cabinetry. Verify that the lock model is fully compatible with your cabinet style, whether you have frameless cabinets, face-frame cabinets, or inset doors.
Step-by-Step Installation for Adhesive Child Locks
Adhesive child locks, such as strap locks or sliding latch locks, are popular because they do not require drilling into your furniture. To begin, perform a dry fit by holding the lock against the cabinet door and frame without removing the adhesive backing. Position the lock so that it sits flat and allows the door to close completely without putting tension on the strap. Mark the exact boundaries of the adhesive pads lightly with a pencil to guide your final placement.

Once you have marked the position, clean the target areas thoroughly with rubbing alcohol or a mild soap solution. Allow the surface to dry completely, as even a tiny amount of residual moisture will prevent the adhesive from bonding properly. Peel the protective backing off one of the adhesive pads, taking care not to touch the sticky surface with your fingers, as skin oils can degrade the adhesive quality.
Align the pad precisely with your pencil marks and press it firmly onto the cabinet surface. Apply continuous, even pressure across the entire surface of the pad for at least thirty seconds. This physical pressure activates the pressure-sensitive adhesive, forcing it into the microscopic pores of the cabinet material. Repeat this process for the second pad on the adjacent door or cabinet frame, ensuring the connecting strap remains straight and level.
After application, respect the mandatory curing time specified by the manufacturer. Most high-quality adhesives require a full twenty-four hours to cure completely and reach their maximum holding strength. Do not pull on the lock, attempt to open the cabinet, or let children near the area during this critical waiting period. Subjecting the lock to tension before the adhesive has fully cured will cause the bond to fail prematurely.
Once the curing period has passed, perform an initial visual inspection of the installation. Check the edges of the adhesive pads to ensure they are completely flush with the cabinet surface, with no visible lifting, peeling, or air bubbles. Gently open the lock mechanism to verify that it operates smoothly and does not catch on the cabinet frame when released.
Adjusting Installation for Different Cabinet Materials
Different cabinet materials possess unique surface properties, porosities, and structural limits. To ensure a secure installation that does not damage your home, you must adapt your preparation and mounting techniques to match the specific material of your cabinets.
Wood and Laminate Surfaces
When working with wood and laminate, adhesive compatibility is a primary concern. Strong chemical adhesives can bond so intensely to certain finishes that they may strip paint, varnish, or delicate wood veneers when removed. If you have high-value solid wood cabinets or antique furniture, consider using internal hardware-mounted locks instead, as the small screw holes are hidden inside the cabinet frame and will not ruin the external aesthetic.
Proper surface preparation on wood requires removing any wax or polish buildup. Many household wood polishes leave a silicone or oil residue that prevents adhesives from sticking. Clean the area with a mild detergent solution to strip these oils, and ensure the wood is completely dry before applying the lock. For laminate surfaces, which are non-porous, ensure there are no loose edges or peeling laminate sheets that could pull away under the tension of a child’s tug.
Glass and Metal Surfaces
Glass cabinets require strict safety precautions. Never attempt to drill holes or use hardware-mounted locks on glass doors, as this will shatter the glass and pose a severe safety hazard. Rely exclusively on specialized, high-quality adhesive locks designed for smooth, non-porous surfaces. Ensure the glass is cleaned with a dedicated glass cleaner and is completely dry before application.
Metal cabinets, such as stainless steel or powder-coated utility units, present different challenges. Powder-coated surfaces can sometimes have a textured finish that reduces the contact area for adhesives. Clean metal surfaces thoroughly with rubbing alcohol to remove any manufacturing oils or fingerprints. If the metal has a highly textured or hammered finish, standard adhesives may not hold securely, and you may need to look for heavy-duty adhesive options specified for textured metals.
Be cautious with tension limits when childproofing glass doors. Avoid using high-tension strap locks that pull tightly across the glass panels. If a child pulls forcefully on a high-tension strap, the concentrated stress on the glass surface can cause it to crack or shatter. Opt for low-tension adhesive latches or magnetic locks that distribute force more evenly, and always maintain close supervision when children are near glass cabinetry.
Installing Magnetic and Hardware-Mounted Locks
Magnetic cabinet locks offer a hidden childproofing solution, using an internal latch that is released by an external magnetic key. Precise alignment is critical for these systems to function correctly. Most manufacturers provide an installation template or a plastic alignment cradle. Place the latch and the catch inside the cabinet using the template, and mark the screw holes or adhesive positions carefully. Test the magnetic key from the outside of the door before securing the parts permanently to ensure the magnet is strong enough to penetrate the thickness of your cabinet door.
If you are using hardware-mounted locks that require screws, drilling safety must be your top priority. Measure the thickness of your cabinet doors carefully to ensure your screws are short enough that they will not pierce through the front of the door. Wrap a piece of painter’s tape around your drill bit to act as a depth guide, preventing you from drilling too deep. Avoid drilling near hinges, internal shelving supports, or hidden electrical wiring, which is especially common in kitchen islands or cabinets housing built-in appliances.
Always be prepared to stop the installation if you encounter unexpected challenges. If the cabinet wood feels brittle, is exceptionally thin (less than twelve millimetres), or if you are dealing with tempered glass panels, do not force the installation. Forcing screws into fragile materials can split the wood or shatter the glass. In these situations, halt the process and consult a professional carpenter or a professional childproofing service to find a safe, alternative solution.
Testing, Maintenance, and Safe Removal
Once the installation is complete and the adhesive has fully cured, perform a verification test. Gently pull on the cabinet door with a force similar to what a determined toddler might exert. The lock should remain firmly in place, and the door should not open wide enough for a child to reach inside or pinch their fingers. If the lock flexes excessively, peels, or slips, remove it and re-evaluate your installation steps or surface preparation.
Child locks are subject to daily wear and tear and require routine maintenance checks. At least once a month, inspect the adhesive pads for signs of degradation, lifting, or drying out. For hardware-mounted locks, check that the screws remain tight and have not stripped the wood over time. Ensure that magnetic keys are stored safely on a high shelf or magnetic keeper out of your child’s reach, and verify that the internal spring mechanisms of the locks continue to latch automatically when the door is closed.
When your child outgrows the need for cabinet locks, safe removal is essential to preserve your furniture. To remove adhesive locks without damaging the cabinet finish, use a hair dryer on a low-to-medium heat setting to warm and soften the adhesive backing. Avoid overheating, which can blister paint or melt plastic components. Once the adhesive is warm, gently slide a piece of dental floss or fishing line behind the pad, using a sawing motion to cut through the softened bond.
Any remaining adhesive residue can be cleaned off using a mild adhesive remover, vegetable oil, or warm soapy water. Always test your chosen cleaning agent on an inconspicuous area of the cabinet first to ensure it does not discolor or damage the finish. Wipe the area clean with a soft cloth to restore your cabinets to their original condition.
Frequently Asked Questions (FAQ)
Will adhesive child locks damage my cabinet finish?
Adhesive child locks can occasionally damage cabinet finishes, depending on the strength of the adhesive, the quality of the cabinet surface, and the removal method used. Cheap paper laminates, distressed wood finishes, and poorly cured paint are highly susceptible to peeling during removal. To minimize the risk of damage, always perform a spot test with the adhesive on a hidden part of the cabinet before full installation. When removing the locks, never rip them off forcefully; instead, use gentle heat from a hair dryer and dental floss to break the adhesive bond safely.
How long should I wait before using the cabinet after installation?
You should generally wait twenty-four hours before using the cabinet or testing the lock after installation. This waiting period is essential for adhesive-mounted locks, as pressure-sensitive adhesives require time to flow into the microscopic texture of the surface and cure completely. Using the lock or pulling on the cabinet door immediately after installation will disrupt this bonding process, causing the adhesive to fail. Always check the specific curing instructions provided by your lock manufacturer, as some heavy-duty adhesives may require different curing windows.

Community discussion
Share your experience or ask a question. Comments are reviewed before publication.