
Securing your home is a vital step in creating a safe environment as your child begins to crawl and explore. Installing a baby lock on your cabinets and drawers prevents access to potentially hazardous household items, such as cleaning chemicals, sharp utensils, or heavy ceramic dishware. While the process might seem straightforward, different cabinet styles—including hinged doors, sliding doors, and drawers—require specific installation techniques and lock mechanisms to function reliably.
To achieve a secure fit that withstands curious hands, you must match the lock type to your specific cabinetry, prepare the mounting surfaces meticulously, and allow adhesives to cure fully. This comprehensive guide walks you through the step-by-step installation processes for various cabinet configurations, ensuring your childproofing efforts are both durable and effective.
Preparation and Safety Checks Before Installation
Before peeling any adhesive backing or drilling pilot holes, a thorough assessment of your cabinetry is essential to ensure the locks remain firmly in place. Start by evaluating the cabinet material and surface texture. Smooth, non-porous surfaces like laminate, varnished wood, and metal are highly receptive to adhesive mounts, whereas unfinished wood, heavily textured surfaces, or decorative molding may require hardware-mounted locks that utilize screws for a permanent hold.
Products mentioned in this guide
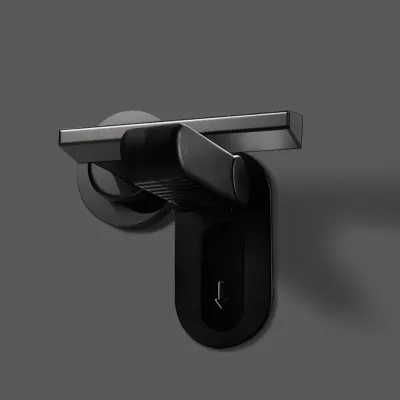
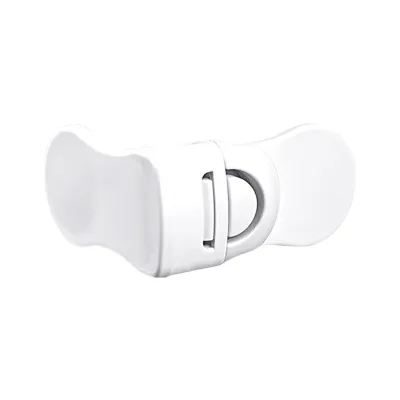
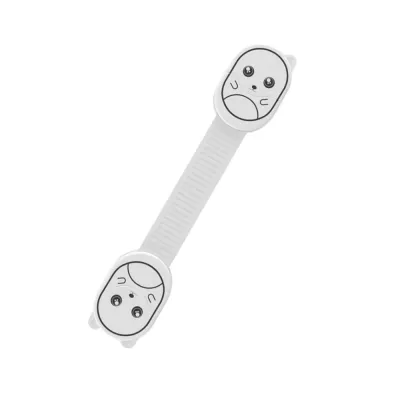
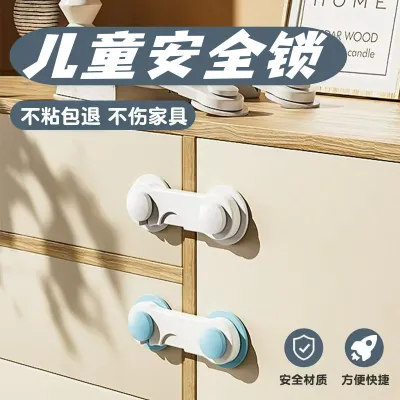
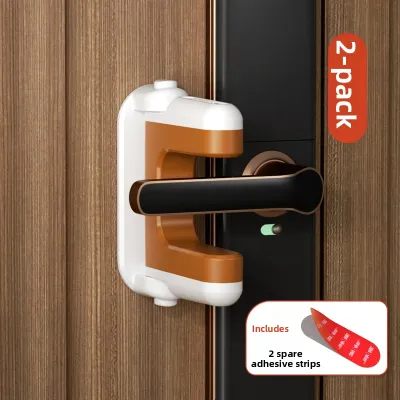
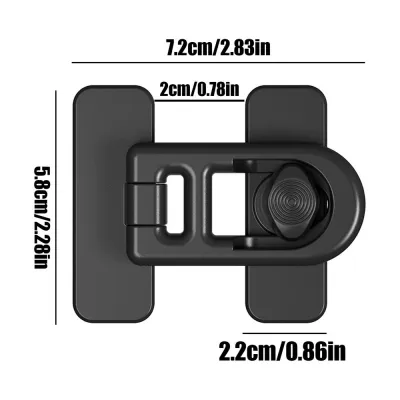
Prices are valid at publication and may change. Please refer to the product page for the latest price.
Gathering the correct tools and materials beforehand prevents interruptions and ensures a precise installation. For adhesive-based locks, you will need isopropyl alcohol and a clean microfiber cloth to degrease the mounting areas, a measuring tape to ensure symmetrical placement, and a pencil to mark your alignment. If you are installing hardware-mounted locks, prepare a hand drill with appropriately sized drill bits, a screwdriver, and safety glasses to protect your eyes during installation.
Always consult the manufacturer’s documentation for your specific baby lock kit to verify surface compatibility, weight limits, and age or developmental stage recommendations. Some locks are designed to resist the physical strength of toddlers up to a certain age, while others may be bypassed by older, more coordinated children. Keep in mind that childproofing products are designed to assist caregivers, but they do not replace active adult supervision.
Step-by-Step Installation for Hinged Doors
Hinged cabinet doors are among the most common fixtures in kitchens and bathrooms, and they can be secured using several lock types, including magnetic locks, latch locks, or outer strap locks. The first step in securing hinged doors is determining the optimal placement strategy. Position the locking mechanism high enough to be out of your child’s direct line of sight and reach, yet within an ergonomic range that allows adults to operate the lock comfortably during daily tasks.

For adhesive-mounted locks, surface preparation is the single most critical factor determining long-term success. Wipe the designated mounting areas on both the door and the cabinet frame with isopropyl alcohol to remove grease, dust, and cooking oils, then allow the surface to dry completely. In warm and humid environments, such as Singapore, ensuring the surface is entirely dry and free of moisture film is crucial for the adhesive to bond correctly.
Once the surface is dry, peel the protective backing from the adhesive pad, align the lock components precisely according to your pencil marks, and press them firmly onto the cabinet. Apply continuous, heavy pressure with your palm for at least thirty seconds to activate the pressure-sensitive adhesive. To ensure a maximum bond, allow the adhesive to cure without any weight or pulling force for the exact duration specified by the manufacturer, which is typically twenty-four hours.
After the curing period is complete, perform a thorough verification check to ensure the lock operates correctly. Gently open the door to confirm that the latch engages fully and prevents the door from opening wide enough for a child’s hand to slip through. Ensure that the lock does not put excessive stress on the door hinges when pulled, and verify that there are no gaps large enough to create a finger-pinching hazard.
Step-by-Step Installation for Sliding Doors
Sliding doors, often found on modern wardrobes, display cabinets, or kitchen pantries, present a unique childproofing challenge because they slide horizontally past one another rather than swinging outward. Securing these doors requires specialized sliding door locks, such as wing-style locks or adjustable strap locks, which must be positioned carefully to avoid interfering with the door’s normal track movement.
Begin by checking the track clearance of your sliding doors. The lock body must be thin enough to allow the doors to slide past each other when unlocked, without catching on the frame or scratching the wood or laminate finish. Slide the doors back and forth to identify the exact point where they overlap, and mark the area where the lock can be mounted without obstructing the sliding path.
Next, align the locking mechanism so that it securely catches the adjacent door or the outer frame when engaged. For wing-style locks, the flat base is adhered to the inner door; when the “wings” are popped up, they physically block the outer door from sliding past. Clean the mounting area thoroughly with isopropyl alcohol, dry it completely, apply the adhesive, and press firmly for thirty seconds, keeping the wings folded flat during the initial curing phase to prevent accidental tension.
Once the adhesive has cured fully, conduct an operational check to verify the lock’s effectiveness. Slide the door back and forth with the lock disengaged to confirm that it moves smoothly without rubbing against the lock body. Then, engage the lock and attempt to slide the door open; the mechanism should hold the door firmly in place, preventing any opening gap that could allow a child to access the cabinet contents or trap their fingers.
Step-by-Step Installation for Drawers
Drawers require careful childproofing because children often try to use open drawers as steps to climb onto countertops, creating a severe tip-over hazard. When selecting a lock type for drawers, consider the drawer’s design and handle configuration. U-shaped locks work exceptionally well for adjacent double drawers with handles, while flexible strap locks or internal magnetic locks are ideal for flat-front drawers or single drawer units.
For internal latch or magnetic locks, precise placement and alignment are critical to prevent the drawer from opening past a safe gap. Measure and mark the interior side of the drawer front and the corresponding underside of the cabinet frame or divider. The lock should be positioned so that when the drawer is pulled, it catches immediately, allowing a gap of no more than a few millimeters—just enough to operate the release mechanism but small enough to prevent a child’s fingers from getting pinched.
If you are using external strap locks, clean the side of the cabinet frame and the front of the drawer with isopropyl alcohol. Adhere one end of the strap to the stationary cabinet frame and the other end to the moving drawer front, ensuring the strap is pulled taut but not overly stretched. Press both adhesive pads firmly for thirty seconds and allow them to cure completely before testing.
To complete the installation, perform a closure testing sequence. Push the drawer completely closed to verify that the lock engages automatically or manually as designed by the manufacturer. Pull the drawer outward with moderate force to ensure the latch catches securely and does not slip or release under pressure, confirming that the drawer remains safely closed against curious toddlers.
Testing, Maintenance, and Safe Removal
Once your baby locks are installed and the adhesives have fully cured, you must verify their structural integrity through regular testing and maintenance. Perform an initial pull test by applying firm, adult-level pressure to the locked cabinet doors and drawers. This test simulates the realistic stress a determined toddler might apply and helps you identify any weak bonding points or alignment issues before your child interacts with the cabinets.
Over time, daily use can cause wear and tear on childproofing devices. Establish a routine inspection schedule to check for signs of adhesive peeling, plastic fatigue, hairline cracks, or loose mounting screws. In humid climates, adhesives can degrade more rapidly, so pay close attention to any sticky residue or lifting edges. If you notice any compromised components, stop using the lock immediately and replace it to maintain a safe environment.
When your child outgrows the need for cabinet locks, removing them safely without damaging your furniture is a priority. For adhesive-based locks, avoid prying them off forcefully, as this can strip paint, varnish, or laminate finishes. Instead, use a hairdryer on a low-heat setting to gently warm and soften the adhesive backing. Once warmed, slide a piece of dental floss or a plastic scraper underneath the lock to lift it away smoothly. Clean any remaining sticky residue with a mild adhesive remover or vegetable oil, checking a small, inconspicuous area first to ensure it does not discolor the cabinet finish.
Frequently Asked Questions (FAQ)
Can I install baby cabinet locks on glass surfaces?
Yes, you can install adhesive-based baby locks on glass surfaces, but you must exercise extreme caution. Never use hardware-mounted locks that require drilling, as this will shatter the glass. Before applying an adhesive lock, check the manufacturer’s documentation to confirm compatibility with glass surfaces. Keep in mind that if a child pulls on the lock with significant force, there is a risk of glass breakage or structural failure. If you are concerned about the strength of the glass or if the manufacturer warns against glass application, stop the installation and consult a professional childproofing specialist for alternative solutions.
What should I do if the adhesive fails to stick?
If your adhesive lock fails to adhere properly, the issue is often related to surface preparation or environmental factors. Ensure you have thoroughly degreased the surface with isopropyl alcohol, as even invisible oils or cleaning product residues can prevent a strong bond. Additionally, check the ambient temperature and humidity requirements specified by the manufacturer; high humidity can interfere with the curing process. If the adhesive has been compromised or fails repeatedly despite proper cleaning, do not attempt to reuse it with household glue. Stop using the lock immediately and replace the adhesive pad with a fresh, manufacturer-approved replacement or install a new lock kit to ensure reliable safety.

Community discussion
Share your experience or ask a question. Comments are reviewed before publication.