
Securing cabinets to protect curious toddlers does not have to mean permanently damaging your kitchen or bathroom cabinetry with screws. Adhesive-mounted child safety locks provide a reliable, non-destructive alternative that is highly suited for renters or homeowners who want to preserve their furniture. However, the success of these no-drill solutions relies entirely on selecting the correct lock type, preparing the mounting surfaces meticulously, and allowing the adhesive to cure fully before use. While these devices add a valuable layer of protection, they are designed to complement, not replace, active adult supervision.
Before purchasing any locking system, caregivers should evaluate their child’s developmental stage and physical strength. As children grow, their ability to manipulate objects and apply force increases, meaning a lock that worked for an infant may become vulnerable to an older toddler. Always review the manufacturer’s age recommendations, weight limits, and specific warnings to ensure the product matches your child’s current developmental milestone.
Choosing the Right Adhesive Locks for Your Cabinets
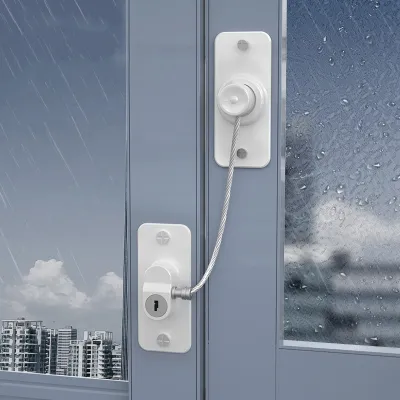
Selecting the right adhesive lock requires matching the locking mechanism to the design of your cabinets and the physical capabilities of your child. Strap locks are highly versatile and consist of a flexible plastic or fabric strap anchored by two adhesive pads. These are ideal for securing lazy Susans, corner cabinets, curved furniture, or appliances like refrigerators and microwaves where the locking mechanism must span across two different planes.
Products mentioned in this guide
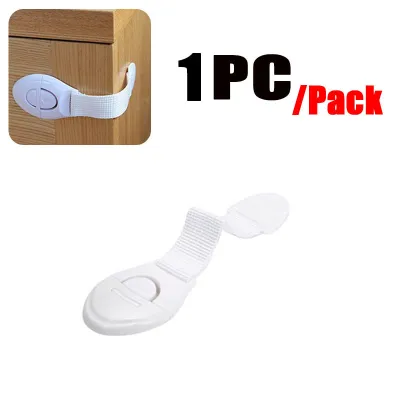
![[Ship in 24 Hours] Baby Safety Lock Cupboard Lock Cabinet Locks Wardrobe Drawer Fridge Lock Child Safe Lock Kid Safety Door Latches Children Day Gifts](https://img.lazcdn.com/g/p/e09ea02a4ce08945db1e68c840159c92.jpg_400x400q80.jpg_.webp)
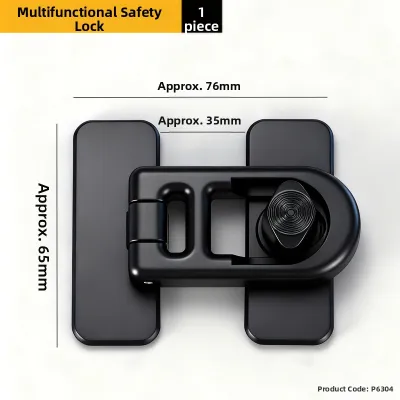
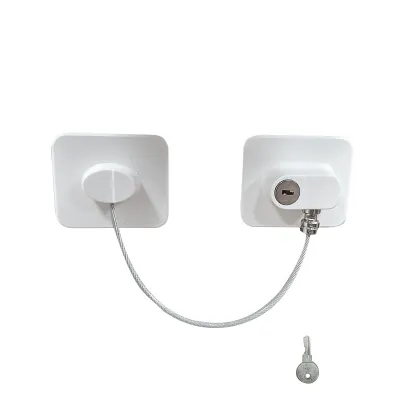
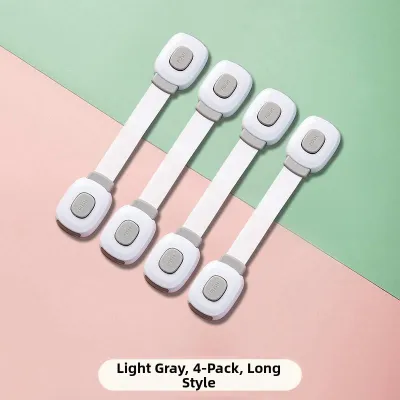
![[SG]✅Door Lever Safety Lock For Kids/ Toddler /Pets#Cats#Dogs Proof Door Opening Safety Lock](https://img.lazcdn.com/g/ff/kf/S22b790b8fe98485cbc3c42fe486cdb3eG.jpg_400x400q80.jpg_.webp)
Prices are valid at publication and may change. Please refer to the product page for the latest price.
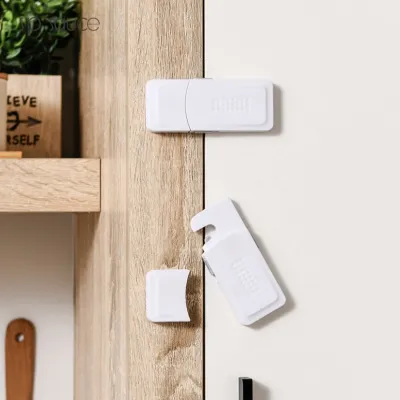
For standard double-door cabinets with handles or knobs, latch-style locks or sliding locks are often the most straightforward choice. Latch-style adhesive locks feature a spring-loaded arm that catches on a secure hook mounted inside or on the frame of the cabinet. These require a specific pinching or sliding motion to release, which helps prevent young children from figuring out the mechanism through simple pulling.
Magnetic cabinet locks offer a completely hidden childproofing solution, preserving the external aesthetic of your cabinetry. These systems use an adhesive-backed latch mounted inside the cabinet door and a corresponding catch on the interior frame. The lock can only be disengaged from the outside by placing a magnetic key against the cabinet surface, making it exceptionally difficult for toddlers to bypass since there are no visible parts for them to pull or manipulate.
Surface compatibility is a critical factor in determining whether an adhesive lock will hold securely. Adhesive pads bond best to smooth, non-porous surfaces such as laminate, varnished wood, metal, glass, and sealed acrylic. If your cabinets feature heavily textured wood grain, unfinished timber, or peeling paint, the adhesive will struggle to form a uniform bond, greatly reducing its holding power. In such cases, alternative childproofing methods or professional advice may be necessary to secure the area safely.
Finally, always verify the weight and pull-force limits specified by the manufacturer on the product packaging. Toddlers can exert surprising force when trying to open a cabinet, especially if they use their body weight for leverage. Checking these specifications ensures you do not rely on a light-duty lock for a heavy cabinet door containing potentially hazardous household items.
Tools and Materials Needed for a Secure Installation
Having the correct tools and materials on hand before you begin will ensure a smooth installation and a long-lasting adhesive bond. A standard adhesive lock kit typically includes the locking mechanisms, matching catches, and pre-cut double-sided adhesive pads. Before starting, check that all components listed in the instruction manual are present and undamaged.

For surface preparation, you will need high-quality isopropyl rubbing alcohol and a clean, lint-free microfiber cloth. Avoid using standard household glass cleaners, multi-surface sprays, or dish soaps, as these products often leave behind a thin, invisible residue or chemical film. This residue prevents the adhesive from making direct contact with the cabinet material, leading to premature failure of the lock.
To ensure precise alignment, keep a measuring tape and a pencil nearby to mark your placement before peeling off the adhesive backing. Additionally, a handheld hairdryer can be highly beneficial, particularly when installing locks in cool, air-conditioned rooms. Gently warming the cabinet surface and the adhesive pad prior to application helps soften the adhesive, significantly improving its initial tack and overall bonding performance.
Step-by-Step Guide to Installing No-Drill Cabinet Locks
Proper installation is the key to ensuring your no-drill cabinet locks perform as intended. Following a systematic approach prevents alignment errors and ensures the adhesive achieves its maximum rated strength.
Step 1: Clean and Dry the Surface
Begin by thoroughly cleaning the exact areas where the adhesive pads will be placed. Dampen your microfiber cloth with isopropyl rubbing alcohol and wipe the cabinet surface vigorously to remove any grease, dust, cooking oils, or fingerprints. Allow the area to air dry completely for several minutes; applying adhesive to a damp surface will permanently compromise the bond.
Step 2: Measure and Mark the Placement
Before removing any protective backing from the adhesive pads, perform a dry fit of the locking mechanism. Hold the lock and the catch in their closed, engaged positions against the cabinet door and frame. Use your pencil to lightly mark the outer edges of both components to ensure they align perfectly. Proper alignment prevents the lock from being under constant lateral tension, which can slowly peel the adhesive away over time.
Step 3: Apply the Adhesive Pads
Peel the protective paper backing off one side of the adhesive pad, taking care not to touch the sticky surface with your fingers, as skin oils can weaken the glue. Align the component with your pencil marks and press it firmly onto the cabinet surface. Apply strong, even pressure across the entire surface of the plastic part for at least thirty seconds to activate the pressure-sensitive adhesive. Repeat this process for the corresponding lock or catch component.
Step 4: Allow the Adhesive to Cure
Once the components are pressed into place, leave the cabinet doors open and do not engage or test the lock immediately. Most high-strength adhesives require a full twenty-four hours to cure and reach their maximum bonding capacity. Subjecting the lock to pulling forces or tension during this curing window is the primary cause of adhesive failure.
Step 5: Test the Locking Mechanism
After the curing period has passed, gently close the cabinet door to test the lock’s operation. Ensure the latch engages smoothly and releases without requiring excessive force that might strain the adhesive mount. If the lock catches properly and holds firm under light pressure, the installation is complete.
Common Installation Mistakes and How to Avoid Them
One of the most frequent mistakes caregivers make is rushing the installation process and allowing children to interact with the locks too soon. It can be tempting to test the lock immediately after pressing it onto the cabinet, but doing so disrupts the chemical bonding process of the adhesive. Always plan your installation for a time when the cabinets will not be needed for a full day, such as right before bedtime or before leaving the house.
Another common error is attempting to apply adhesive locks to unsuitable surfaces. Textured laminate, rustic reclaimed wood, or cabinets with decorative molding present uneven surfaces that prevent the adhesive pad from making full contact. If your cabinets have a matte paint finish or a delicate veneer, the adhesive may not bond securely, or conversely, it may pull the finish off when removed. Always inspect the surface texture and stability before proceeding.
Misaligning the lock and the catch is another issue that leads to premature failure. When the two parts of the lock do not line up perfectly, closing the cabinet door forces them into an unnatural angle, creating constant outward pressure on the adhesive pads. Over days or weeks of use, this continuous stress will cause the adhesive to peel away from the cabinet. Taking the time to measure and mark your placement during the dry-fit phase easily prevents this issue.
Finally, placing the locks within easy reach of a toddler’s leverage point can lead to failure. If a lock is installed too low on a tall cabinet door, a child can pull from the top of the door, using the door itself as a lever to exert massive force on the lock. Position locks as high as practical on base cabinets to minimize the leverage your child can apply.
Safe Removal and Residue Cleanup
When your child outgrows the need for cabinet locks, removing them safely without damaging the underlying finish is a priority, especially in rental properties. Forcefully prying or ripping the locks off can tear away wood veneer, laminate layers, or paint.
To remove the locks safely, use a handheld hairdryer set to medium heat to warm the plastic component and the adhesive backing. Direct the warm air at the adhesive seam for one to two minutes to soften the glue. Once the adhesive becomes warm and pliable, gently slide a piece of dental floss, a thin plastic putty knife, or an old credit card behind the plastic mount to slice through the softened adhesive pad, lifting the lock away from the cabinet.
After the plastic component is removed, a layer of sticky adhesive residue will likely remain on the cabinet surface. To clean this up without scratching the finish, apply a small amount of cooking oil, such as olive or canola oil, to a clean cloth and rub it gently over the residue. The oil will naturally break down the adhesive properties, allowing you to wipe the sticky remnants away with warm, soapy water.
For stubborn residue, a mild commercial adhesive remover can be used, but caution is required. Always test any chemical remover on a small, hidden area of the cabinet first—such as the inside of a door—to ensure it does not discolor, dull, or dissolve the cabinet finish. If your cabinets feature fragile, antique, or historically valuable veneers, stop and consult a professional furniture restorer before attempting to remove strongly bonded adhesives.
Frequently Asked Questions (FAQ)
Can adhesive child safety locks hold up against a strong toddler?
Yes, adhesive child safety locks can be highly effective against toddlers, provided they are installed correctly on a compatible surface. The ultimate holding power of the lock depends heavily on meticulous surface preparation with rubbing alcohol and allowing the adhesive to cure undisturbed for the manufacturer’s recommended time, typically twenty-four hours. Caregivers should regularly inspect the adhesive pads for any signs of peeling or lifting. If a toddler is exceptionally persistent and repeatedly manages to pull off or defeat the adhesive locks, it may be time to transition to hardware-mounted locks or consult a professional childproofing specialist to secure the home.
Will removing adhesive locks damage my rented apartment's cabinets?
In most cases, adhesive locks can be removed without causing damage if you use the proper heat-and-peel method rather than pulling them off with force. Applying gentle heat from a hairdryer softens the adhesive, allowing you to slide dental floss behind the lock to release it safely. However, very delicate wood veneers, matte paints, or pre-existing loose finishes may still experience minor surface lifting or discoloration. To minimize risk, always test any adhesive residue removers on an inconspicuous area of the cabinetry first to ensure the cleaning agent is fully compatible with your landlord’s cabinet finish.

Community discussion
Share your experience or ask a question. Comments are reviewed before publication.