
Installing a refrigerator lock is a highly effective way to keep curious toddlers safe from heavy jars, raw ingredients, and potential pinching hazards. The challenge for many parents, especially those living in rental apartments or modern HDB flats in Singapore, is securing the appliance without drilling permanent holes or stripping the exterior paint. Fortunately, you can achieve a secure, childproof seal using high-quality adhesive-based refrigerator locks that mount firmly and peel away cleanly when no longer needed. The secret to a damage-free installation lies in meticulous surface preparation, precise positioning, and allowing the adhesive to cure completely before any tension is applied.
Choosing the Right No-Drill Refrigerator Lock
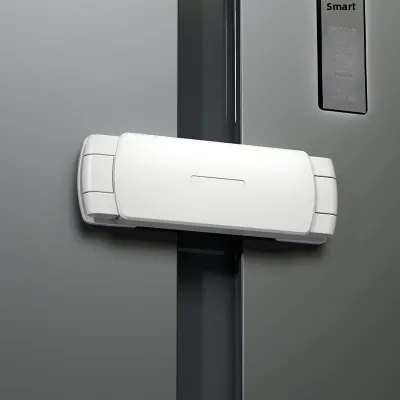
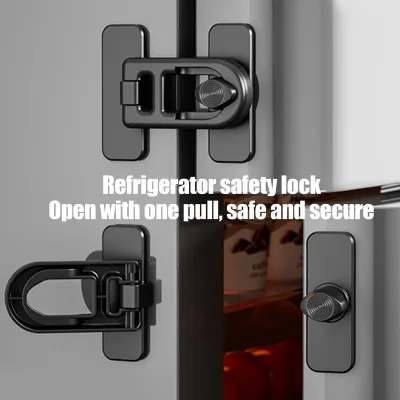
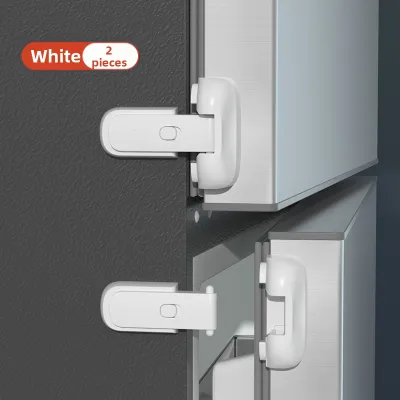
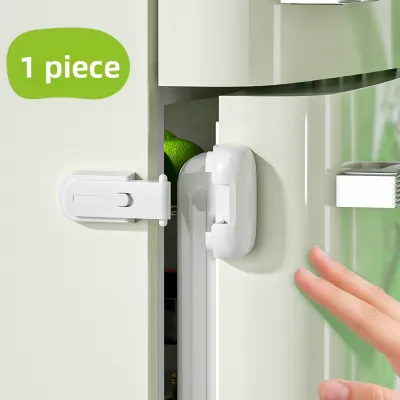
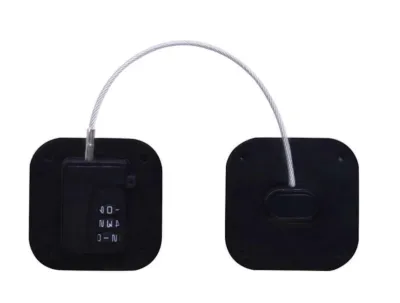
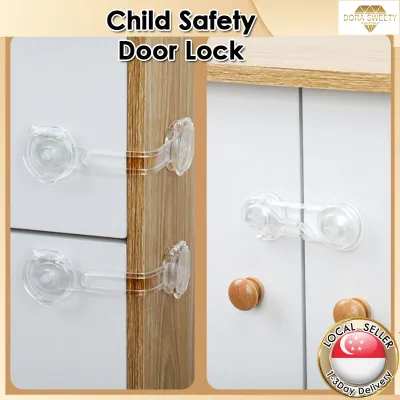
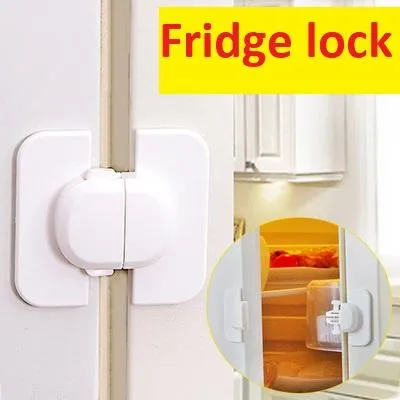
When shopping for a refrigerator lock, avoiding drills and screws is essential to protect both your appliance’s warranty and its aesthetic value. The most reliable alternative is a heavy-duty adhesive lock. These locks typically fall into two categories: flexible adhesive strap locks and rigid latch-style locks. Strap locks feature a flexible plastic or nylon band that bridges the gap between the refrigerator door and its side panel, making them highly versatile for French door models, single-door fridges, and even bottom-freezer configurations. Latch-style locks, on the other hand, use a rigid plastic arm or a spring-loaded mechanism that clicks into place, offering a more compact profile that works exceptionally well on standard single-door appliances.
Before making a purchase, you must evaluate the exterior finish of your refrigerator. Smooth surfaces like painted metal, polished glass, and standard smooth stainless steel provide an ideal bonding environment for pressure-sensitive adhesives. However, modern fingerprint-resistant or textured stainless steel finishes present a unique challenge. These surfaces are engineered with microscopic patterns or oleophobic coatings that reduce the surface area available for the adhesive to grip, which can significantly weaken the bond. Always consult the lock manufacturer’s specifications to ensure compatibility with your specific appliance finish and check the recommended weight or pull-force limits.
Products mentioned in this guide
![[Ship in 24 Hours] Baby Safety Lock Cupboard Lock Cabinet Locks Wardrobe Drawer Fridge Lock Child Safe Lock Kid Safety Door Latches Children Day Gifts](https://img.lazcdn.com/g/p/e09ea02a4ce08945db1e68c840159c92.jpg_400x400q80.jpg_.webp)
Prices are valid at publication and may change. Please refer to the product page for the latest price.
Keep in mind that baby-proofing products are designed to act as physical deterrents and cognitive puzzles to delay access. They are not absolute security systems and can never replace active adult supervision. As toddlers grow, they observe adult behaviors and may eventually figure out how to operate the buttons or latches. Therefore, caregivers must remain vigilant, regularly inspect the integrity of the lock, and ensure that hazardous items—such as glass bottles, medicines, or small choking hazards—are stored on high shelves completely out of reach, even if the refrigerator door is locked.
Tools and Materials Needed for Installation
Having the correct tools on hand before you begin ensures a smooth, uninterrupted installation process and prevents accidental damage to your refrigerator’s finish. You do not need specialized hardware; in fact, the most effective tools are common household items. Start by gathering your chosen refrigerator lock kit, making sure all components, adhesive pads, and manufacturer instructions are present.

For surface preparation, you will need high-purity rubbing alcohol (isopropyl alcohol) and a clean, lint-free microfiber cloth. If rubbing alcohol is unavailable, a mild, residue-free dish soap mixed with warm water can work, though alcohol is highly preferred for its rapid evaporation and degreasing properties. To assist with alignment and marking, keep a standard measuring tape, a pencil, and a roll of low-tack painter’s tape or masking tape nearby.
It is critical to avoid harsh chemical cleaners, window sprays, bleach, or abrasive scrubbing sponges during this process. Ammonia-based cleaners and heavy degreasers often leave behind a microscopic chemical film that prevents the adhesive from bonding securely to the appliance. Abrasive pads or steel wool will permanently scratch painted metal and stainless steel surfaces, ruining the very exterior you are trying to protect. Stick to gentle, evaporating cleaning agents to keep the surface pristine.
Step-by-Step Installation Guide
Step 1: Clean and Prepare the Surface
The longevity and strength of any adhesive lock depend entirely on how well the adhesive pad bonds with the refrigerator’s surface. Dust, grease, kitchen oils, and even invisible fingerprint oils will create a barrier that prevents the adhesive from making full contact. To start, pour a small amount of rubbing alcohol onto your microfiber cloth and thoroughly wipe down the area where both the lock base and the latch receiver will attach. This includes the front or side of the refrigerator door and the adjacent side panel where the lock will bridge.
After wiping, allow the surface to air-dry completely. In Singapore’s warm and highly humid climate, moisture can easily become trapped beneath the adhesive pad if you do not give the alcohol sufficient time to evaporate. Wait at least three to five minutes to ensure the metal is entirely dry to the touch.
Once the surface is clean, do not touch the prepared areas with your bare hands. Your skin naturally carries oils that will immediately recontaminate the surface, compromising the chemical bond of the adhesive. If you accidentally touch the area, simply give it another quick wipe with the alcohol-dampened cloth and let it dry again.
Step 2: Position and Mark the Lock
Before peeling off the adhesive backing, you must determine the precise placement of the lock. Hold the dry lock assembly against the refrigerator door and side panel in its closed position. Slowly open and close the refrigerator door a few times to verify that the strap or latch does not catch on the flexible rubber door gasket or interfere with the hinge mechanism. The lock should hold the door firmly closed without compressing the rubber seal excessively, as a deformed gasket can cause cold air leaks and increase your electricity bills.
Next, consider the height of the installation. Position the lock high enough so that it remains completely out of your toddler’s line of sight and physical reach. However, ensure it is still at a comfortable height for adult household members to operate with one hand while carrying groceries or cooking ingredients.
Once you have found the perfect position, use small pieces of low-tack painter’s tape to outline the edges of the adhesive pads on the refrigerator surface. This creates a highly visible, temporary frame that guides your hand during the final application, eliminating the risk of crooked placement or having to peel and reposition the lock once the adhesive touches the metal.
Step 3: Apply the Adhesive and Attach
With your placement markers firmly in position, you are ready to apply the lock. Carefully peel the protective backing paper off the adhesive pads, taking care not to touch the sticky surface with your fingers. Align the lock components precisely with the painter’s tape marks you created in the previous step.
Press the adhesive pads firmly against the refrigerator surface. Use the heel of your hand to apply strong, even pressure across the entire surface of each pad for at least 30 to 60 seconds. This pressure-sensitive adhesive relies on physical force to flow into the microscopic pores of the metal surface and establish a secure mechanical bond.
After securing the pads, remove the painter’s tape and leave the lock completely undisturbed. This is the critical curing time during which the adhesive chemically bonds and hardens. While some manufacturers state a minimum of 24 hours, Singapore’s high relative humidity can slow down the curing process of certain acrylic adhesives. For the absolute best results, allow the adhesive to cure for a full 48 to 72 hours before attempting to lock, unlock, or pull on the mechanism. Testing the lock prematurely will break the developing chemical bonds, leading to premature failure and a sticky, ineffective mess.
Step 4: Test the Lock Mechanism
Once the full curing period has elapsed, you can safely perform your first operational test. Begin by gently pulling on the refrigerator door to verify that the lock holds the door securely closed without any shifting or peeling at the adhesive edges. The door should remain firmly shut, preventing any gaps from forming.
Next, practice operating the unlocking mechanism several times. Whether your lock uses a dual-button squeeze system, a sliding latch, or a magnetic key, ensure that you can open it smoothly and close it securely without applying excessive force that could jar the adhesive bases.
If the lock operates smoothly and holds firm under a gentle tug, your installation is complete. Instruct all adult family members and caregivers on how to operate the lock correctly, emphasizing the importance of securing it every time they close the refrigerator.
How to Remove the Lock Without Leaving Residue or Damage
When your child outgrows the need for a refrigerator lock, or if you are preparing to move out of a rented home, removing the adhesive safely is just as important as the initial installation. To protect the underlying paint or stainless steel finish, you must never try to pry or rip the lock off using brute force, as this can dent the metal panels or peel away the appliance’s protective clear coat.
The most effective and safest method relies on heat. Grab a standard household hairdryer and set it to a warm, medium heat setting. Direct the warm air at one of the adhesive pads for roughly two to three minutes, keeping the dryer a few centimeters away to prevent overheating. The heat will soften the acrylic polymers in the adhesive, making them pliable and significantly reducing their grip. Avoid using high-heat industrial heat guns, as these can warp plastic refrigerator trims, melt internal wiring, or scorch the exterior paint.
While the adhesive is still warm, slide a piece of unflavored dental floss, high-strength sewing thread, or thin nylon fishing line behind the adhesive pad. Hold the line taut with both hands and use a gentle, back-and-forth sawing motion to cut through the softened adhesive layer. This technique safely separates the lock body from the refrigerator surface without scratching the metal.
Once the lock is removed, a thin layer of sticky adhesive residue will likely remain on the door. To dissolve this residue without damaging the finish, apply a small amount of mild, surface-safe adhesive remover, common cooking oil (such as canola or olive oil), or rubbing alcohol to a clean microfiber cloth. Lay the damp cloth over the residue for a few minutes to let it penetrate, then gently wipe the glue away in circular motions.
Under no circumstances should you use metal paint scrapers, razor blades, steel wool, or abrasive kitchen sponges to scrape off the leftover glue. These tools will leave permanent, unsightly scratches on both painted and stainless steel surfaces. Always test any chemical adhesive remover on a small, hidden area of the refrigerator first to ensure it does not discolor or dull the finish.
Common Mistakes to Avoid During Installation
Achieving a long-lasting, damage-free installation requires avoiding several common pitfalls that can compromise either the lock’s security or the appliance’s exterior. The most frequent error is failing to wait out the full adhesive curing period. It can be tempting to test the lock immediately after pressing it onto the door, but doing so pulls the adhesive away from the surface before the bond has fully matured, rendering the lock useless and leaving a compromised adhesive pad that must be replaced.
Another common mistake is ignoring the texture of your refrigerator’s surface. Applying standard adhesive locks to heavily textured “orange peel” metal or modern fingerprint-resistant stainless steel often results in poor adhesion. If your appliance has these finishes, look for specialty locks designed for textured surfaces, or consider alternative baby-proofing strategies that do not rely solely on standard foam adhesives.
Incorrect placement can also lead to premature wear or lock failure. Placing the adhesive pads too close to the edge of the door where the rubber gasket compresses can cause the lock to pop off under the pressure of daily closing. Ensure the lock bridges the gap naturally without putting constant, resting tension on the adhesive pads when the door is closed.
Finally, if you are using an adjustable strap lock, avoid pulling the strap excessively tight during the initial setup. A strap that is under constant, high tension will slowly but surely pull against the adhesive pads, degrading the bond over time until the lock eventually snaps off. Leave a tiny amount of slack in the strap so that it only becomes taut when someone actively tries to pull the door open.
Frequently Asked Questions (FAQ)
Will adhesive locks work on stainless steel refrigerators?
Yes, high-quality adhesive locks work exceptionally well on smooth, polished stainless steel surfaces. However, many modern refrigerators feature textured, brushed, or fingerprint-resistant stainless steel coatings. These specialized finishes contain microscopic ridges or chemical barriers designed to repel oils, which unfortunately also repels adhesive bonds. If you have a fingerprint-resistant model, clean the surface thoroughly with rubbing alcohol and select an adhesive lock that explicitly states compatibility with textured or coated metal surfaces. Always refer to your refrigerator manufacturer’s care manual to ensure that adhesives are safe to use on your specific model’s exterior.
Can I use a magnetic lock on a refrigerator?
While magnetic locks are highly popular and effective for wooden kitchen cabinets and drawers, they are generally not recommended for refrigerators. Refrigerator doors often contain their own internal magnetic seals and metal structures that can interfere with the delicate magnetic mechanism of childproof cabinet locks. This interference can cause the lock to fail to latch securely or, conversely, prevent it from unlocking when you present the magnetic key. For appliances, mechanical adhesive strap locks or dual-button latch locks remain the most reliable, fail-safe options.

Community discussion
Share your experience or ask a question. Comments are reviewed before publication.