
Securing your kitchen is a vital step in creating a safe environment for curious toddlers. The refrigerator, with its colorful packaging, cold treats, and heavy doors, naturally attracts young children. However, installing a refrigerator child lock requires a careful balance between securing the appliance and preserving its exterior finish. By matching the lock mechanism to your appliance’s specific surface material, following strict surface preparation protocols, and respecting adhesive curing times, you can keep your child safe without risking permanent damage to your refrigerator or voiding its warranty.
Every refrigerator model features unique design elements, from flat stainless steel panels to textured plastic sides and delicate glass fronts. Choosing an incompatible lock or rushing the installation process can lead to unsightly scratches, peeled coatings, or adhesive failure. Taking a systematic approach ensures the lock remains firmly in place during daily use and can be removed cleanly when your child outgrows the need for it.
Choosing the Right Child Lock for Your Refrigerator
Before purchasing a lock, closely examine the exterior surfaces of your refrigerator. Modern appliances often feature specialized finishes, such as fingerprint-resistant stainless steel, tempered glass, or powder-coated metals. Some of these surfaces have delicate protective layers that can be stripped or discolored by strong adhesives. Reviewing your appliance manufacturer’s warranty guidelines is an essential first step, as some brands explicitly warn against applying heavy-duty adhesives or drilling into the door panels.
Products mentioned in this guide
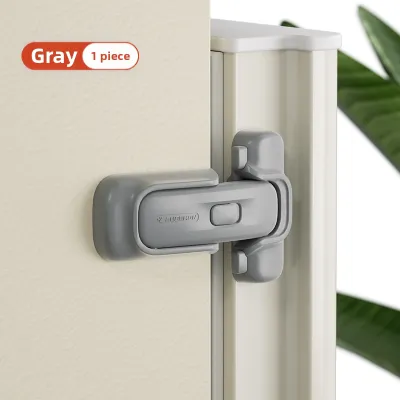
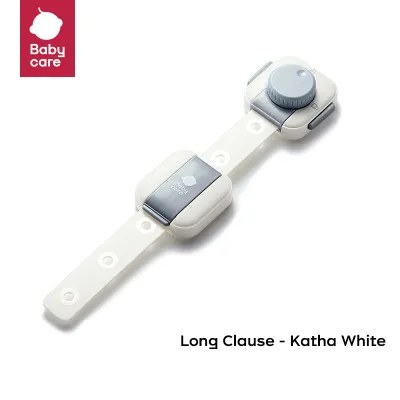
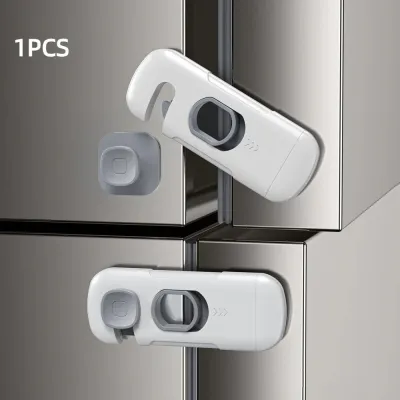
![[Ship in 24 Hours] Baby Safety Lock Cupboard Lock Cabinet Locks Wardrobe Drawer Fridge Lock Child Safe Lock Kid Safety Door Latches Children Day Gifts](https://img.lazcdn.com/g/p/e09ea02a4ce08945db1e68c840159c92.jpg_400x400q80.jpg_.webp)
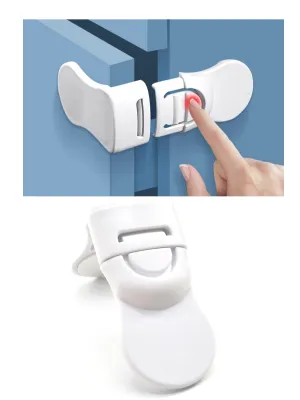
Prices are valid at publication and may change. Please refer to the product page for the latest price.
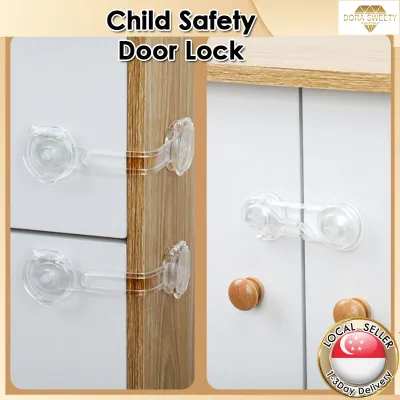
Next, compare the physical requirements of common lock mechanisms to find one that fits your layout. Adhesive strap locks are highly versatile, utilizing a flexible plastic or fabric strap to connect the side of the refrigerator to the front door. These are excellent for French door models or units with curved edges, as they can bend around corners. Adjustable U-shaped locks, on the other hand, are designed specifically for refrigerators with side-by-side vertical handles, slipping through the handles to hold them together without requiring any adhesive on the appliance surface itself.
Magnetic catches and rigid plastic latch locks offer alternative solutions but require flat, stable mounting points. If your refrigerator has a glass front or a highly delicate matte coating, a flexible strap lock is generally preferable to a rigid adhesive pad. Rigid pads concentrate physical stress on a very small, concentrated area when pulled, which can cause glass to crack or coatings to delaminate. A flexible strap distributes the pulling force more evenly, reducing the risk of localized surface damage.
Tools and Materials Needed for Installation
Having the correct tools on hand before you begin prevents interruptions and ensures a clean, precise application. Your child lock kit should include the locking units, matching adhesive pads, and any manufacturer-provided alignment templates. Do not substitute the included adhesive with household glues, as these can permanently bond to the appliance or fail under pressure.

For surface preparation, gather mild dish soap, warm water, and a clean microfiber cloth. Avoid harsh chemical solvents, abrasive scrubbing pads, or heavy-duty degreasers, as these can permanently strip the protective clear coat off stainless steel or dull the shine of painted finishes. Additionally, keep a tape measure, a strip of low-tack painter’s tape, and a small level nearby to help you align the lock precisely before committing to the adhesive placement.
Step-by-Step Installation Guide
Installing a refrigerator child lock is a straightforward process when executed in a logical, patient sequence. While the general steps remain consistent across most adhesive-based locks, always keep your specific product’s instruction manual nearby to verify model-specific measurements, alignment tips, and curing times. Taking your time during each phase of the installation ensures a reliable bond that withstands daily kitchen activity.
Preparing the Refrigerator Surface
The longevity of any adhesive lock depends entirely on how well the surface is prepared. Kitchen appliances naturally accumulate a thin layer of grease, cooking oils, fingerprints, and dust, all of which act as a barrier between the adhesive pad and the refrigerator door. To begin, mix a few drops of mild dish soap with warm water and gently wipe down the exact area where the lock will be mounted. Ensure you clean both the door panel and the side frame where the receiving end of the lock will attach.
Once the grease is removed, wipe the area with a clean, damp cloth to remove any soap residue, then dry it completely with a lint-free microfiber towel. Moisture trapped beneath an adhesive pad will prevent it from bonding correctly, leading to premature failure. Before applying any cleaning agent to a highly visible part of your refrigerator, perform a quick spot test on an inconspicuous area, such as the very bottom edge of the door or the back casing, to ensure the soap does not discolor or alter the finish.
Positioning and Attaching the Lock
Accurate placement is critical to ensure the lock functions correctly without interfering with the refrigerator’s daily operation. Use your tape measure to find a height that is well out of your child’s reach but still comfortable for adult household members to operate. Use a strip of low-tack painter’s tape to temporarily mark this position, and check that the lock will not block or compress the flexible rubber door gasket, which must maintain a tight seal to keep food cold.
Once you have verified the alignment with a small level, peel the protective backing off the first adhesive pad. Carefully align the pad with your painter’s tape mark and press it firmly onto the surface. Apply steady, even pressure across the entire surface of the pad for at least thirty seconds, working from the center outward to push out any trapped air bubbles. Repeat this process for the second part of the lock on the adjacent door or side panel, ensuring the connecting strap or latch has the correct amount of tension as specified by the manufacturer.
If at any point during this process you notice the mounting surface is heavily textured, uneven, or has a loose coating, stop the installation immediately. Applying adhesive to an unstable surface will result in a weak bond and may pull the loose finish off entirely. In these situations, consult the lock manufacturer for alternative mounting options or consider a handle-to-handle lock that does not rely on surface adhesion.
Curing and Testing the Lock
One of the most common reasons child locks fail is premature testing. Adhesive pads require time to undergo a chemical curing process, during which the adhesive flows into the microscopic pores of the surface to create a secure bond. Refer to your lock’s instruction manual for the exact curing duration, and avoid touching, pulling, or operating the lock during this window. It is often helpful to install the lock in the evening when kitchen traffic is low, allowing it to cure undisturbed overnight.
In humid tropical climates, such as in Singapore, ensuring the surface is completely dry and allowing the full curing time is especially critical, as moisture in the air can interfere with the adhesive bonding process. After the specified curing period has passed, perform a gentle test to verify the installation. Attempt to open the refrigerator door with normal force to ensure the lock holds securely and does not allow the door to gap open. At the same time, check that when the lock is engaged, the door gasket remains fully compressed and sealed against the frame. Monitor the edges of the adhesive pads over the first few days of use, looking for any signs of peeling or lifting.
How to Remove the Lock Without Leaving Residue or Damage
When your child is old enough to understand kitchen safety rules, you will want to remove the lock without leaving behind unsightly residue or damaging your appliance’s finish. To do this safely, avoid using metal scrapers, butter knives, or harsh chemical solvents, which can easily scratch stainless steel or dissolve painted coatings. Instead, use a household hairdryer set to a low or medium heat setting to gently warm the adhesive pad. Direct the warm air at the pad for a minute or two to soften the adhesive backing.
Once the adhesive is warm and pliable, take a piece of dental floss or strong fishing line and slide it behind the plastic mount. Using a gentle sawing motion, work the floss down through the softened foam adhesive pad to separate the lock from the refrigerator surface. This method safely detaches the plastic component, leaving only a thin layer of foam residue on the door.
To clean up the remaining residue, apply a small amount of mild vegetable oil or a manufacturer-approved adhesive remover to a soft cloth and rub the area in gentle, circular motions. The oil will break down the sticky residue, allowing you to wipe it away easily. If you notice the refrigerator’s surface coating beginning to lift, bubble, or scratch at any point during the removal process, stop immediately and seek advice from the appliance manufacturer or a professional technician to prevent further damage.
Frequently Asked Questions (FAQ)
Can I use an adhesive child lock on a stainless steel or glass refrigerator door?
Yes, many adhesive child locks are compatible with stainless steel and glass doors, but you must exercise caution. Glass surfaces are highly smooth and provide excellent adhesion, but they can be prone to localized stress if a rigid lock is pulled violently. Stainless steel doors often feature specialized anti-fingerprint or clear-coat finishes that can react chemically with certain strong adhesives, potentially leaving a permanent shadow or stain when removed.
Before proceeding with the installation, consult both your refrigerator’s user manual and the lock manufacturer’s compatibility guidelines. If your appliance manual warns against adhesives, or if you are concerned about preserving a high-end finish, look for alternative lock designs. Adjustable strap locks that wrap securely around the door handles or magnetic locks that utilize existing structural gaps are excellent alternatives that avoid surface contact entirely.
What should I do if the adhesive child lock falls off?
If your child lock detaches, it is usually due to incomplete surface cleaning, insufficient curing time, or an uneven mounting surface. To resolve this, you must first completely remove all old adhesive residue from both the refrigerator surface and the lock mount using mild vegetable oil and a soft cloth. Once the surface is completely clean and dry, you can attempt to reinstall the lock using a fresh, manufacturer-approved replacement adhesive pad.
Never attempt to reinstall a fallen lock using household super glues, hot glue guns, or heavy-duty construction adhesives. These products contain harsh chemicals and permanent bonding agents that can chemically melt plastic components, strip the refrigerator’s protective paint, and permanently void your appliance’s warranty. If adhesive locks repeatedly fail to stick to your specific refrigerator finish, consult the manufacturer for mechanical or handle-based locking alternatives.

Community discussion
Share your experience or ask a question. Comments are reviewed before publication.