
Installing a baby safety lock on your refrigerator is a crucial step in childproofing your kitchen, but it often comes with the worry of permanently damaging an expensive appliance. Many safety locks rely on heavy-duty adhesives to withstand the persistent pulling of curious toddlers. If applied or removed incorrectly, these adhesives can peel away protective coatings, scratch delicate glass, or leave unsightly residue on stainless steel surfaces.
Fortunately, you do not have to choose between your child’s safety and your refrigerator’s pristine finish. By selecting the right type of lock for your specific appliance surface, preparing the area correctly, and following a patient installation process, you can achieve a secure fit that remains completely reversible. This guide outlines the preparation, installation, and safe removal processes to help you childproof your kitchen effectively while keeping your refrigerator surface intact.
Assess Your Refrigerator Surface and Lock Type
Before purchasing a fridge lock, take a close look at your appliance’s exterior finish and door configuration. Refrigerator doors generally come in three common finishes: classic stainless steel, tempered glass, and painted or coated metal. Each of these materials reacts differently to adhesives, suction, and physical pressure, meaning a lock that works perfectly on one surface might cause damage or fail to stick on another.
Products mentioned in this guide
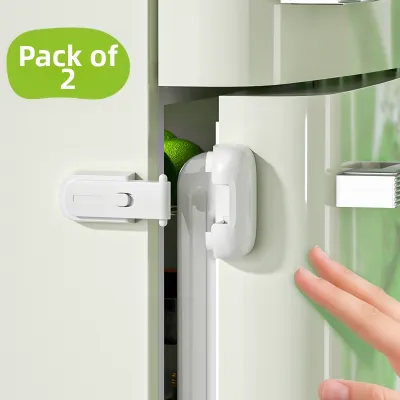
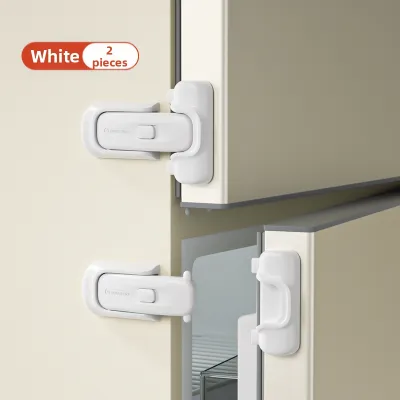
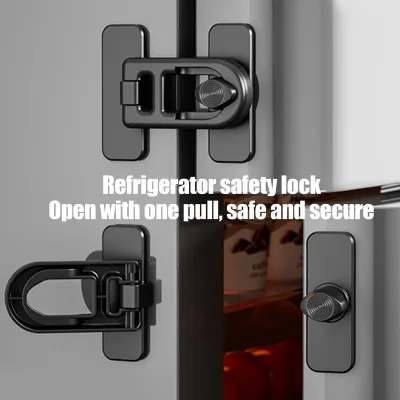
![[SG] Baby Safety Lock Child Drawer Lock Refrigerator Cabinet Microwave Infant Wardrobe Door Safety lock](https://img.lazcdn.com/g/p/8847f4874628f086869454a0c76d9001.jpg_400x400q80.jpg_.webp)
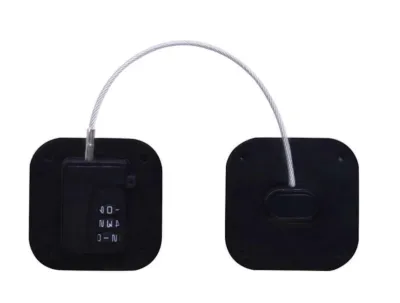
Prices are valid at publication and may change. Please refer to the product page for the latest price.
Stainless steel is highly durable but often features specialized clear coats designed to resist fingerprints and smudges. Applying strong adhesives directly to these sensitive coatings can sometimes lead to discoloration or peeling when the lock is eventually removed. Glass-front refrigerators offer a smooth, non-porous surface that bonds exceptionally well with adhesives, but they are highly susceptible to scratching if you use metal tools during the removal process. Painted or plastic-coated doors are more forgiving but can still chip if the adhesive bond is stronger than the paint’s adhesion to the underlying metal.
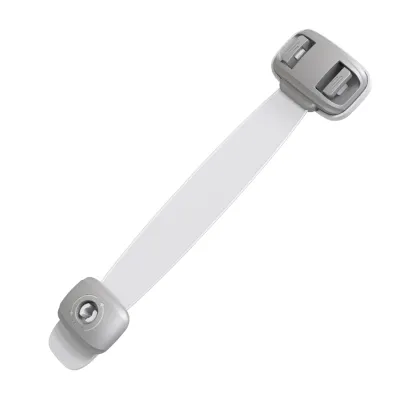
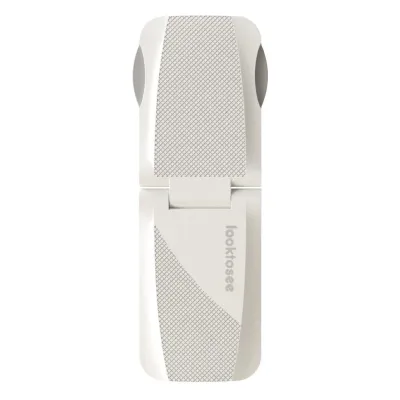
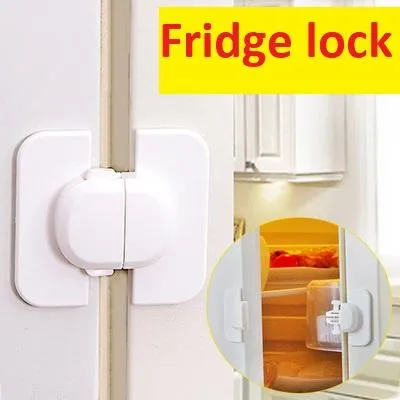
Next, evaluate the mounting mechanisms of the locks available on the market. Adhesive-backed locks are the most common and versatile, utilizing double-sided foam tape to secure the latch to the door and frame. Suction-cup locks offer a temporary, drill-free alternative, though they require a perfectly smooth, non-textured surface to maintain their vacuum seal over time. Magnetic strap locks and physical loop straps wrap around the handles or hinges of the appliance, relying on tension rather than surface adhesion, making them an excellent choice for preserving delicate finishes.
Always review the manufacturer warnings on both your refrigerator’s user manual and the baby safety lock packaging before proceeding. Appliance manuals often contain specific warnings regarding the use of chemical adhesives or solvents on their exterior surfaces, and violating these guidelines could void your warranty. Similarly, safety lock packaging will specify which surface materials are incompatible with their adhesive pads, helping you avoid costly mistakes.
Gather the Right Tools and Materials
To ensure a clean, secure, and completely reversible installation, you must gather the correct tools and materials before you begin. Having everything prepared beforehand prevents rushed mistakes that could lead to a misaligned lock or surface scratches.

You will need a mild surface cleaner, a clean lint-free microfiber cloth, a measuring tape, and a roll of low-tack painter’s tape. The painter’s tape is particularly useful for marking alignment lines without leaving any sticky residue behind. If your lock package includes manufacturer-recommended prep wipes, keep those on hand as well, but verify their ingredients against your refrigerator’s care instructions.
It is equally important to know which cleaning agents to avoid. Do not use abrasive scrubbing pads, steel wool, or harsh chemical cleaners containing ammonia, bleach, or heavy degreasers. These substances can permanently etch stainless steel, cloud glass, or strip away the protective clear coats on your appliance. Stick to gentle, non-abrasive cleaning methods to keep the surface intact.
Step-by-Step Installation for Adhesive Fridge Locks
Adhesive-based locks are highly effective when installed with patience and precision. Rushing the process often results in a weak bond that a determined toddler can easily pull apart, or a misaligned latch that prevents the refrigerator door from sealing properly. Following a systematic approach ensures both safety and surface protection.
Surface Preparation
The first and most critical step is preparing the application area. Kitchen appliances naturally accumulate a thin, invisible layer of grease, cooking oil aerosols, fingerprints, and dust over time. If you apply an adhesive pad directly over this residue, the tape will bond to the dirt rather than the refrigerator surface, leading to premature failure.
Clean the specific spot where the lock and latch will sit using a mild solution of dish soap and warm water. Wipe the area thoroughly with your microfiber cloth to lift all grease and grime. Once clean, use a dry section of the cloth to remove all moisture, and let the surface air-dry completely for at least five minutes.
Avoid using rubbing alcohol or chemical solvents to clean the area unless your refrigerator manufacturer explicitly recommends them. While alcohol is excellent for removing grease, it can react negatively with certain fingerprint-resistant coatings, leaving a dull, cloudy spot on your beautiful appliance.
Applying the Lock
Once the surface is clean and dry, you can begin the application process. Use your measuring tape to find the optimal height for the lock, ensuring it is well out of reach of your toddler. Use small pieces of painter’s tape to mark the exact positions where the lock body and the catch will be placed.
Proper alignment is crucial because a crooked lock will place constant, uneven tension on the adhesive pads. This uneven stress can cause the edges of the tape to lift over time, eventually leading to the lock failing when pulled. Ensure that the latch engages smoothly with the catch without forcing or dragging against the door.
Carefully peel the protective backing paper from the adhesive pads, taking care not to touch the sticky surface with your fingers, as skin oils can weaken the bond. Press the lock firmly onto the marked spot on the refrigerator. Apply strong, even pressure across the entire surface of the pad with the palm of your hand for at least 30 to 60 seconds to activate the pressure-sensitive adhesive.
If you are installing a flexible strap lock, avoid pulling the strap completely taut during application. Leave a tiny amount of slack so that the door can close naturally without putting constant pulling force on the adhesive pads. Additionally, double-check that no part of the lock interferes with the rubber door gasket or blocks any ventilation gaps on the appliance.
Curing and Testing
After applying the lock, resist the temptation to test its strength immediately. Pressure-sensitive adhesives require time to flow into the microscopic textures of the surface and form a permanent, secure chemical bond.
Most manufacturers recommend a curing period of 24 hours before the lock is subjected to any pulling force. During this curing window, keep the lock disengaged or open so that there is no tension on the adhesive pads. Inform everyone in the household not to pull on the locked door during this time.
Once the full curing period has passed, gently engage the lock and pull the refrigerator door with light pressure to verify that the mechanism holds securely. Inspect the edges of the adhesive pads closely. If you notice any immediate peeling, lifting, or bubbling around the edges, the bond has been compromised, and you may need to replace the adhesive pad and try again.
Adjusting Magnetic and Strap-Style Locks
If you prefer to avoid adhesives entirely to protect a highly sensitive refrigerator finish, non-adhesive alternatives are an excellent option. These locks rely on the physical structure of your appliance rather than chemical bonding agents to keep the doors secure.
Strap-style locks can often be routed around the refrigerator’s door handles, hinges, or even adjacent cabinetry, depending on the specific layout of your kitchen. By looping the strap through the handles and securing it with a tension buckle, you can prevent the doors from being pulled open without attaching anything directly to the appliance’s face.
When configuring these strap locks, adjusting the tension correctly is vital. The strap must be tight enough to prevent a toddler from opening the door wide enough to slip their hand inside, but it should not be so tight that it places excessive mechanical stress on the refrigerator handles. Constant, heavy tension on plastic handles can cause them to warp, loosen, or crack over time, leading to expensive repairs.
Additionally, verify that any magnetic components or thick straps do not interfere with the refrigerator’s electronic displays, touchscreens, water dispensers, or ice chutes. It is also essential to ensure that the strap does not compress or distort the rubber door gasket. A compromised door seal will allow cold air to escape, causing your refrigerator to work harder, increase your energy bills, and potentially spoil your food.
How to Remove or Reposition the Lock Safely
When your child outgrows the need for childproofing, or if you need to correct a placement error during installation, removing the lock safely is essential to preserve your appliance’s finish. Prying a lock off with brute force or sharp tools is a guaranteed way to scratch, dent, or peel the surface.
To remove an adhesive lock safely, start by softening the adhesive bond. Use a hair dryer on a low or medium heat setting to gently warm the adhesive pad for one to two minutes. Keep the hair dryer moving constantly to avoid overheating any single spot, which could damage the refrigerator’s internal insulation or electronics. Once the adhesive is warm and pliable, slowly peel the lock body away from the surface, or use a piece of dental floss or fishing line held tautly between your hands to gently saw through the softened foam tape.
After the plastic lock is removed, a sticky layer of adhesive residue will likely remain on the refrigerator. To clean this up safely, apply a small amount of a mild, surface-safe adhesive remover to a clean microfiber cloth. For stainless steel or painted surfaces, simple household ingredients like vegetable oil, olive oil, or warm soapy water can often lift the residue without the need for harsh chemicals. Rub the area gently in circular motions until the remaining glue rolls up and lifts away.
Always establish clear safety boundaries during the removal process. If you notice the refrigerator’s paint, clear coat, or protective film beginning to lift, bubble, or crack, stop what you are doing immediately. Do not apply more heat or chemical removers. Cease all removal attempts and consult a professional appliance technician or the manufacturer to prevent further cosmetic damage.
Troubleshooting Common Installation Issues
Even with careful planning, you may encounter challenges during or after the installation of your fridge lock. Understanding how to troubleshoot these issues safely will help you maintain a secure kitchen environment without resorting to damaging workarounds.
If your adhesive lock fails to stick or falls off shortly after installation, the most common culprit is insufficient curing time or improper surface preparation. If the surface was cold, damp, or greasy during application, the adhesive cannot bond correctly. High humidity levels, common in tropical climates like Singapore, can also extend the required curing time. In these cases, remove the failed adhesive completely, clean the area thoroughly, and apply a fresh adhesive pad, allowing it to cure for a full 48 hours before use.
Another common issue is a misaligned latch mechanism that prevents the refrigerator door from closing completely. If the lock holds the door slightly open, it will compromise the appliance’s cooling efficiency and cause frost buildup. If you notice the rubber gasket is not sealing tightly when the lock is engaged, you must remove the lock and reposition it to eliminate the tension.
Under no circumstances should you use unauthorized superglues, epoxy, screws, or heavy-duty industrial mounting tapes to fix a failing lock. While these methods might seem like a quick fix, they will permanently damage your refrigerator’s surface, void your manufacturer’s warranty, and make future removal impossible. Stick to manufacturer-approved replacement adhesive pads designed specifically for baby safety products.
Frequently Asked Questions (FAQ)
Can I use a fridge lock on a stainless steel refrigerator?
Yes, you can use a fridge lock on stainless steel, but you must take extra precautions. Many modern stainless steel appliances feature specialized clear coats designed to resist fingerprints and smudges. Strong adhesives can sometimes react with or lift these delicate coatings upon removal. Always check both the lock and appliance manuals, and if permitted, test the adhesive on a small, inconspicuous area—such as the lower side of the refrigerator—before proceeding with the full installation.
What should I do if the adhesive leaves a mark on my fridge?
If the adhesive leaves a sticky residue or a dark mark, avoid using abrasive scrubbing pads, steel wool, razor blades, or harsh chemical solvents like acetone, as these will permanently scratch or discolor the surface. Instead, apply a small amount of warm, soapy water or a manufacturer-approved mild adhesive remover to a soft microfiber cloth. Gently rub the area in circular motions until the residue lifts, then wipe the surface clean with a damp cloth and dry it thoroughly.
Are there fridge locks that do not require adhesive?
Yes, there are several non-adhesive options available for sensitive surfaces. These include strap locks that loop securely around adjacent door handles or magnetic locks designed for specific double-door configurations. However, the compatibility of these alternative locks depends entirely on your refrigerator’s handle design, door clearance, and physical layout, so be sure to measure your appliance carefully before making a purchase.

Community discussion
Share your experience or ask a question. Comments are reviewed before publication.