
Installing a child safety lock on a sliding door is one of the most effective ways to secure your home and protect curious toddlers. Sliding doors, whether they lead to a balcony, a patio, or a wardrobe, present unique safety challenges because they are heavy, slide easily, and can pinch small fingers or allow unsupervised access to restricted areas. To ensure a secure fit, you must match the lock mechanism to your specific door material and track design, prepare the mounting surface with care, and test the installation thoroughly. While these safety devices provide an essential layer of protection, they are designed to complement, never replace, active caregiver supervision.
Before purchasing any safety hardware, always verify the lock’s weight capacity, recommended age suitability, and material compatibility directly from the product packaging or manufacturer’s manual. Do not assume a lock is suitable for heavy patio doors simply because it is labeled as a child safety lock. Taking the time to assess your door’s structure and follow a methodical installation process will ensure the lock functions reliably as a secure barrier.
Assess Your Sliding Door and Lock Type
Before you begin the installation process, you must evaluate the physical characteristics of your sliding door. Sliding doors are typically constructed from glass, wood, or metal-framed materials, and each material dictates what type of lock can be safely installed. For instance, drilling into a glass door is not an option for a DIY project, whereas a solid wooden frame can easily accommodate screw-mounted hardware.
Products mentioned in this guide
![[SG FREE ] Sliding Glass Door Lock/Child Safety Baby Proof for Slide Wardrobe Door Closet/Childproof Window Stopper Kid](https://img.lazcdn.com/g/p/a93f5843d2458590808187720ce74187.jpg_400x400q80.jpg_.webp)
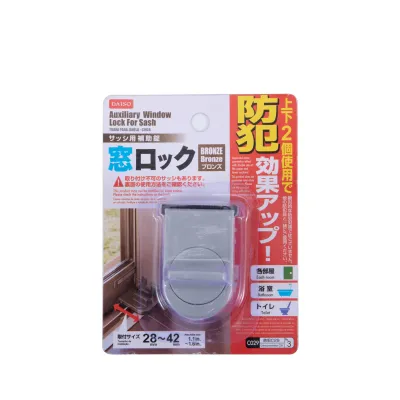
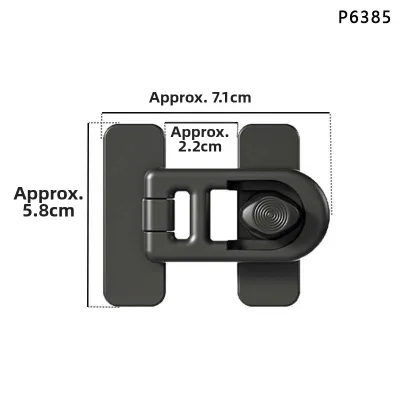
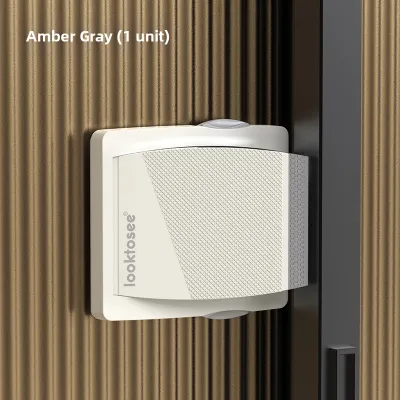
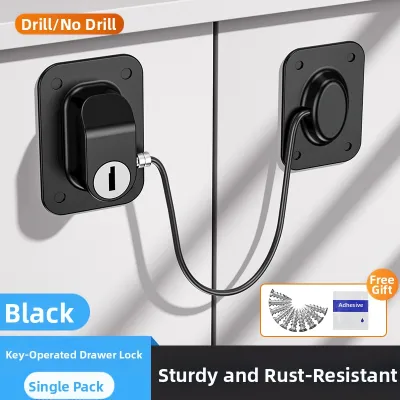
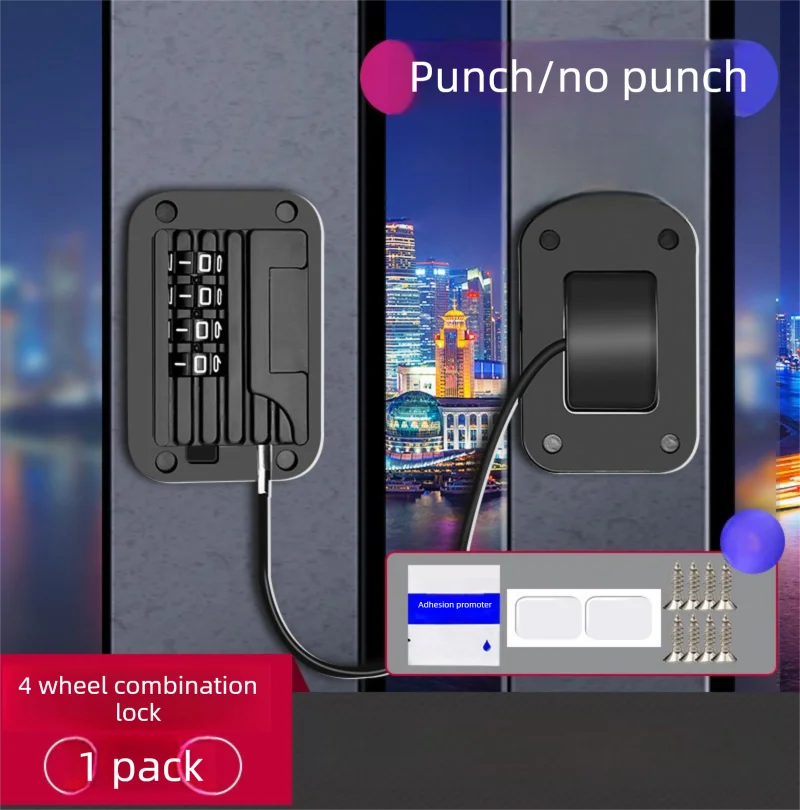
Prices are valid at publication and may change. Please refer to the product page for the latest price.
Check your door manufacturer’s documentation or warranty guidelines before making any modifications. Some manufacturers explicitly warn against drilling into frames or applying heavy adhesives that might damage specialized finishes or compromise the structural integrity of the frame. Understanding these limitations beforehand prevents costly damage to your home.
Next, examine the clearance between the sliding panels. If the gap between the overlapping doors is very narrow, a bulky lock will prevent the door from sliding open or closed even when the lock is disengaged. You must measure this clearance space carefully and compare it to the lock’s dimensions specified on the product label.
Match the child lock type to your door’s specific structure. Common options include adhesive strap locks, sliding track locks that clamp onto the track, and loop or handle locks. Each type has distinct advantages and limitations depending on whether your goal is to secure a lightweight wardrobe door or a heavy glass patio door.
Gather the Right Tools and Materials
Having all your tools prepared beforehand prevents interruptions and ensures a more precise installation. For basic preparation and adhesive-based locks, gather a measuring tape, a spirit level, a pencil for marking, a clean microfiber cloth, and rubbing alcohol (isopropyl alcohol). These items help you clean the surface and align the lock perfectly.

If you are installing a drill-mounted lock on a compatible wood or metal frame, you will need a power drill, drill bits specifically rated for your frame material, and appropriate screwdrivers. Using the correct drill bit—such as a high-speed steel bit for metal frames—prevents damage to both the tool and the door frame.
Safety is paramount during any home improvement task. Always wear safety glasses when drilling into metal or wood frames to protect your eyes from flying debris and metal shavings. Keep a vacuum cleaner or dustpan nearby to clean up any debris immediately, ensuring small particles are not left on the floor where a child could find them.
Step-by-Step Installation Process
Installing a child safety lock requires a methodical approach to ensure the device functions as intended. Before beginning any physical work, read the specific manufacturer’s instruction manual from start to finish to understand the exact alignment and mounting requirements. Every lock model has unique specifications that must be followed for optimal safety.
Establish a clear stop condition before you begin. If you discover that the door frame is structurally compromised, unusually thin, or if you suspect hidden electrical wiring or plumbing pipes run behind the frame, halt the installation immediately. In such cases, do not proceed with drilling; instead, consult a qualified professional to assess the area.
Installing Adhesive-Based Locks
Adhesive-based locks are highly popular for glass doors and rental properties because they do not require permanent modifications to the home. Begin by preparing the mounting surface thoroughly. Clean the exact area where the adhesive will sit using rubbing alcohol and a clean microfiber cloth to remove all grease, dust, and fingerprints.
Allow the surface to dry completely before proceeding. Even a tiny amount of moisture or cleaning residue can severely weaken the adhesive bond, causing the lock to fail when pressure is applied. Avoid using household glass cleaners, as they often leave behind a thin film that prevents proper adhesion.
Determine the correct height for the lock. It must be placed high enough to be completely out of your child’s reach, typically well above their eye level, while remaining comfortable for adults to operate. Measure and mark the spot lightly with a pencil to ensure accurate placement.
Position the lock temporarily without removing the adhesive backing to test the alignment. Ensure the sliding panel can move freely when the lock is disengaged and is completely blocked when the lock is active. Double-check that the lock does not interfere with the weather stripping or door seals.
Once you are satisfied with the alignment, peel off the protective backing from the adhesive pad. Press the lock firmly against the prepared surface, applying even pressure across the entire adhesive area for at least thirty seconds. This pressure activates the adhesive and ensures a strong initial bond.
Do not test or pull on the lock immediately after application. Most high-strength adhesives require a specific curing period—often twenty-four hours—to reach full bonding strength. Keep the door closed and prevent child access during this curing window to allow the adhesive to set completely.
Installing Drill-Required Locks
Drill-mounted locks offer a highly secure, permanent solution for wooden or metal-framed sliding doors. Hold the lock mechanism against the door frame at the desired height, ensuring it is well out of reach of young children. Use a spirit level to verify that the lock is perfectly straight, as misalignment can cause the locking pin to bind.
Use a pencil to mark the exact locations of the screw holes on the frame. Once marked, select a drill bit that matches the size recommended in the manufacturer’s manual. The bit should be slightly smaller than the screws to allow the threads to grip the frame material securely.
Drill the pilot holes at a controlled, steady speed. Keep the drill perfectly perpendicular to the frame to prevent the bit from slipping or creating angled holes, which could misalign the lock hardware. Take care not to drill too deeply, especially on hollow-core doors or thin metal frames.
If the frame material is hollow or requires extra support, insert the appropriate anchors into the drilled holes as specified by the manufacturer. Align the lock over the pilot holes and insert the screws. Tighten them firmly using a manual screwdriver to avoid over-torquing, which can strip the threads in wood or distort thin metal frames.
Test and Verify the Installation
Once the installation is complete and any adhesives have fully cured, you must rigorously test the lock before relying on it for safety. Operate the sliding door multiple times with the lock disengaged to ensure there is no friction, track obstruction, or misalignment caused by the new hardware.
Next, engage the lock and attempt to open the door from both sides. The door should remain firmly in place, with no gap wide enough for a child’s hand, head, or torso to pass through. If the door wiggles or opens slightly, adjust the lock alignment to minimize this play.
Apply moderate, controlled force to the door to simulate a child pushing or pulling against it. The lock must hold securely without shifting, popping off, or causing the door frame to flex excessively. If you notice any movement in the lock body, tighten the screws or re-evaluate the adhesive bond.
Verify that the unlocking mechanism is easy for an adult to operate, especially in an emergency, but remains complex enough to resist a child’s attempts to figure it out. Practice operating the lock a few times so that all caregivers in the household are familiar with its function.
Maintenance and Safety Checks
Child safety locks are subject to daily wear and tear, meaning regular maintenance is essential to ensure they remain effective over time. Perform a weekly inspection of the lock to check for any signs of wear, loosening, or degradation.
For adhesive locks, check for any peeling edges or signs of lifting. Environmental factors such as high humidity, direct sunlight, or temperature fluctuations can degrade adhesives over time, especially on patio doors. For drill-mounted locks, verify that the screws remain tight and have not worked loose from daily use.
Clean the lock mechanism periodically according to the manufacturer’s guidelines. Use a dry or slightly damp cloth to remove dust, pet hair, and debris that could jam the moving parts. Avoid harsh chemical cleaners or lubricants unless they are explicitly approved by the manufacturer, as they can degrade plastic components.
Establish a clear replacement rule for your household. If you observe visible cracks, rust, adhesive failure, or if the lock fails to engage smoothly and fully, replace the unit immediately. Keeping a spare lock on hand ensures you can maintain a secure environment without delay.
Frequently Asked Questions (FAQ)
Can I install a child lock on a glass sliding door without drilling?
Yes, installing a child lock on a glass sliding door without drilling is highly recommended. High-strength adhesive locks or specialized track-based clamps are the standard and safest options for glass surfaces. Drilling into tempered or standard glass is extremely dangerous, as it requires specialized professional tools and carries a severe risk of shattering the entire pane, making it entirely unsuitable for DIY installation.
What should I do if the adhesive lock keeps falling off?
If an adhesive lock repeatedly fails to stay attached, it is usually due to inadequate surface preparation, high ambient humidity, or exceeding the lock’s weight limit. Start by thoroughly cleaning the surface again with rubbing alcohol to remove any invisible oil or residue. If the door material is highly textured or porous, adhesives may not bond correctly; in such cases, consider switching to a mechanical track lock that clamps onto the frame without adhesive, or consult the manufacturer for alternative mounting options.

Community discussion
Share your experience or ask a question. Comments are reviewed before publication.