
To properly use a straw cleaner to clean baby drinking straws, you must completely disassemble the cup, soak the straw in warm soapy water, insert a properly sized straw cleaner brush using a gentle twisting and pushing motion from both ends, and flush it thoroughly under running water. This mechanical scrubbing action is the only reliable way to dislodge sticky milk fats, fruit pulp, and formula residue that water pressure alone cannot remove. Because baby straws are narrow and frequently damp, they require meticulous daily care to prevent the buildup of harmful bacteria and mold.
While transition cups and straw bottles are excellent for supporting oral motor development and helping babies transition away from bottles, their complex, narrow parts present unique cleaning challenges. Understanding the correct technique for using a straw cleaner ensures your child’s drinking vessels remain hygienic, safe, and free from hidden contaminants.
Why Thorough Straw Cleaning Is Essential for Baby Cups
Milk, formula, juices, and smoothies contain fats, proteins, and sugars that easily cling to the inner walls of flexible silicone or plastic straws. When a baby drinks, a small amount of liquid invariably flows back into the straw, leaving a thin layer of residue behind. Because these tubes are narrow, dark, and damp, they create an ideal environment for rapid bacterial and mold growth.
Products mentioned in this guide
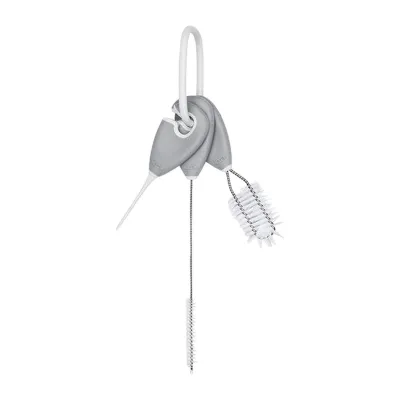
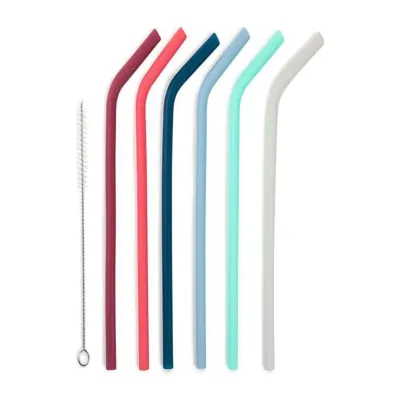
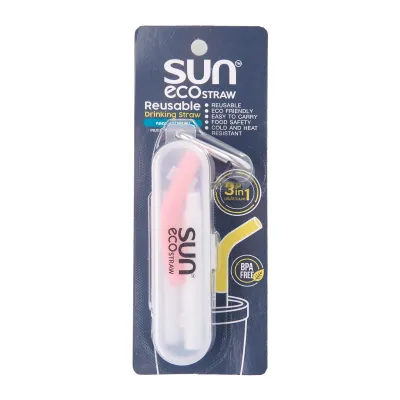
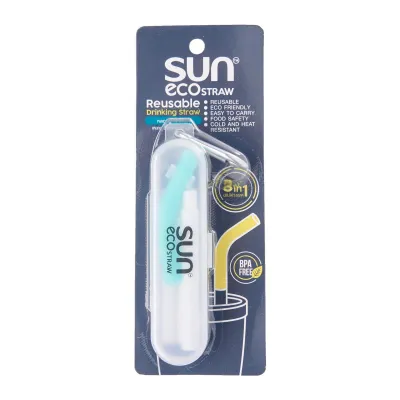
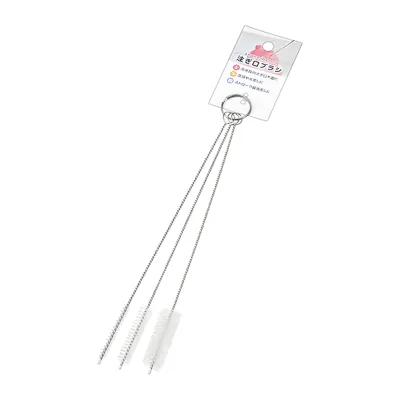
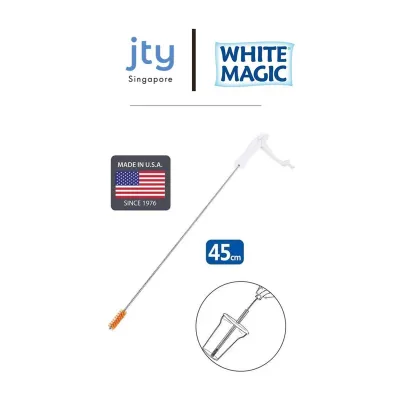
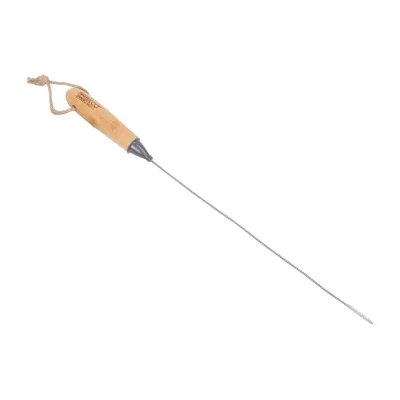
Prices are valid at publication and may change. Please refer to the product page for the latest price.
In warm and highly humid climates, such as Singapore’s, moisture trapped inside a narrow straw cannot evaporate quickly. This accelerated humidity makes the interior of the straw a prime breeding ground for black mold. If left uncleaned, these microscopic spores and bacteria can contaminate subsequent drinks, potentially leading to stomach upsets or other health concerns for your developing infant.
Standard rinsing, shaking, or simply running tap water through the straw is insufficient to remove this sticky biofilm. Water tension prevents the stream from thoroughly scrubbing the inner surface, leaving the residue intact. Daily mechanical friction using a dedicated straw cleaner is the only way to physically break up and remove this film, ensuring the feeding equipment remains genuinely sanitary.
Preparing Your Cleaning Station and Tools
Before you begin cleaning, it is essential to gather the correct tools to ensure the process is both safe and effective. The most critical tool is the straw cleaner itself. You must select a brush with the correct bristle length, thickness, and wire flexibility for your specific cup model. A brush that is too thick can stretch or tear delicate silicone valves, while one that is too thin will not make sufficient contact with the inner walls to scrub away residue.

Next, choose a mild, baby-safe dishwashing liquid. Opt for fragrance-free, plant-based formulas specifically designed for baby bottles and accessories. Standard household dish soaps often contain strong synthetic fragrances and harsh surfactants that can leave a persistent chemical taste or scent on silicone parts, which may cause your baby to reject the cup altogether.
Prepare a clean basin filled with warm water rather than washing the parts directly in the kitchen sink, which can harbor household bacteria. Finally, always keep the cup manufacturer’s disassembly and care instructions nearby. Different brands utilize unique valve designs, weighted balls, or multi-part straw assemblies, and understanding these specific configurations is vital to avoid damaging the components during cleaning.
Step-by-Step Guide to Cleaning Baby Straws
To achieve a thorough clean, you must execute a systematic physical cleaning sequence. Begin by disassembling the cup completely. Remove the straw from the lid, separate any silicone valves, and detach weighted balls or plastic connectors. Never leave parts connected during the wash, as moisture and residue inevitably get trapped in the joints and crevices where the pieces meet.
Once disassembled, submerge all the straw components in your basin of warm, soapy water for a few minutes. This brief soak helps loosen dried milk, formula, or thick puree residue, making the subsequent mechanical scrubbing much easier and reducing the risk of tearing the flexible silicone material.
After soaking, wet the bristles of your straw cleaner and apply a single drop of baby-safe dishwashing liquid directly to the brush. Hold the straw firmly in one hand and gently insert the brush into one end. Use a slow, twisting and pushing motion rather than forcing the brush straight through. Forcing a dry or oversized brush can puncture the silicone or bend the wire handle.
Push the brush through until the bristles emerge from the opposite end of the straw, then gently pull it back. Repeat this process from both ends of the straw to ensure complete coverage. Pay extra attention to bends, joints, and any built-in valves, as these areas are highly prone to trapping residue.
Once you have finished scrubbing, hold the straw vertically under running tap water to flush out all loosened debris and soap suds. To inspect your work, hold the clean straw up to a bright light source and look through the opening. The interior walls should appear completely clear, with no visible spots, cloudiness, or lingering debris. If you notice any remaining film, repeat the scrubbing process.
How to Clean and Maintain Your Straw Cleaner Brush
To prevent cross-contamination, the cleaning tool itself must be kept hygienic and functional. After you finish cleaning the baby straws, hold the brush bristles under hot running water. Use your fingers to gently splay the bristles, ensuring all trapped food particles, lint, or soap residues are completely flushed out from the wire core.
Regularly inspect the brush for physical wear and tear. Look closely for bent wires, rusted metal cores, or loose bristles. Over time, the wire handle can weaken from repeated bending, and the bristles may begin to shed. Loose bristles pose a severe choking hazard if they detach during cleaning and remain inside the baby’s straw, so any brush showing signs of shedding must be discarded immediately.
To sanitize the brush, wash the handle with warm soapy water and shake off excess moisture from the bristles. Store the brush upright in a well-ventilated cup or hang it by its handle loop so the bristles can air-dry completely. Avoid storing the brush flat on a damp countertop or inside a closed drawer, as this prevents proper drying and encourages bacterial growth on the bristles.
Drying and Storing Baby Straws Safely
Proper drying is just as important as the washing process itself. To prevent post-wash mold and bacterial growth, you must ensure complete dryness before storing the cup components. Place the cleaned, disassembled straw parts on a dedicated, well-ventilated baby bottle drying rack. Look for racks equipped with vertical pegs or narrow prongs designed specifically to hold straws upright.
Keeping the straws in a vertical or angled position is critical because it allows gravity to pull remaining water droplets down and out of the tube. Ensure there is adequate airflow around the drying rack, and avoid placing it in dark, damp corners of the kitchen.
Never store straw components in closed cupboards, airtight containers, or reassemble the cup while any part remains damp. Trapping moisture inside a sealed cup or a dark drawer guarantees mold growth within hours. Only reassemble the cup when you are ready to use it, ensuring all parts are bone-dry.
When to Replace Straws and Cleaning Brushes
Even with meticulous daily cleaning, baby straws and cleaning brushes do not last indefinitely. You must inspect your straw cleaner regularly for signs of degradation. Replace the brush immediately if you notice the bristles are shedding, the wire core is rusting, or the bristles have lost their stiffness and no longer make firm contact with the inner walls of the straw.
Similarly, inspect silicone and plastic straws daily during the washing process. Look for persistent cloudiness that does not wash away, micro-cracks, chew marks from teething babies, or stubborn sour odors. Teething infants often bite down on silicone straws, which can create tiny tears that harbor bacteria or cause pieces of the straw to break off, presenting a choking hazard. If you observe any physical damage or tears, stop using the straw immediately.
Always consult the manufacturer’s recommended replacement schedule for both the cup parts and the cleaning brushes. Many manufacturers suggest replacing silicone straws every two to three months to maintain optimal hygiene and safety, while replacement straw kits are often available for a few S$ from local baby specialty stores or online marketplaces.
Frequently Asked Questions (FAQ)
Can I put baby straws and straw cleaners in the dishwasher?
You must always check the manufacturer’s care instructions first, as compatibility varies by brand. While some silicone straws are labeled dishwasher-safe, the high heat of a dishwasher cycle can warp thin silicone or melt plastic brush handles. Furthermore, dishwasher spray arms cannot force water through the narrow, twisting interior of a baby straw. Therefore, even if the parts are technically dishwasher-safe, manual hand-scrubbing with a straw cleaner remains necessary to ensure all physical residue is removed.
How do I remove stubborn milk stains or odors from silicone straws?
For persistent odors or stains, you can use a natural cleaning solution. Create a paste of baking soda and water, or soak the disassembled straw parts in a solution of equal parts warm water and white vinegar for up to 15 minutes. After soaking, use your straw cleaner to scrub the interior thoroughly, then rinse the parts copiously with clean water to remove all traces of vinegar or baking soda. Avoid using harsh chemical bleaches, boiling water (unless explicitly permitted by the manufacturer), or abrasive scouring pads, as these can degrade the silicone material and compromise its safety.

Community discussion
Share your experience or ask a question. Comments are reviewed before publication.