
To clean baby bottle straws properly, disassemble the straw completely from the bottle assembly, rinse it immediately after use with warm water, and scrub the interior using a soap-coated straw brush with a gentle twisting, push-pull motion. This manual scrubbing is essential because simple rinsing cannot remove the sticky film left behind by milk fats and proteins. Once scrubbed, flush the straw with warm water, inspect it under a bright light for any remaining cloudiness, and dry it completely on an upright rack in a well-ventilated area.
Taking these steps daily ensures that your baby’s feeding equipment remains free from harmful bacterial accumulation. While cleaning might seem straightforward, the narrow design of straws requires specific techniques and tools to ensure every interior surface is thoroughly sanitized.
Why Thoroughly Cleaning Baby Bottle Straws Matters
Milk is a complex emulsion containing fats, proteins, and sugars that easily cling to surfaces. When milk passes through a narrow straw, a microscopic layer of residue adheres to the inner walls. If this residue is not promptly removed, it dries into a stubborn, greasy film that becomes increasingly difficult to dissolve with standard rinsing.
Products mentioned in this guide
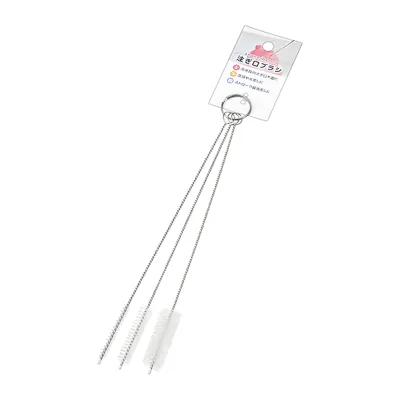
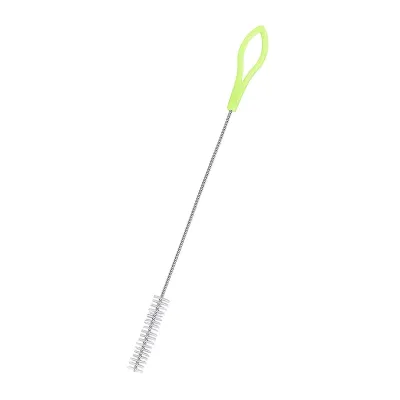
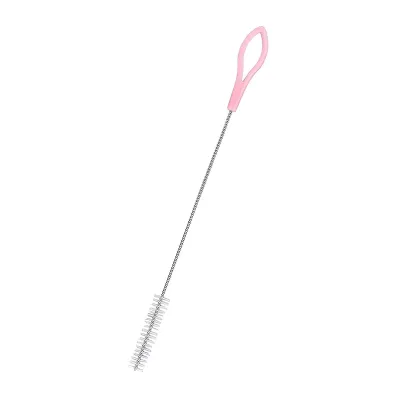
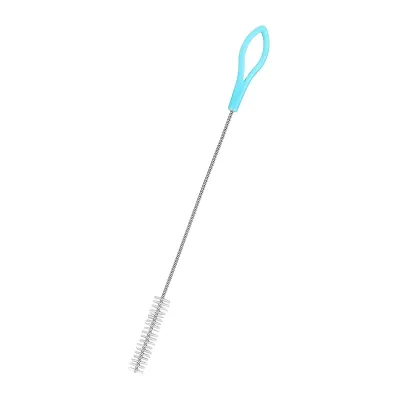
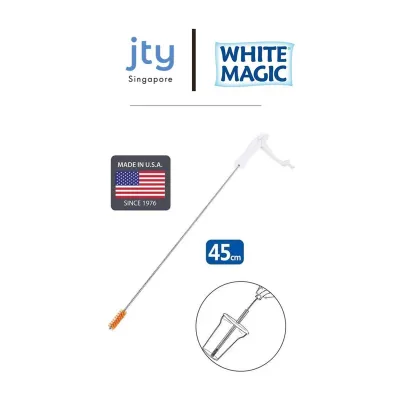
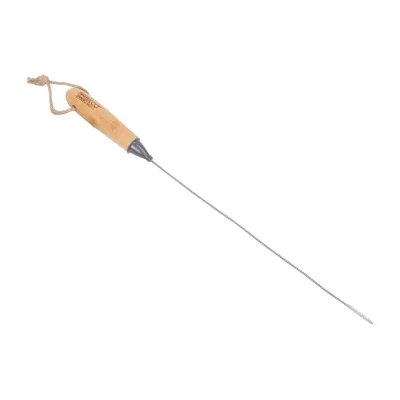
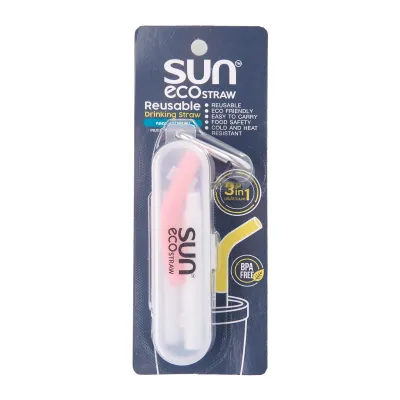
Prices are valid at publication and may change. Please refer to the product page for the latest price.
This organic buildup serves as an ideal breeding ground for bacteria and mold. Because the interior of a straw is dark, narrow, and frequently damp, pathogens can multiply rapidly within hours. Consuming milk that has passed through a contaminated straw can expose an infant to harmful bacteria, potentially causing gastrointestinal distress or other health complications.
An infant’s immune system is still developing, making them highly sensitive to foodborne pathogens. Meticulous daily cleaning of all feeding accessories is a critical safety barrier. Ensuring that straws are completely free of milk film is just as important as sterilizing the bottle itself.
Tools and Materials Needed for Straw Cleaning
Having the right tools on hand makes the cleaning process more effective and prevents damage to delicate silicone parts. Prepare the following items before you begin:

- Straw Brush: Look for a brush specifically designed for baby bottles. Nylon bristle brushes offer excellent scrubbing friction for clearing dried milk, while silicone brushes are highly durable, hygienic, and gentle on soft surfaces.
- Baby-Safe Bottle Wash: Use a fragrance-free, plant-based bottle wash. Standard household dish soaps often contain strong synthetic fragrances and surfactants that can leave a chemical residue, affecting the taste of the milk and potentially irritating your baby's sensitive digestive system.
- Warm Water: Warm water is crucial for breaking down and dissolving stubborn milk fats and proteins during the pre-rinse and scrubbing stages.
- Dedicated Drying Rack: A rack equipped with upright pegs elevates the straws, allowing gravity to drain water out and promoting airflow through the center.
Before purchasing a straw brush, verify that its brush diameter matches the straw’s inner diameter. A brush that is too wide can get stuck or stretch the silicone, while a brush that is too narrow will slide through without making contact with the inner walls, leaving residue behind.
Step-by-Step Guide to Cleaning Baby Bottle Straws
Following a structured cleaning routine ensures that no section of the straw is missed and that the material is protected from premature wear.
Preparing the Straw and Brush
Start by completely disassembling the baby bottle. Remove the straw entirely from the lid, collar, or gravity ball assembly, as cleaning these parts while they are still connected leaves hidden pockets where milk can pool and spoil.
If you cannot clean the straw immediately after a feeding, run warm water through the tube to flush out loose milk before it has a chance to dry. This quick step prevents the milk proteins from baking onto the material, making the subsequent scrubbing much easier.
Wet both the straw and the straw brush with warm water. Apply a small drop of baby-safe bottle wash directly to the brush head, working it into a light lather with your clean fingers to ensure even soap distribution.
Scrubbing the Inside of the Straw
Insert the soap-coated brush into one end of the straw. Instead of simply shoving the brush straight through, use a gentle twisting, rotating motion while slowly pushing and pulling the brush back and forth. This rotational movement allows the bristles to sweep every millimeter of the curved inner walls.
Adjust your scrubbing pressure based on the straw’s material. Soft silicone straws are highly susceptible to micro-tears; aggressive scrubbing with a stiff, wire-core brush can create microscopic scratches where bacteria can easily hide. Rigid plastic straws are more durable but can still scratch, so apply moderate, steady pressure.
Pay extra attention to the middle section and the ends of the straw. The ends are high-friction connection points where residue tends to accumulate, while the middle section is the hardest to reach and requires deliberate, deep passes with the brush.
Rinsing and Inspecting for Hidden Residue
Flush clean, warm water through the straw to wash away the suspended fats and soap suds. You can hold the straw directly under a running tap or use a clean squeeze bottle to force water through the channel at high pressure until the water runs completely clear.
Once rinsed, hold the wet straw up to a bright light source, such as a window or an overhead light, and look through the tube like a telescope. This visual check is the most reliable way to confirm the straw is clean.
If you observe any cloudy patches, water droplets clinging unevenly to the inner walls, or dark spots, a greasy milk film is still present. Repeat the soaping and scrubbing process immediately before proceeding to the drying phase.
How to Clean and Maintain Your Straw Brush
Your cleaning tools can easily become sources of cross-contamination if they are not maintained properly. After each cleaning session, wash the straw brush thoroughly with warm water and soap, rubbing the bristles to release any trapped milk particles or debris.
Sanitize the brush periodically to prevent bacterial growth on the bristles. Check the manufacturer’s instructions to verify if your brush is heat-resistant; if it is, you can submerge it in boiling water for three to five minutes or place it in a steam sterilizer. Do not boil brushes with plastic handles unless the packaging explicitly states they are heat-safe.
Store the brush in an upright position in a well-ventilated area, keeping the brush head pointing upward. Avoid laying a wet brush flat on a countertop or storing it inside a damp, closed cabinet, as trapped moisture encourages mold colonization.
Drying and Storing Straws to Prevent Mold
Moisture is the primary catalyst for mold growth in narrow channels, making the drying phase critical. Before placing the straw on a drying rack, shake it forcefully to expel trapped water droplets from the interior.
Always use a dedicated drying rack with upright pegs to keep the straws elevated. This vertical position allows gravity to pull moisture downward and out of the bottom opening, while keeping both ends open to maximize airflow through the center.
In high-humidity environments like Singapore, water evaporates slowly, leaving narrow tubes damp for extended periods. To ensure thorough drying, place your drying rack in a well-ventilated room away from the humid kitchen sink. You can also use a clean electric fan or a dedicated baby bottle dryer with a HEPA filter to speed up the process.
Verify that the straws are 100% dry inside and out before reassembling the bottle or storing them in a closed cupboard. Storing even slightly damp straws in an airtight space can lead to mold development within 24 to 48 hours.
When to Replace Baby Bottle Straws and Brushes
Feeding accessories have a limited lifespan, and regular replacement is necessary to maintain optimal hygiene. Inspect silicone straws regularly for physical signs of wear, such as yellowing, persistent cloudiness, or a sticky texture that does not resolve after washing.
Look closely for structural damage, including bite marks from teething infants, small tears, or punctures. These crevices compromise the straw’s integrity and create deep pockets where bacteria can hide. If you notice any of these signs, or if the straw retains a persistent sour odor, discard it immediately.
Your straw brush also requires regular replacement. Over time, nylon bristles become frayed, lose their stiffness, or begin to shed, reducing their cleaning efficiency. A bent wire core can expose sharp metal edges that scratch or puncture silicone straws. Replace the brush immediately if you spot rust on the wire or mold on the handle.
As a general practice, refer to the manufacturer’s guidelines for replacement intervals. Most brands recommend replacing silicone straws every one to three months and straw brushes every two to three months, depending on usage frequency.
Frequently Asked Questions (FAQ)
Can I put baby bottle straws in the dishwasher?
While some manufacturers label their straws as top-rack dishwasher safe, the dishwasher’s water sprays cannot effectively penetrate the narrow interior of a baby bottle straw. The dishwasher will only clean the outer surface, leaving internal milk residue untouched. You must always manually scrub the inside of the straw with a straw brush first. Always check the manufacturer’s instructions to ensure the straw can withstand the high heat of your dishwasher’s drying cycle without warping.
How do I remove mold that has already grown inside a straw?
If you discover mold inside a baby bottle straw, discard and replace it immediately. Silicone is a porous material, meaning microscopic mold spores can penetrate deep into the material where brushes and sanitizers cannot reach. Attempting to clean moldy silicone with bleach, vinegar, or harsh chemicals is unsafe for infant feeding items and can cause the material to degrade. Replacement is the only way to guarantee your baby’s health and safety.

Community discussion
Share your experience or ask a question. Comments are reviewed before publication.