
Choosing the right toddler spoon set requires matching the physical design of the utensil to your child’s current motor skills and developmental stage. Instead of relying on age labels on packaging, look closely at how your child holds objects and navigates food. A successful transition to self-feeding relies on selecting specific handle lengths, grip thicknesses, and bowl shapes that complement their evolving grasp. By aligning these features with your toddler’s physical milestones, you can minimize mealtime frustration and foster independent eating habits.
Identify Your Toddler's Current Feeding Stage
Recognizing your child’s developmental milestones is the first step in selecting the appropriate feeding tools. Before introducing a spoon, observe how your toddler interacts with food during family meals. Early readiness signals include the ability to sit upright with minimal support, reaching for your utensils, and bringing hands or toys directly to the mouth. If your child shows interest in mimicking your movements but lacks the coordination to scoop, they are likely in the pre-feeding or assisted feeding stage.
Motor skill development dictates how a child holds and manipulates objects. In the initial stages of self-feeding, toddlers typically use a palmar grasp, wrapping their entire fist around the handle of a spoon. This grasp relies on large arm movements from the shoulder and elbow rather than refined wrist control. As fine motor skills mature, you will notice a transition toward a pincer grasp, where the child uses their thumb and index finger to pinch and hold smaller items. This shift allows for more precise movements and signals readiness for a different style of utensil.
Products mentioned in this guide
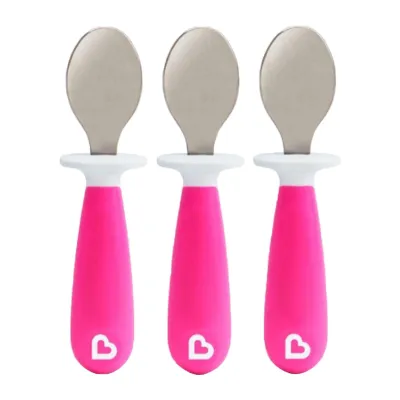
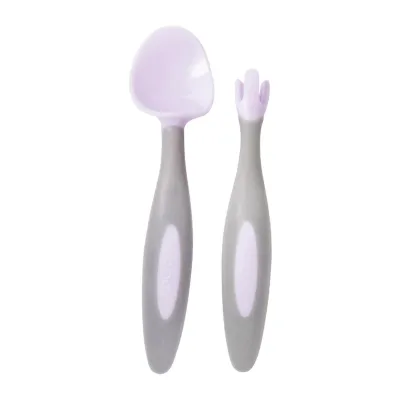
![Kirei Happy Daes [Japan Wooden Cutlery Series] Kids And Children Spoon (S) B-1625](https://img.lazcdn.com/g/p/e3bf23a440cc42e110b25f908a2f79fc.jpg_400x400q80.jpg_.webp)
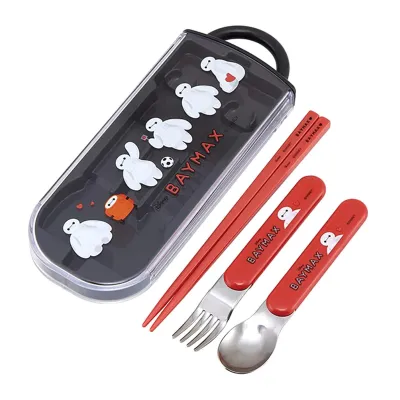
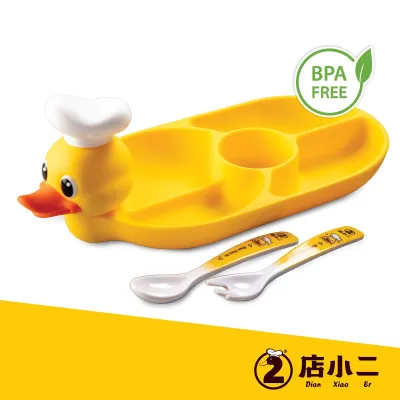
Prices are valid at publication and may change. Please refer to the product page for the latest price.
While encouraging independence is important, pay close attention to your child’s emotional cues during meals. If your toddler repeatedly drops the spoon, throws it in frustration, or refuses to eat when the utensil is presented, it may be a sign to pause. Stepping back to assisted feeding or finger foods for a few days can prevent negative associations with mealtime. Self-feeding is not a linear process, and temporarily returning to simpler tools or hand-over-hand guidance is a normal part of the learning journey.
Match Spoon Features to Developmental Milestones
Selecting the right utensil involves analyzing how specific design elements support your child’s physical capabilities. Different stages of weaning require distinct physical attributes in a spoon to help your child successfully transport food from the bowl to their mouth.

Handle Length and Grip Thickness
The dimensions of a spoon’s handle directly influence how much control a toddler has over the utensil. For beginners who still rely on a palmar grasp, a short, chunky handle is highly beneficial. These thick grips fill the child’s small palm, allowing them to secure a firm hold without needing advanced finger strength. Textured surfaces, such as raised ridges or soft silicone patterns, further prevent the spoon from slipping out of greasy hands during active meal sessions.
Short handles also offer a distinct mechanical advantage for early self-feeders. A shorter distance between the hand and the spoon bowl reduces the leverage required to lift food, making it easier for toddlers to guide the utensil toward their mouths. This design also keeps hands closer to the food, which naturally prevents them from poking the spoon too far into their mouths. Longer handles, by contrast, are difficult for young toddlers to balance and often result in food spilling before it reaches its destination.
As your child’s pincer grasp develops and their wrist rotation improves, you can gradually transition to spoons with longer, slimmer handles. These intermediate utensils mimic adult cutlery while still offering slightly contoured grips to support proper finger placement. This transition helps your child learn to rotate their wrist smoothly, a skill necessary for scooping from deeper bowls and eventually using standard tableware.
Spoon Bowl Size and Depth
The design of the spoon head determines how easily food is collected and cleared by the child’s lips. For infants and early toddlers, a shallow, narrow spoon bowl is often recommended. Young children have small mouths and are still learning how to use their upper lip to scrape food off a utensil. A shallow bowl ensures that the food sits close to the surface, allowing the child to clear the entire portion in a single, comfortable bite without gagging.
Flat or extremely shallow spoon bowls are particularly useful for scraping purees and soft mashed foods from the bottom of bowls or suction plates. These designs act almost like a spatula, making it easier for a learning toddler to gather food even with limited scooping coordination. If a spoon bowl is too deep, food tends to get trapped in the recess, leading to frustration as the child struggles to access the meal.
As your toddler grows and begins managing larger bites, you can introduce spoons with deeper, wider bowls. These larger heads are better suited for older toddlers who are learning to navigate liquid-heavy foods like soups, yogurts, or stews. The deeper recess helps contain liquids during the journey from bowl to mouth, reducing spills and building confidence as your child tackles more complex food textures.
Angled vs. Straight Spoon Heads
Angled spoon heads are designed to address a specific anatomical challenge that young toddlers face. Before the age of two, many children lack the wrist flexibility and rotation required to keep a straight spoon level while bringing it to their mouth. An angled head compensates for this limited range of motion by positioning the bowl of the spoon at a curve, allowing the child to feed themselves using a simple, straight-line arm movement.
When evaluating angled spoons, check the manufacturer’s specifications to understand the degree of the bend and whether the design is hand-specific. Some angled spoons are permanently curved for right-handed or left-handed users, while others feature flexible necks that allow parents to adjust the angle manually. If your child is still showing a strong preference for using both hands interchangeably, a flexible or straight design may be more practical than a rigid, single-direction angled spoon.
While angled spoons are practical training tools, they are intended to be temporary aids. As your child’s wrist flexibility and hand-eye coordination mature, you should plan to transition them back to straight spoons. This shift usually occurs naturally as you observe your child successfully rotating their wrist to scoop and level their food without spilling.
Evaluate Materials and Safety Specifications
When shopping for a toddler spoon set, verifying the safety and durability of the materials is critical. Always inspect manufacturer labels and product packaging to ensure the materials comply with food-grade safety standards. Look for clear indications that the utensils are free from bisphenol A (BPA), phthalates, and other potentially harmful chemical additives. Food-grade silicone, high-quality stainless steel, and BPA-free plastics are standard choices that offer durability and safety.
Safety evaluations must also include a physical inspection of the spoon’s construction to identify potential physical hazards. Avoid spoons with detachable decorative parts, weak joints, or glued components that could break apart under the pressure of toddler biting and chewing. A single-piece molded silicone spoon or a securely welded metal-and-plastic utensil minimizes the risk of small parts detaching and becoming choking hazards. Additionally, ensure the edges of the spoon bowl are smooth and rounded to protect your child’s sensitive gums and developing teeth.
Finally, verify the manufacturer’s cleaning and sterilization instructions to ensure the spoons fit your household routine. Some materials degrade quickly when exposed to high temperatures, while others are fully dishwasher-safe and compatible with steam sterilizers. Checking these limits beforehand prevents premature material degradation, such as warping, cracking, or the development of a sticky surface texture over time.
Assemble a Transitional Toddler Spoon Set
Building a practical, cost-effective utensil collection involves selecting a few versatile pieces rather than buying large, single-stage packages. A well-planned transitional set should include a mix of pre-spoons and training spoons to cover different meal types and textures. For example, textured pre-spoons are well-suited for thick purees and yogurts, while shallow, straight spoons work well for mashed vegetables and early scooping practice.
As your child’s skills progress, be prepared to retire early-stage spoons that no longer match their physical capabilities. Continuing to use a very short, thick pre-spoon when your child is ready for wrist rotation can actually hinder their motor development. If you notice your child trying to hold a chunky spoon with their fingers rather than their palm, or if they struggle to scoop larger portions, it is time to move them to a longer, slimmer training spoon.
To avoid overbuying, focus on multi-stage designs that adapt to your child’s growth. Some sets feature interchangeable heads or flexible handles that can be adjusted as your toddler’s grip matures. By prioritizing quality materials and versatile shapes, you can successfully guide your child through every stage of self-feeding with just a few carefully chosen utensils.
Frequently Asked Questions (FAQ)
When should I introduce a fork alongside the spoon set?
You can introduce a training fork once your toddler demonstrates consistent control over their spoon and shows the motor skills required for a stabbing motion. This typically occurs when the child can successfully guide a spoon to their mouth without spilling most of the contents. Look for soft food textures like cooked vegetable rounds, banana slices, or soft cheese cubes to help them practice piercing food safely. When choosing an early fork, ensure the tines are rounded and blunt to prevent oral injuries, and select a handle that matches the grip style your child is currently using for their spoon.
How do I clean silicone spoons to prevent sticky residue?
Silicone spoons can sometimes develop a sticky residue over time, which is usually caused by a buildup of food oils or hard water minerals reacting with dish soap. To resolve this, you can wash the spoons thoroughly with a paste made from baking soda and warm water, scrubbing gently to lift the oils. Alternatively, boiling the silicone utensils in clean water for a few minutes can help release trapped residues. If you notice the silicone material is starting to tear, crack, peel, or feel permanently sticky despite thorough cleaning, stop using the spoon immediately and replace it to ensure your child’s safety.

Community discussion
Share your experience or ask a question. Comments are reviewed before publication.