
Choosing the right rubber edge protector for your home involves matching the specific geometry of your furniture with the physical properties of the guard. As infants transition from crawling to pulling themselves up, low-lying surfaces like coffee tables, TV consoles, and bed frames become immediate impact hazards. Selecting an inappropriate protector can lead to peeling guards, damaged furniture finishes, or inadequate cushioning during a fall. By evaluating your furniture’s shape, material, and daily usage, you can establish a secure environment that supports your child’s developmental milestones.
In tropical climates like Singapore, high humidity levels can affect how adhesives cure and hold over time. This environmental factor makes it even more critical to select the correct combination of protector material and adhesive backing. Rather than relying on a one-size-fits-all solution, taking a systematic approach to assessing each piece of furniture ensures that your baby-proofing efforts remain durable, effective, and safe for your home. Remember that edge guards are supportive safety measures and do not replace active caregiver supervision.
Assess Your Furniture: Identifying Edge Shapes and Surface Materials
Before purchasing any edge protection, examine the physical profile of each furniture piece. Sharp, 90-degree corners require standard L-shaped protectors that cover both the top and side surfaces of the edge. For thinner surfaces, such as glass tabletops or metal shelving, a U-shaped guard wraps around the top, bottom, and outer edge to provide complete coverage. Rounded or bullnose edges present a different challenge, as standard L-shaped guards may not sit flush; these surfaces often require flexible, flat-profile cushioning that can conform to gradual curves. For isolated sharp points, pre-formed ball-corner guards offer targeted impact absorption without the need to cut or bend straight rolls.
Products mentioned in this guide
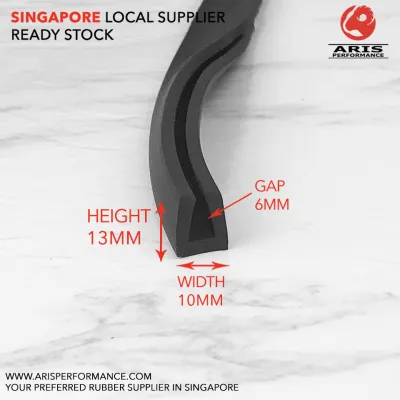
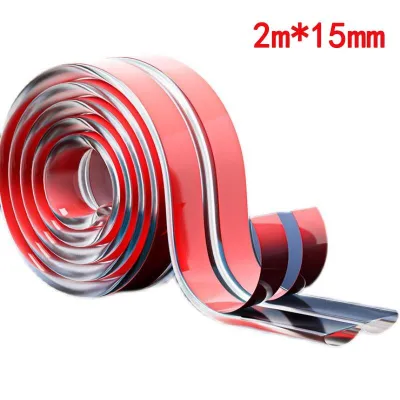
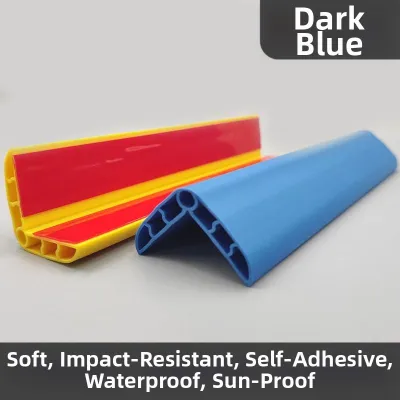
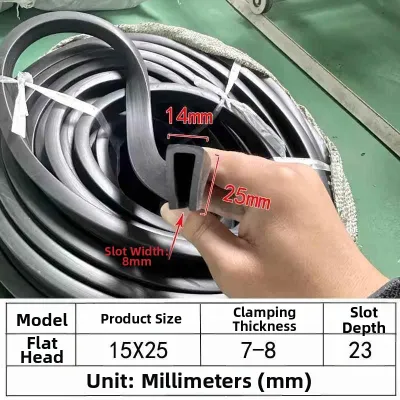
Prices are valid at publication and may change. Please refer to the product page for the latest price.
The material of your furniture dictates the type of adhesive you can safely use. Solid wood with a robust polyurethane finish can generally tolerate stronger adhesives, but delicate wood veneers, paper laminates, and painted surfaces are highly susceptible to peeling or stripping when guards are removed. Glass and metal surfaces provide excellent adhesion but require clean, residue-free removal methods to prevent permanent marking. Always inspect the condition of the furniture’s finish before application; if a veneer is already peeling or paint is chipping, the adhesive may pull the finish off entirely during installation or removal.
Accurate measurement is essential to avoid gaps in protection. Use a flexible measuring tape to determine the total length of all exposed edges that fall within your child’s reach, typically up to one meter from the floor. Calculate the total length required and add a ten percent margin to account for trimming, corner mitering, and potential installation errors. Note the width of the furniture edges as well, ensuring the protector you select does not overhang, which makes it easier for curious toddlers to pull loose.
Match Protector Specifications to Specific Furniture Types
Different furniture pieces serve different functions and carry varying levels of impact risk, requiring specific protector profiles. Coffee tables and low entertainment units sit directly at a toddler’s head height, making them high-impact zones. For these pieces, prioritize thick, high-density rubber or foam cushioning that can absorb significant force. Look for closed-cell foam or dense rubber protectors that do not bottom out when compressed, ensuring a soft barrier if a child loses their balance while learning to stand.

Dining tables and kitchen countertops require a balance between safety and daily usability. Thick, bulky guards on a dining table can interfere with seating or catch on clothing, leading to premature peeling. For these surfaces, select low-profile or tapered edge guards that provide sufficient impact protection along the sharpest point of the drop while maintaining a relatively flat surface for dining, writing, or food preparation. Tapered designs allow items to slide over the edge more easily, reducing the risk of the guard being pried loose during daily activities.
Glass tables and display cabinets present aesthetic and structural challenges. Standard opaque foam guards can look obtrusive on glass, and the adhesive backing is often visible from underneath. For these items, clear rubber or silicone edge protectors offer a discreet alternative that blends with the transparent material. When selecting clear guards, verify that the adhesive is specifically formulated for glass surfaces to ensure a strong bond that remains clear over time without turning yellow or leaving a cloudy residue.
Textured surfaces, such as brick fireplace hearths or stone ledges, cannot support standard adhesive tapes due to their uneven surfaces. For these areas, look for extra-wide, heavy-duty rubber guards designed to wrap around rough masonry. Because standard double-sided tape struggles to bond with porous stone or brick, you must verify the manufacturer’s documentation for recommended specialized mounting adhesives or mechanical fasteners, ensuring the guard remains firmly anchored to the textured surface.
Evaluate Adhesive Strength and Material Safety
The effectiveness of a rubber edge protector relies heavily on its adhesive backing. Many products come with pre-applied double-sided tape, which simplifies the installation process. However, for high-traffic areas or determined toddlers, separate heavy-duty mounting tapes or adhesive gels often provide a more secure bond. When choosing an adhesive, consider the balance between holding power and ease of removal. A tape that is too weak will peel off under minimal pressure, while an excessively strong industrial adhesive can ruin expensive furniture finishes.
Because infants and toddlers naturally explore their environment with their mouths, material safety is a paramount consideration for any baby-proofing product. When selecting rubber edge protectors, carefully check product labels and manufacturer specifications for non-toxic, BPA-free, lead-free, and phthalate-free material claims. Avoid products with strong chemical odors, which can indicate the presence of volatile organic compounds (VOCs) or low-grade plastics. Since you cannot verify chemical compositions visually, look for products that state compliance with recognized toy safety standards or material safety certifications.
To protect your furniture from long-term damage, plan your removal strategy before applying the adhesive. Always test a small piece of the adhesive tape on a hidden or inconspicuous spot of the furniture—such as the underside of a table leg—and leave it for 48 hours. Remove it to check if the adhesive strips the paint, varnish, or veneer. This simple test helps you determine whether the adhesive is compatible with your furniture’s finish before committing to a full installation.
Application, Inspection, and Replacement Triggers
Proper surface preparation is the single most important factor in ensuring your edge protectors stay in place. Dust, oils, polish residue, and moisture will prevent adhesives from bonding correctly, especially in humid environments. Clean the furniture edge thoroughly using rubbing alcohol (isopropyl alcohol) and a clean microfiber cloth. Avoid using household surface cleaners, as many leave behind a thin, slick residue that compromises the adhesive. Allow the surface to dry completely before proceeding with the installation.
When applying the protector, measure and cut the rubber strip to the exact length required. For corners, you can use pre-cut corner guards first, then butt the straight edge strips tightly against them to eliminate gaps. Alternatively, you can miter the corners of a continuous roll by cutting 45-degree angles for a seamless fit. Once positioned, apply firm, even pressure along the entire length of the protector for at least 30 seconds. Most adhesives require a curing period to reach maximum strength; keep your child away from the newly installed guards for at least 24 hours to allow the bond to set completely.
Baby-proofing is not a set-and-forget task; regular inspections are necessary to maintain a safe environment. Check the edge protectors weekly for signs of wear, peeling, tearing, or loose corners. A partially detached rubber guard or a loose corner piece poses a serious choking hazard if a child manages to bite or pull it off. If you notice any tearing of the rubber material or if the adhesive begins to fail, remove the compromised section immediately, clean the surface, and apply a fresh protector to ensure continuous safety. Always verify age suitability and manufacturer warnings from the specific product documentation before use.
Frequently Asked Questions (FAQ)
Can I use rubber edge protectors on outdoor or patio furniture?
Standard indoor rubber edge protectors are generally not suitable for outdoor use. Exposure to direct sunlight, ultraviolet (UV) radiation, rain, and temperature fluctuations will rapidly degrade standard rubber, causing it to become brittle, crack, or lose its cushioning properties. Furthermore, typical indoor adhesives will quickly break down when exposed to moisture and heat, causing the guards to fall off. If you need to protect outdoor areas, check the manufacturer’s specifications for outdoor-rated, weather-resistant materials and marine-grade or weather-resistant adhesives designed to withstand environmental exposure.
How do I safely remove adhesive residue from wood furniture?
To remove adhesive residue without damaging wood finishes, avoid using sharp metal scrapers or harsh chemical solvents like acetone, which can strip varnish and stain. Instead, apply gentle heat to the area using a hairdryer on a low setting to soften the adhesive. Once warmed, slowly peel the residue away with your fingers or a plastic scraper. For remaining sticky spots, apply a small amount of mild vegetable oil, baby oil, or a manufacturer-approved adhesive remover designed specifically for wood surfaces. Let it sit for a few minutes to break down the adhesive, then wipe it clean with a soft cloth and soapy water.

Community discussion
Share your experience or ask a question. Comments are reviewed before publication.