
Selecting a liquid cleanser for your baby’s feeding equipment requires understanding how different materials interact with cleaning agents. There is no single universal formula that performs identically across all bottle types. The right choice depends on matching the cleanser’s ingredient profile to your specific bottle material—whether glass, plastic, or silicone—and following the manufacturer’s care instructions.
By evaluating labels, verifying material compatibility, and adopting proper washing techniques, you can maintain the integrity of your baby bottles while ensuring they are thoroughly cleaned. This guide provides a practical framework to help you choose a compatible liquid cleanser and establish a safe, effective cleaning routine.
How Bottle Materials React to Cleansers
Different bottle materials possess distinct physical and chemical properties that dictate how they respond to liquid cleansers. Plastic bottles, typically made from polypropylene (PP) or polyphenylsulfone (PPSU), are lightweight and durable but highly susceptible to micro-scratches. These tiny surface abrasions can easily harbor milk residues and bacteria. Furthermore, plastic polymers can gradually degrade, warp, or become cloudy when exposed to harsh solvents, highly alkaline formulas, or extreme temperatures.
Products mentioned in this guide
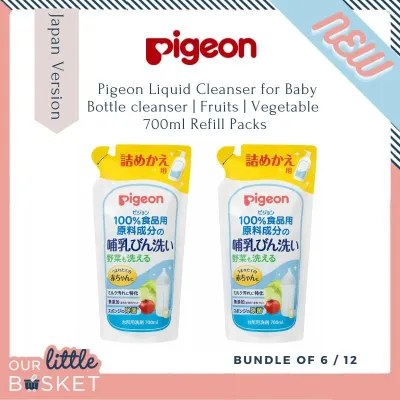
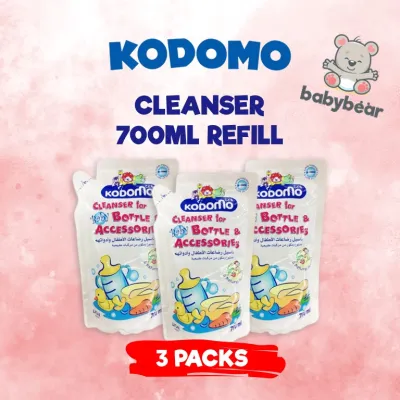
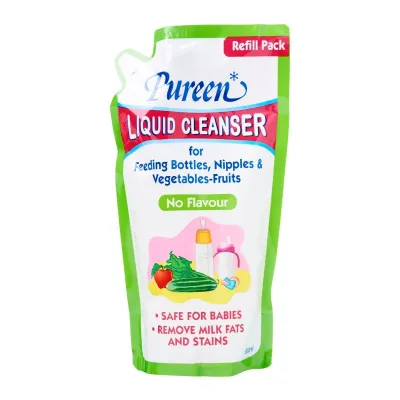
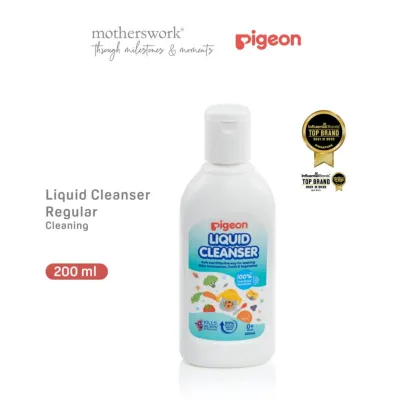
Prices are valid at publication and may change. Please refer to the product page for the latest price.
Silicone is widely used for flexible bottle bodies, nipples, and valve components. While highly durable and heat-resistant, silicone is naturally lipophilic, meaning it readily attracts and binds to milk fats. If a liquid cleanser lacks sufficient degreasing capability, a stubborn, greasy film can build up on the surface. Silicone is also highly porous at a microscopic level, making it prone to absorbing strong chemical fragrances and retaining stale milk odors over time.
Glass bottles offer excellent chemical resistance and do not absorb odors or oils. They tolerate a wide variety of cleaning agents without degrading or scratching. However, glass is physically fragile and vulnerable to thermal shock if subjected to sudden, extreme temperature changes. Because glass becomes highly slippery when wet, using a liquid cleanser that rinses away quickly and completely is essential to minimize handling hazards during the washing process.
What to Check on Liquid Cleanser Labels
When evaluating a liquid cleanser, the choice of surfactants is the most critical factor. Surfactants are the active agents responsible for breaking down surface tension, lifting milk fats, and suspending residues so they can be washed away. Mild, plant-based surfactants—such as those derived from coconut or corn (for example, coco-glucoside or decyl glucoside)—are generally preferred for baby bottles. These ingredients effectively break down breast milk and formula residues without leaving harsh chemical films on the bottle walls.

It is equally important to scrutinize the label for unnecessary additives. Artificial dyes, strong synthetic fragrances, and chemical thickeners serve no functional purpose in cleaning baby bottles. Synthetic fragrances are particularly problematic because they can linger on silicone nipples, potentially altering the taste of the milk and causing some infants to reject the bottle. Thickeners, often added to make household dish soaps feel more concentrated, can make the liquid cleanser much harder to rinse out of narrow bottle necks and complex valve systems.
To ensure a clean finish, look for formulas that emphasize clean-rinsing properties. A highly rinsable liquid cleanser is formulated to dissolve completely in water, leaving zero soapy residue behind. This is especially important for intricate feeding components, such as anti-colic valves and straw attachments, where trapped soap residue could easily mix with the next feed. Parents should verify these claims by checking the ingredient list for simple, biodegradable components rather than relying solely on front-label marketing.
Choosing a Cleanser by Bottle Material
To maintain your feeding equipment, you must align your primary cleaning goal with the specific vulnerabilities of each material. For instance, silicone requires deep grease removal, whereas plastic demands surface protection against scratching and chemical wear.
The table below outlines the ideal cleanser characteristics and ingredients to avoid for each primary bottle material:
| Bottle Material | Primary Cleaning Goal | Ideal Cleanser Traits | Ingredients & Formulas to Avoid |
|---|---|---|---|
| Plastic (PP, PPSU) | Prevent scratches and chemical cloudiness | Mild, plant-derived surfactants; neutral pH | Strong alkaline formulas, harsh solvents, abrasive agents |
| Silicone | Cut stubborn milk fats and eliminate odors | Effective, clean-rinsing degreasers; fragrance-free | Heavy synthetic perfumes, oil-based additives, thick gels |
| Glass | Ensure a streak-free, residue-free finish | Highly water-soluble surfactants; rapid-rinse formulas | Heavy dyes, slow-rinsing thickeners, highly viscous soaps |
Plastic Bottles: Preventing Cloudiness and Odor Trapping
Plastic baby bottles require gentle chemical treatment to preserve their structural integrity. Strong alkaline formulas or solvent-based cleansers can weaken the plastic structure, leading to premature aging of the bottle. This degradation often manifests as a cloudy appearance, physical warping, or a sticky texture on the inner walls.
To prevent these issues, always select a liquid cleanser with a neutral pH. If you notice persistent cloudiness that does not wash away, or if the plastic feels sticky even after a thorough rinse, these are immediate signs of material degradation. In such cases, the bottle should be replaced promptly to prevent any risk of chemical leaching or bacterial accumulation in the compromised surface.
Silicone Parts: Cutting Grease Without Degradation
Cleaning silicone components requires a delicate balance between effective degreasing power and material safety. Because silicone holds onto milk lipids tightly, a cleanser that is too weak will leave a slick, greasy film. This film not only harbors bacteria but can also cause the silicone to deteriorate and lose its elasticity over time.
To address this, choose a liquid cleanser formulated to target milk fats specifically, but ensure it is free from heavy synthetic fragrances that can become permanently trapped in the porous silicone. If a nipple or valve retains a sour milk smell or a sticky residue despite washing, it indicates that the current cleaning routine or cleanser is inadequate. Regular inspection of these parts is vital, as degraded silicone can tear easily, presenting a potential choking hazard.
Glass Bottles: Prioritizing Streak-Free Rinsing
Because glass is highly resistant to chemical wear, your primary focus when cleaning glass bottles should be on rinsability and physical safety. Glass does not suffer from the chemical vulnerability of plastic or the oil-retention issues of silicone, meaning it can tolerate a broader range of mild liquid cleansers.
However, any soap residue left on glass will show up as visible, cloudy streaks. To ensure a streak-free finish, select a liquid cleanser that dissolves rapidly and rinses away with minimal water. This not only guarantees a clean surface but also reduces the amount of time you spend handling slippery glass under running water, lowering the risk of accidental drops and breakage.
How to Verify Compatibility Before Full Use
Before introducing a new liquid cleanser to your entire inventory of baby bottles, always cross-reference the cleanser’s packaging with the bottle manufacturer’s official care and warranty instructions. Some manufacturers specify restrictions on certain types of cleaning agents or warn against specific chemical exposures that could void the product warranty or compromise the material.
To ensure compatibility, perform a simple spot test on a single bottle or a spare silicone nipple before washing your entire set. Wash the test item with the new liquid cleanser according to the directions, rinse it thoroughly, and allow it to dry completely. Inspect the item closely under good lighting to ensure there are no adverse reactions.
Discontinue use of the liquid cleanser immediately if you observe any of the following stop-use conditions:
- Visible discoloration or yellowing of plastic or silicone parts.
- Physical warping, distortion, or changes in the shape of the bottle or nipple.
- A persistent, chemical, or soapy odor that remains after thorough rinsing and drying.
- A sticky, tacky, or slimy texture on the surface of the material, which indicates polymer breakdown.
If any of these signs occur, replace the affected bottle components and consult the manufacturer’s guidelines or a qualified professional for advice on compatible cleaning alternatives.
Pairing the Right Brushes and Rinsing Techniques
Even the most compatible liquid cleanser requires the right physical tools to clean effectively without causing mechanical damage. For plastic and silicone bottles, avoid stiff nylon bristle brushes, which can create microscopic scratches on the inner surfaces. Instead, opt for soft silicone bottle brushes or sponge-tipped brushes designed specifically for delicate feeding gear. Glass bottles can tolerate standard bristle brushes, but care must still be taken to avoid striking the bottom or neck of the bottle forcefully.
Water temperature plays a key role in the rinsing process. While cold water can cause milk fats to solidify and stick to the bottle walls, warm water helps to dissolve both the fats and the liquid cleanser’s surfactants, ensuring a complete rinse. Always rinse every component thoroughly under clean, running water to flush away all traces of suspended soil and soap residue.
In humid climates, proper drying is essential to prevent the growth of mold and bacteria in damp, enclosed spaces. After rinsing, place all bottle parts upside down on a clean, dedicated drying rack in a well-ventilated area. Avoid drying bottles with household dish towels, which can transfer lint and bacteria back onto the clean surfaces. Allow all components to air-dry completely before reassembling or storing them.
Frequently Asked Questions (FAQ)
Can I use regular household dish soap for baby bottles?
Regular household dish soaps are generally not recommended for baby bottles because they are formulated for heavy kitchen grease and often contain highly concentrated surfactants, strong synthetic perfumes, and artificial dyes. These heavy formulations can be very difficult to rinse completely from the narrow confines of baby bottles, frequently leaving behind a chemical residue or a strong fragrance that can affect the taste of the milk.
If you find yourself without a dedicated baby bottle cleanser, you may use a mild, fragrance-free household dish soap as a temporary alternative. However, you must use a very small amount and rinse the bottles much more rigorously with warm running water to ensure all soap residue is entirely removed. For regular, daily cleaning, a dedicated liquid cleanser formulated specifically for baby feeding equipment is highly preferred to minimize residue risks.
Do I need a different cleanser for the bottle and the nipple?
No, you do not need to purchase separate liquid cleansers for the bottle body and the silicone nipple. A single, well-chosen liquid cleanser that is mild, fragrance-free, and clean-rinsing can safely and effectively clean both components. The key is to adjust your physical cleaning technique to suit each part’s specific design.
While the bottle body can handle gentle scrubbing with an appropriate brush, silicone nipples and delicate anti-colic valves require extra care. Avoid pushing bottle brushes forcefully through the nipple hole, as this can easily stretch or tear the silicone. Instead, use your fingers to gently massage the liquid cleanser into the nipple tip, or use a small, soft detail brush designed specifically for nipple cleaning. Regularly inspect the nipples for signs of wear, such as thinning, stickiness, or cracks, and replace them immediately if any degradation is found.

Community discussion
Share your experience or ask a question. Comments are reviewed before publication.