
Selecting the right bottle cleaner is more than a matter of choosing a pleasant scent or a recognizable brand. The material of your baby’s feeding bottles—whether glass, plastic, or silicone—directly dictates how milk residues adhere to the surface and how the material reacts to different chemical formulations. Using an incompatible cleaner or brush can lead to persistent milk films, scratched surfaces that harbor bacteria, or lingering chemical odors that can disrupt feeding.
To maintain the hygiene and longevity of your baby’s feeding gear, you must match the chemical properties of your bottle cleaner to the physical characteristics of the bottle material. This guide breaks down the science behind glass, plastic, and silicone bottles, helping you choose the safest, most effective cleaning agents and tools for each type.
Why Bottle Material Dictates Your Cleaner Choice
Every bottle material has a unique molecular structure that governs its porosity, scratch resistance, and tendency to absorb odors. Glass is a hydrophilic, non-porous material with a highly scratch-resistant surface. Because it is smooth and hard, milk fats and proteins cannot easily penetrate its surface, though they can still form a stubborn film if not properly emulsified. This structural durability allows glass to withstand stronger cleaning agents and stiffer brushes without sustaining damage.
Products mentioned in this guide
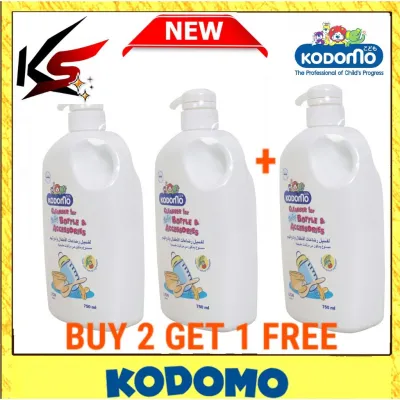
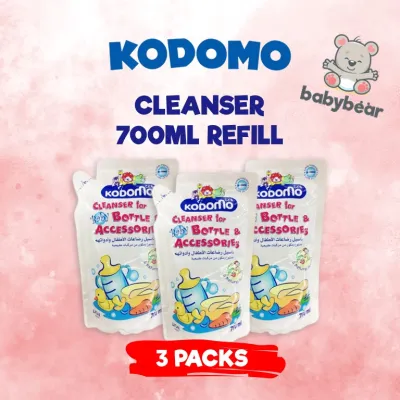
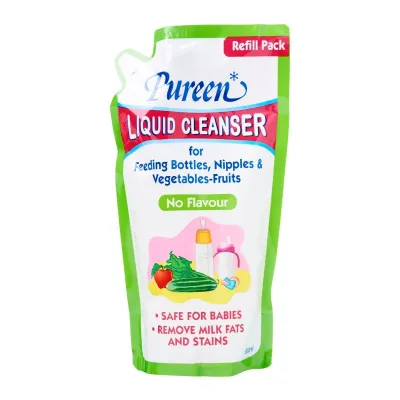
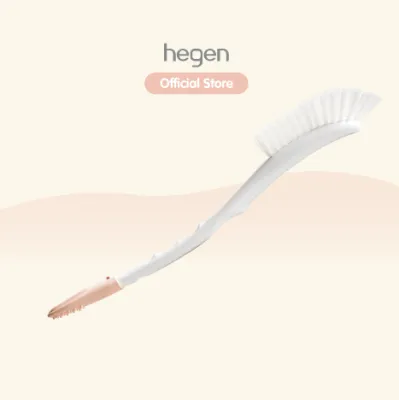
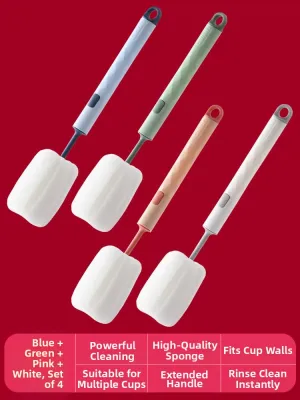
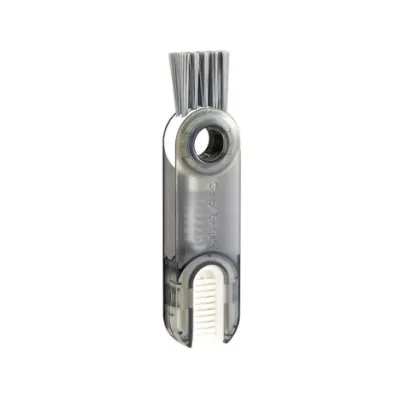
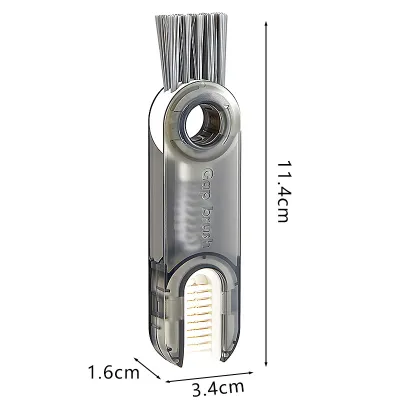
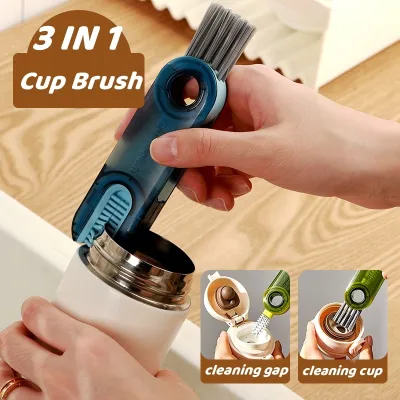
Prices are valid at publication and may change. Please refer to the product page for the latest price.
In contrast, plastics such as Polypropylene (PP), Polyphenylsulfone (PPSU), and Polyethersulfone (PES) are hydrophobic polymers. They naturally attract organic lipids, meaning milk fats cling tightly to plastic walls. Furthermore, plastic is relatively soft and highly susceptible to micro-scratches. When abrasive cleaners or stiff-bristled brushes are used on plastic, they create microscopic grooves. These tiny scratches become breeding grounds for opportunistic bacteria and trap milk fats, leading to persistent odors and cloudiness that are nearly impossible to wash away.
Silicone presents a different set of challenges. While highly flexible and heat-resistant, silicone is a low-surface-energy elastomer with a microscopic structure that readily absorbs hydrophobic substances, including essential oils, fats, and synthetic fragrances. If you wash a silicone bottle with a heavily perfumed cleaner, the silicone molecules will trap the scent, which can taint subsequent feeds and cause babies to reject their milk. Understanding these physical differences is the first step toward preserving your bottles and ensuring they are thoroughly sanitized.
Choosing and Using Cleaners for Plastic Bottles
When cleaning plastic bottles, your primary objective is to dissolve stubborn milk fats without causing polymer degradation or surface abrasion. Plastic bottles require a mild bottle cleaner formulated with plant-based surfactants, such as decyl glucoside or coco-glucoside. These gentle cleansers lower the surface tension of water, allowing it to lift away oily residues without stripping or weakening the plastic structure. Avoid formulas containing harsh synthetic solvents or high concentrations of alcohol, which can cause plastic to become brittle, yellow, or cloudy over time.

Tool selection is just as critical as the chemical formulation. Never use stiff nylon brushes or abrasive scouring pads on plastic bottles. Instead, opt for soft silicone brushes or high-density sponge brushes. Sponge brushes are exceptionally gentle and conform easily to the contours of the bottle, wiping away milk film without leaving micro-scratches. If you prefer silicone brushes, ensure the bristles are flexible and soft to the touch.
To verify that your cleaning routine is effective, perform a physical and visual check after rinsing. Once the bottle is dry, run a clean finger along the inner walls. If the surface feels slippery, greasy, or sticky, it indicates that milk fat residue remains, or that your cleaner is not rinsing away completely. Persistent cloudiness that does not disappear after a thorough rinse is often a sign of micro-scratching or material degradation, signaling that the bottle may need to be replaced.
Choosing and Using Cleaners for Glass Bottles
Glass bottles are highly durable and do not scratch easily, making them compatible with a wider variety of cleaning formulations. To tackle the stubborn protein and fat residues that can settle on glass, look for enzyme-based bottle cleaners. Cleaners containing food-grade enzymes, such as amylase and protease, physically break down the complex structures of milk proteins and lipids, allowing them to be washed away effortlessly. Because glass is non-porous, these stronger, highly effective degreasing agents can be used safely without any risk of chemical absorption.
While glass can withstand stiffer nylon brushes, you must still exercise caution during the washing process. Avoid using excessive force or metal-tipped brushes that could strike the neck, rim, or base of the bottle, as this can cause micro-cracks, chipping, or structural weakness. Inspect your glass bottles regularly under direct light to check for hairline fractures, especially around the threaded neck where the collar screws on.
In Singapore’s climate, tap water minerals can sometimes combine with soap residue to leave unsightly white spots or a dull film on clear glass. If you notice hard water stains or a persistent mineral film, you can restore clarity by rinsing the bottles with a mild, natural acidic solution, such as diluted white vinegar, provided this aligns with the bottle manufacturer’s care instructions. Always follow this with a thorough rinse under running water to remove any acidic trace before sterilization.
Choosing and Using Cleaners for Silicone Bottles and Components
Silicone bottles and accessories require a specialized approach due to their unique molecular affinity for fats and odors. To prevent your silicone bottles from developing a greasy film or a stale milk smell, you must use a bottle cleaner with superior lipid-cutting properties. The formulation must be entirely fragrance-free. Because silicone easily absorbs synthetic perfumes, scented cleaners will leave a lingering soapy aroma that can alter the taste of the milk and cause your baby to reject the bottle.
If your silicone components have already absorbed stubborn odors, you can employ safe, non-chemical deodorizing methods. Applying a paste of food-grade baking soda and water to the silicone, letting it sit for a short period, and then rinsing thoroughly can help neutralize trapped smells. Alternatively, boiling the silicone components in clean water can help release trapped volatile compounds. Always consult the manufacturer’s manual beforehand to verify the maximum temperature limits and recommended boiling times for your specific silicone parts.
Special attention must be paid to small silicone components, such as nipples, anti-colic valves, and breast pump membranes. Milk fat accumulates rapidly in these tight spaces, creating a prime environment for bacterial growth. Use specialized, narrow teat brushes made of soft silicone or fine sponge to clean these delicate parts. Gently flush water through the valves to ensure no milk residue or soap bubbles remain trapped inside, as dried cleaner residue can compromise the function of anti-colic ventilation systems.
Key Ingredients to Look For and Avoid in Bottle Cleaners
When shopping for a bottle cleaner, reading the ingredient deck is essential to ensure safety and rinseability. Look for products that prioritize plant-derived surfactants, such as those sourced from coconut or corn. These ingredients are highly biodegradable and rinse away cleanly without leaving a chemical film. Food-grade enzymes are also excellent additions, as they target organic milk solids directly. Additionally, look for natural, food-grade preservatives like potassium sorbate or citric acid, which keep the formula stable without introducing harsh chemicals to your baby’s feeding equipment.
Conversely, there are several ingredients you should actively avoid. Steer clear of synthetic dyes, artificial fragrances, and optical brighteners, which serve no functional purpose in cleaning and increase the risk of skin irritation or chemical residue. Avoid strong industrial solvents, parabens, and sulfates like Sodium Lauryl Sulfate (SLS) in high concentrations, as they can be difficult to rinse off completely. You should also avoid formulas containing strong antibacterial agents like triclosan; these are unnecessary for daily bottle washing and can leave harmful residues on feeding surfaces.
Do not rely solely on front-of-pack marketing terms like “natural,” “organic,” or “hypoallergenic,” as these terms are not always strictly regulated for cleaning products. Instead, turn the bottle over and verify the claims against the actual ingredient list. A high-quality, safe bottle cleaner will clearly list its active surfactants and confirm that the formula is dermatologist-tested and free from common chemical irritants.
Universal Safe Cleaning and Rinsing Practices
Regardless of the bottle material you choose, executing a consistent and thorough rinsing routine is the most crucial step in the cleaning process. Always rinse every bottle component under warm, running tap water to flush away all remaining traces of surfactants and suspended milk solids. Never let washed bottles sit in soapy basin water, as this allows loosened grime to resettle onto the surfaces.
After rinsing, proper drying is vital, especially in Singapore’s warm and humid tropical climate. High humidity levels can prolong drying times, creating an ideal environment for mold and bacterial proliferation. Place all washed components on a clean, dedicated drying rack positioned in a well-ventilated area away from the kitchen sink to prevent splash contamination. Avoid drying bottles on damp dish towels, which can harbor bacteria, and do not store damp bottles in closed cabinets.
Finally, always consult your bottle manufacturer’s instructions before combining specific cleaners with sterilization methods. Some cleaning chemicals can react adversely when subjected to high heat or UV light, leading to accelerated material degradation, discoloration, or the baking of chemical residues onto the bottle walls. Ensuring your bottles are completely free of soap residue before placing them in a steam, microwave, or UV sterilizer will prolong the lifespan of your feeding gear and keep your baby safe.
Frequently Asked Questions (FAQ)
Can I use regular dish soap instead of a dedicated bottle cleaner?
While regular household dish soap is highly effective at cutting grease on family cookware, it is generally not recommended for baby bottles. Standard dish soaps often contain highly concentrated synthetic surfactants, artificial colorants, and heavy fragrances designed to mask food odors. These ingredients are difficult to rinse completely from materials like plastic and silicone, frequently leaving behind a chemical residue or a perfumed scent that can flavor your baby’s milk. Dedicated bottle cleaners are specifically formulated with mild, plant-based surfactants that break down breast milk and formula proteins while rinsing away cleanly with minimal water usage.
How do I know if my plastic bottles are degraded and need replacing?
Plastic baby bottles are not designed to last indefinitely and should be inspected regularly for signs of wear. You should replace your plastic bottles immediately if you observe deep physical scratches, persistent cloudiness that does not wash off, permanent discoloration, or a sticky or rough texture on the inner walls. These structural changes indicate that the polymer is breaking down, which makes the bottle highly susceptible to harboring bacteria and milk fats. As a general guideline, many manufacturers recommend replacing plastic bottles every four to six months, depending on the frequency of use, washing, and sterilization.

Community discussion
Share your experience or ask a question. Comments are reviewed before publication.