
Selecting the right training cup for your baby involves matching the cup’s design to your child’s physical milestones and oral motor skills rather than relying solely on age labels. Around six months of age, as babies begin solid foods, they can start learning to drink from a cup. This transition helps them develop mature swallowing patterns, strengthens facial muscles, and builds hand-eye coordination.
While age recommendations on packaging offer a helpful starting point, every child develops at their own pace. Observing your baby’s physical readiness and understanding how different cup designs support their oral development will guide you in making the best choice. By focusing on their current motor skills, you can select a cup that minimizes frustration and supports a smooth transition to independent drinking.
Identifying Your Baby's Current Weaning Stage
Before introducing any training cup, look for key physical signs that indicate your baby is ready to begin this new skill. Your baby should be able to sit up unassisted with good head and neck control. This stability is crucial for safe swallowing and helps prevent choking when they tilt their head back to drink.
Products mentioned in this guide
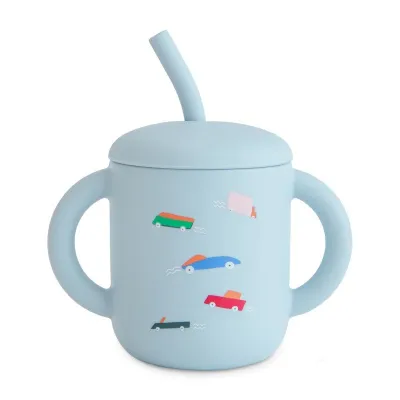

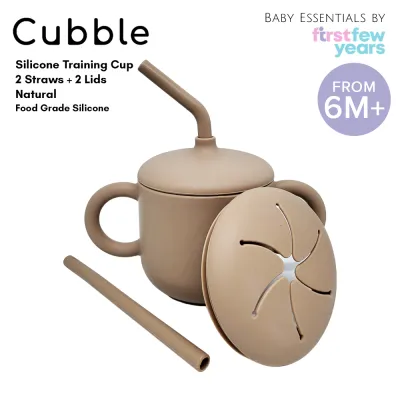
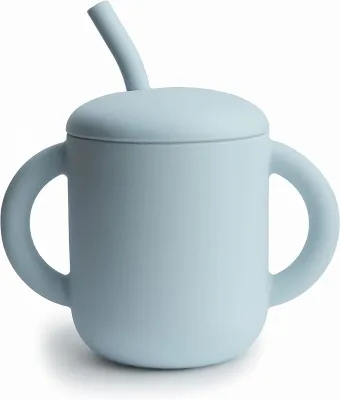

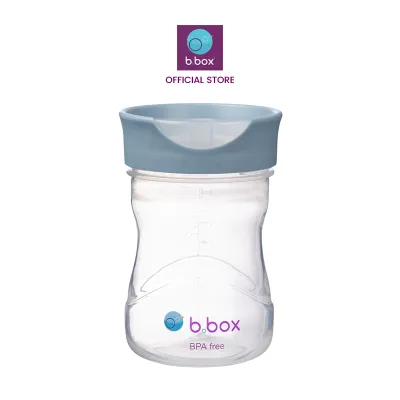
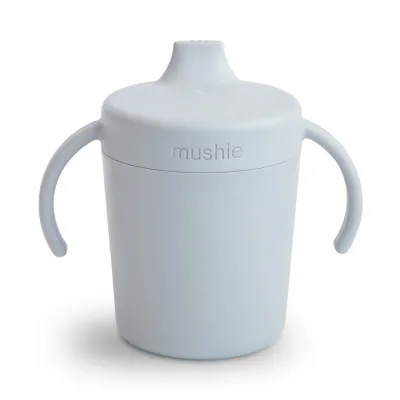
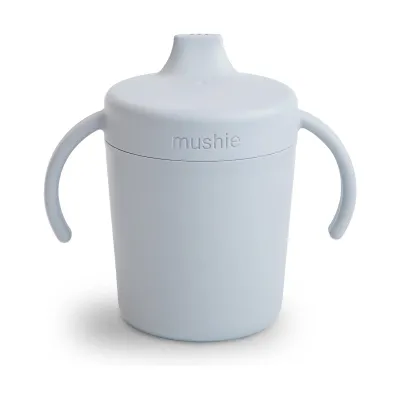
Prices are valid at publication and may change. Please refer to the product page for the latest price.
Another important indicator is your baby’s interest in your own meals and drinks. If they reach for your cup or try to grab utensils, they are demonstrating the curiosity and hand-eye coordination needed to handle a cup. This reaching motion shows they are developing the motor planning required to bring an object successfully to their mouth.
You should also evaluate your baby’s current grasping ability. Younger babies typically use a palmar grasp, wrapping their entire hand around an object. Cups with wide, easy-to-grip double handles are ideal at this stage because they accommodate this early motor pattern. As their fine motor skills progress toward a pincer grasp, they will gradually be able to hold cups with slimmer profiles or no handles at all.
Finally, observe your baby’s swallowing and oral patterns. Around six months, the tongue-thrust reflex—which causes babies to push solid objects out of their mouth with their tongue—begins to fade. This physiological change allows them to manage liquids from a cup without automatically pushing the cup’s rim or spout away. If your baby still has a strong tongue-thrust reflex, it may be best to wait a few weeks before introducing a cup.
Matching Training Cup Designs to Developmental Milestones
Different training cup designs serve distinct purposes in your baby’s oral and motor development. Understanding how each mechanism works allows you to match the cup to your child’s current abilities.

Spout Cups
Spout cups are a traditional choice for the initial transition from bottles. They feature a raised mouthpiece that is easy for babies to locate and hold in their mouths. When selecting a spout cup, look for soft silicone spouts rather than hard plastic ones, as silicone is gentler on sensitive, teething gums.
It is important to check manufacturer guidelines regarding oral development when using spout cups. Some pediatric dentists suggest limiting their use because the sucking motion required is very similar to bottle feeding. If used for prolonged periods, they may not encourage the tongue retraction needed for mature swallowing. To mitigate this, choose spout cups with variable flow rates and use them as a brief stepping stone rather than a long-term solution. If you have concerns about your child’s dental alignment, consult a qualified pediatric dentist.
Straw Cups
Straw cups are highly recommended by pediatric speech therapists because they promote excellent oral motor skills. Drinking from a straw requires your baby to seal their lips around the straw and pull their tongue back to create suction. This action strengthens the lips, cheeks, and tongue, which are the same muscles used for speech development.
You can introduce straw cups as early as six months. Many babies find the concept of suction challenging at first, so look for cups with weighted straws. A weighted straw moves with the liquid, allowing your baby to drink even if they tilt the cup upside down. Additionally, some straw cups feature valved straws that prevent liquid from flowing backward, making it easier for beginners to get a sip with minimal effort.
360-Degree or Rim Cups
360-degree cups, also known as rim cups, are designed to mimic the experience of drinking from an open cup while preventing major spills. These cups feature a circular silicone valve on the top that seals the rim. When your baby places their lips on the edge and tilts the cup, the pressure of their lips releases the seal, allowing liquid to flow.
This design is excellent for teaching the lip-sealing and tilting motions required for open-cup drinking. It encourages your baby to use their upper lip to stabilize the cup, which is a key milestone in oral development. These cups are typically suitable for babies around nine to twelve months who have developed the jaw strength and coordination to tilt a cup control-fully.
Essential Features to Evaluate Before Purchasing
When comparing different training cups, several practical features should guide your decision to ensure safety, hygiene, and convenience.
First, prioritize material safety and durability. Always verify manufacturer labels to ensure the cup is made from food-grade materials, such as BPA-free plastics, high-quality silicone, or durable stainless steel. Check the packaging for specific age recommendations to ensure the cup’s size and weight are appropriate for your baby. Since training cups will inevitably be dropped from high chairs and strollers, look for robust construction that can withstand frequent impacts without cracking.
Ease of cleaning is another critical factor, especially in warm, humid climates like Singapore, where mold can quickly accumulate in hidden crevices. Before purchasing, examine how easily the cup can be disassembled. Look for designs with minimal parts and removable valves. Check the product packaging to confirm if the cup is dishwasher-safe, and consider purchasing a dedicated set of small straw brushes to thoroughly clean the inside of straws and air vents.
Ergonomics and grip design play a significant role in your baby’s success. Double handles that are textured or rubberized help small, slippery hands maintain a secure hold. A weighted base is another valuable feature, as it helps keep the cup upright when placed on a high chair tray, reducing the likelihood of accidental tips and spills during meal times.
Finally, consider the trade-off between spill-proof mechanisms and natural flow rates. While highly effective spill-proof valves prevent messes, they often require significant suction force to release the liquid. This resistance can frustrate a learning baby and may encourage them to bite the spout or straw rather than suck. Read product descriptions carefully to find cups that offer a balanced flow, or look for models with removable valves so you can adjust the flow rate as your baby’s skills improve.
Creating a Smooth Transition Plan Between Cup Types
Transitioning your baby from a bottle or breast to a cup is a gradual process that requires patience and flexibility. Rather than following a rigid timeline, focus on a step-by-step progression that matches your child’s comfort level.
A successful transition plan often begins with offering small sips of water from an open cup held by you during meal times. This introduces the concept of cup drinking without the pressure of independent handling. Next, introduce a straw cup for daily hydration, as the straw mechanism is intuitive for many babies. Once they have mastered the straw, you can introduce a 360-degree cup to practice the tilting motion, eventually moving to a free-flowing open cup.
Watch for observable signs that your baby is ready to upgrade to the next cup type or handle a faster flow rate. If they are drinking efficiently without choking, showing curiosity about your open cups, or successfully controlling the tilt of their current cup, they are likely ready for a new challenge. Conversely, if they are constantly biting the straw or spout, they may be seeking sensory feedback or struggling with the flow rate.
Expect temporary regressions, refusals, and plenty of spills during this learning phase. Teething, illness, or developmental leaps can cause a baby to temporarily reject their cup and seek the comfort of a bottle. When this happens, keep practice sessions short, positive, and stress-free. Offer water in the cup during happy, relaxed moments rather than when your baby is overly tired or hungry, and celebrate their small successes to build confidence.
Frequently Asked Questions (FAQ)
When should I stop using a spill-proof valve?
While spill-proof valves are incredibly convenient for preventing messes, they require a sucking motion that is very similar to bottle feeding. To encourage the development of mature swallowing patterns—where the tongue tip elevates to the roof of the mouth rather than pushing forward—it is beneficial to transition away from valves once your baby can sit steadily and control their hand movements. This transition typically occurs around twelve months of age. Removing the valve from your existing cups or switching to a free-flowing cup helps your baby learn to regulate the liquid flow themselves, which is an essential step toward using a standard open cup.
How do I clean and maintain training cups to prevent mold?
To prevent mold and bacteria growth, daily disassembly and thorough cleaning are essential. Completely separate all silicone valves, straws, lids, and handles from the main cup body after every use. Wash all components in warm, soapy water, using a specialized straw brush to clean the inside of straws and small air vents where moisture can trap. In humid climates, it is crucial to let all parts air dry completely in a well-ventilated area before reassembling or storing them. Inspect silicone parts regularly for wear, discoloration, or tears, and replace them immediately if you notice any signs of damage or persistent mold that cannot be removed.

Community discussion
Share your experience or ask a question. Comments are reviewed before publication.