
Selecting the right bottle wash depends entirely on matching the cleaner’s formulation to the specific material of your baby’s bottles. While glass, plastic, and silicone all serve the same primary purpose, they interact with cleaning agents, milk fats, and scrubbing tools in completely different ways. A wash that leaves glass sparkling might cause silicone to retain stubborn odors, while a harsh scrubbing routine can permanently damage plastic.
To clean safely and effectively, look for a mild, rinse-clean bottle wash that breaks down milk proteins without leaving chemical residues. Pairing this wash with material-appropriate tools—such as soft sponges for plastics and gentle brushes for glass—ensures your feeding equipment remains hygienic. Always prioritize the bottle manufacturer’s specific care guidelines to maintain the integrity of each component.
Understanding How Bottle Materials Interact with Cleaners
Every baby bottle material has distinct physical properties that dictate how it should be cleaned. Glass is highly favored because it is non-porous. This means it does not absorb odors, resists stains naturally, and can withstand high temperatures during sterilization. However, glass is heavy and fragile, requiring careful handling during washing to prevent chips, cracks, or sudden breakage.
Products mentioned in this guide
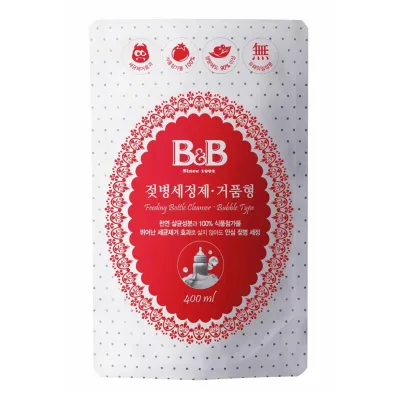
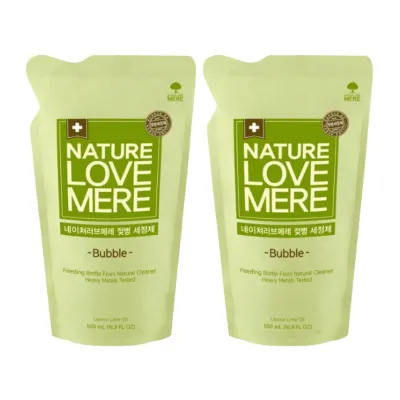
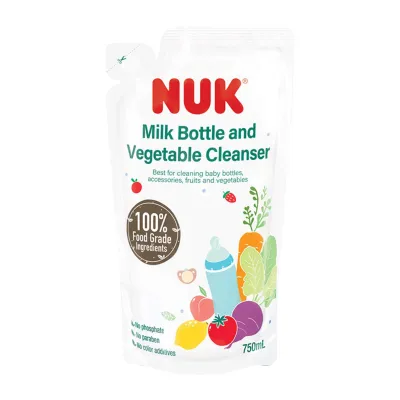
Prices are valid at publication and may change. Please refer to the product page for the latest price.
Plastics, such as polypropylene (PP) and polyphenylene sulfone (PPSU), offer a lightweight and shatterproof alternative. Despite their convenience, plastics are relatively soft materials. They are highly susceptible to developing micro-scratches on their inner walls if you use abrasive cleaning powders or stiff, wire-bound brushes. These tiny scratches create microscopic crevices where milk residue and bacteria can accumulate, making thorough sanitization much more difficult.
Silicone has become popular for flexible bottle bodies, nipples, and anti-colic valves due to its durability. However, silicone naturally tends to absorb hydrophobic substances, including milk fats and strong synthetic fragrances. If you use a heavily scented dish soap, the silicone components can lock in those odors, which might cause your baby to reject the bottle during subsequent feedings.
Because of these varying material behaviors, a one-size-fits-all cleaning approach often falls short. Before introducing a new cleaning product or tool to your routine, always cross-reference the bottle manufacturer’s care instructions.
Key Formulations and Label Checks for Baby Bottle Wash
When evaluating baby bottle washes, understanding the active ingredients is crucial for both safety and cleaning performance. Traditional household dish soaps often rely on strong synthetic surfactants designed to strip heavy grease from family cookware. For baby bottles, look instead for specialized washes utilizing plant-based surfactants, such as those derived from coconut or corn. These ingredients are designed to lift milk residues gently without leaving behind harsh chemical films.

Enzyme-based formulations offer another highly effective pathway for targeted cleaning. These washes contain specific enzymes, like proteases and amylases, which actively break down the complex proteins and fats found in breast milk and infant formula. Because milk proteins can form a stubborn, invisible film on bottle walls, enzyme-based cleaners can dissolve this residue efficiently without requiring aggressive physical scrubbing.
Reading the ingredient label closely is a vital habit for parents, particularly if your baby has sensitive skin. Ensure the bottle wash is free from artificial dyes, parabens, and strong synthetic fragrances. Clear rinsing claims on the packaging are excellent indicators that the formula is designed to wash away completely with water, leaving zero soapy residue behind. You should also look for and verify any hypoallergenic or dermatologist-tested claims on the label to ensure they align with recognized testing standards.
It is important to remember that marketing terms like “natural” or “organic” are not strictly regulated for cleaning products. A label claiming to be natural may still contain synthetic preservatives or fragrances. Verifying the actual ingredient list on the back of the bottle is the most reliable way to confirm what you are bringing into your home.
Matching the Cleaner to Your Specific Bottle Material
Achieving the best cleaning results requires pairing the right bottle wash formulation and cleaning tools with the specific material of your bottles. Using the wrong combination can lead to cloudy plastic, smelly silicone, or damaged glass.
Glass Baby Bottles
Glass bottles are highly resilient, but they require a wash that rinses away cleanly to maintain clarity. A standard, mild baby bottle wash is ideal for glass, as it cuts through milk fats without leaving a greasy film on the non-porous surface. Because glass does not absorb odors, you have more flexibility with mild formulations, though fragrance-free options remain a reliable choice.
To protect the glass from surface etching, avoid using harsh abrasive pads or metal-backed brushes. Instead, opt for soft-bristle nylon brushes or specialized silicone scrubbers.
Safety is the primary concern when handling glass feeding equipment. Always inspect your glass bottles regularly, paying close attention to the neck threads and the base. If you detect any chips, hairline cracks, or deep scratches, discard the bottle immediately.
Plastic Baby Bottles (PP, PPSU, PES)
Plastic bottles require a gentle touch to prevent the material from degrading or becoming cloudy. Always select a gentle, non-abrasive liquid bottle wash. Powdered cleansers or heavy-duty household detergents contain abrasive particles that will quickly scratch the soft plastic interior, ruining clarity and creating breeding grounds for bacteria.
When washing plastic, pair your liquid wash with a soft sponge or a specialized silicone bottle brush. Avoid stiff plastic bristles or wire-bound brushes that can scrape the inner walls. Gently rotate the brush inside the bottle rather than scrubbing vigorously, letting the liquid wash do the work of lifting the milk film.
Temperature limits are another critical factor for plastic bottles. Before washing or sterilizing, check the manufacturer’s guidelines for maximum temperature thresholds. While PPSU can withstand higher temperatures, standard PP bottles can warp or degrade if exposed to boiling water or high-heat dishwasher cycles for extended periods.
Silicone Baby Bottles and Components
Silicone components, including flexible bottle bodies, nipples, and delicate anti-colic valves, present unique cleaning challenges due to their tendency to absorb scents and retain oils. To prevent this, always choose fragrance-free and dye-free bottle washes. Once silicone absorbs a strong artificial fragrance, it can be incredibly difficult to remove, often requiring the component to be replaced.
If you notice a persistent, greasy feel or a stale milk odor on your silicone parts, look for an enzyme-based bottle wash. The enzymes will target and break down the stubborn milk fat molecules that cling to the silicone’s surface. After washing, ensure you rinse the silicone parts under running water for an extended period to guarantee all soap and loosened fats are completely washed away.
Keep in mind that silicone nipples and valves experience significant wear and tear from constant suction and stretching. Even with meticulous cleaning, these parts must be inspected daily. Follow the manufacturer’s guidelines for replacement intervals, which typically recommend replacing silicone nipples every few months, or sooner if you observe signs of wear.
Safe Washing Practices and Maintenance Checks
A consistent, hygienic washing routine is just as important as the cleaning products you choose. Before you begin washing, completely disassemble all bottle parts. This includes removing the nipple from the collar, detaching any anti-colic vents, valves, or straw assemblies. Milk residue easily becomes trapped in these small joints and crevices, providing a perfect environment for mold and bacterial growth if left unaddressed.
Once disassembled, wash each part thoroughly with your chosen bottle wash and appropriate brush. Rinsing is a critical step that must not be rushed. Use clean, warm running water to rinse every component thoroughly, ensuring no soapy residue remains on any feeding surfaces. After rinsing, place the parts on a clean, dedicated drying rack in a well-ventilated area to air dry completely before reassembly.
Incorporate a quick physical inspection into your daily washing routine. Check all bottles, nipples, and accessories for early signs of wear. Look for stickiness, permanent discoloration, swelling, or fine cracks. If a nipple feels sticky or has enlarged feeding holes, or if a plastic bottle appears heavily scratched and cloudy, replace the component immediately.
If your baby shows signs of skin irritation around the mouth, or suddenly begins refusing the bottle after you switch to a new cleaning product, stop using the wash immediately. Consult a pediatrician or a qualified lactation consultant to rule out any sensitivities or allergies to the cleaning ingredients.
Frequently Asked Questions (FAQ)
Can I use regular dish soap instead of a dedicated baby bottle wash?
While standard household dish soap is highly effective at cutting grease, it is generally not recommended for routine baby bottle cleaning. Regular dish soaps often contain strong synthetic fragrances, artificial dyes, and harsh surfactants designed for heavy cookware. These ingredients can leave a thin, invisible residue on bottle surfaces that may irritate a baby’s sensitive digestive system or cause them to reject milk due to lingering soapy tastes.
If you find yourself without a dedicated baby bottle wash, you can use a mild, fragrance-free, and dye-free standard dish soap as a temporary alternative. When doing so, you must rinse the bottles exceptionally well under warm running water to ensure all traces of the soap are completely removed. Check the dish soap label for any safety certifications, and transition back to a specialized, rinse-clean baby bottle wash for your daily routine as soon as possible.
How do I remove cloudy buildup or milk stains from plastic bottles?
Cloudiness in plastic baby bottles is typically caused by mineral deposits from hard water or a buildup of microscopic scratches on the inner walls from aggressive scrubbing. If the cloudiness is due to micro-scratches, the damage is permanent, and you should consider replacing the bottle to prevent bacterial accumulation. However, if the cloudiness is due to mineral buildup, it can often be safely resolved.
To address mineral stains, first check your bottle manufacturer’s care instructions to see if they approve descaling methods. If permitted, you can soak the plastic bottles in a mild, diluted solution of white vinegar and warm water to dissolve the mineral deposits. Never use abrasive scrubbing sponges, baking soda pastes, or bleach to clean plastic bottles. These harsh materials will scratch the plastic further, compromise its structural integrity, and potentially leave harmful chemical residues behind.

Community discussion
Share your experience or ask a question. Comments are reviewed before publication.