
Determining whether your existing baby bottles are safe for UV sterilization requires cross-referencing your Haenim UV sterilizer guidelines with the specific instructions provided by your bottle manufacturer. While UV sterilization offers a convenient, waterless method to sanitize baby gear, material compatibility is not universal. It depends heavily on the exact resin formulation, component design, and manufacturer approvals for each individual bottle brand.
Before placing any bottle inside the sterilizer, you must confirm that every component—including the collar, nipple, and accessories—is rated for UV exposure. Some materials withstand the dry heat and UV wavelengths exceptionally well, while others may degrade rapidly, leading to structural weakness or discoloration. Taking a systematic approach to verifying compatibility protects your investment in baby gear and ensures a safe feeding setup for your infant.
How to Verify UV Compatibility for Your Baby Bottles
To establish whether your baby bottles can safely undergo UV sterilization, start by examining the original packaging, user manual, or the official website of the bottle manufacturer. Look for explicit statements such as “UV sterilizer safe” or “compatible with UV sterilization.” Because manufacturers frequently update their material compositions, relying on the most current documentation for your specific bottle model is the most reliable way to prevent heat or light damage.
Products mentioned in this guide
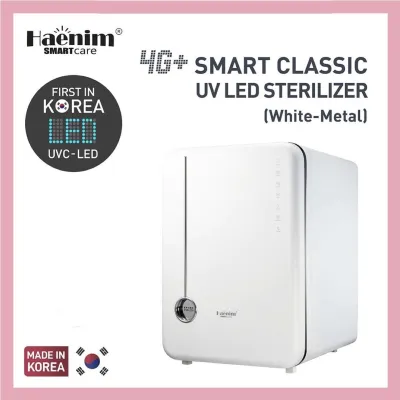
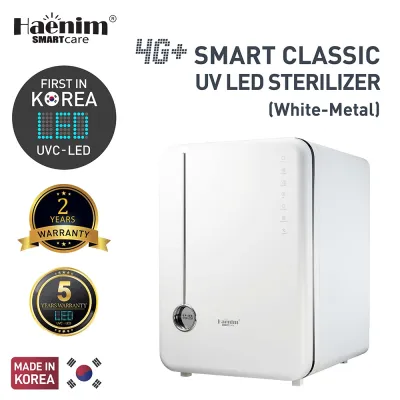
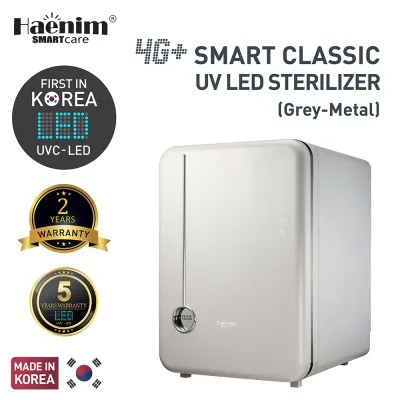
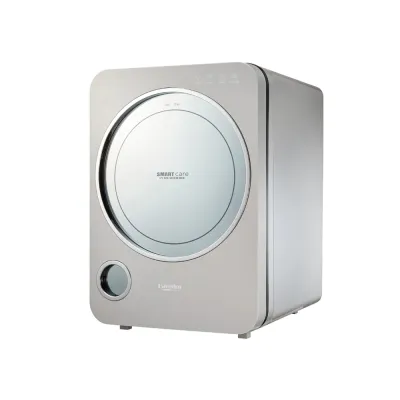
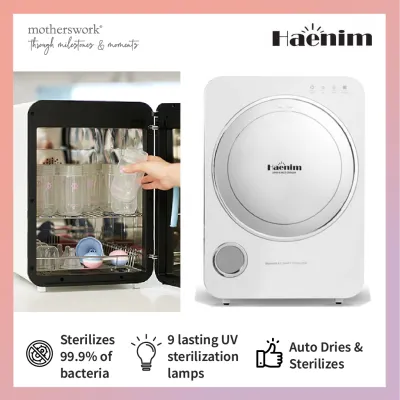
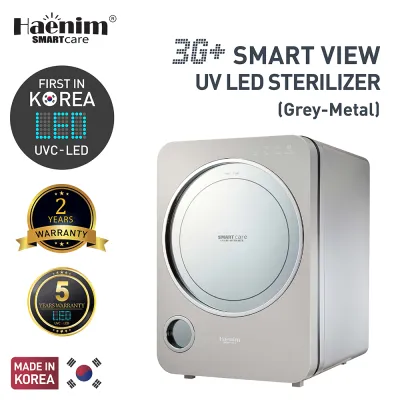
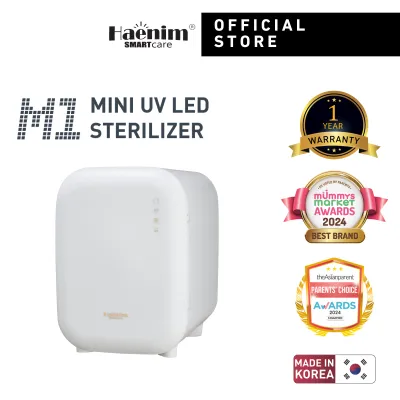
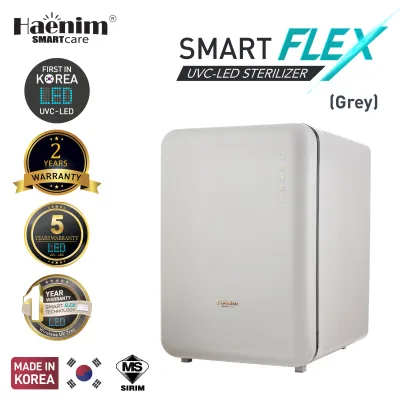
Prices are valid at publication and may change. Please refer to the product page for the latest price.
Next, inspect the physical bottle and its individual components to identify the material composition. Most baby bottles feature a material identification code or resin abbreviation molded into the bottom of the container or along the rim of the silicone nipple. Common markings include “PPSU” (polyphenylsulfone), “PP” (polypropylene), “PES” (polyethersulfone), or a recycling triangle with a specific number. Identifying these markings allows you to match each part against the approved material list in your sterilizer’s user manual.
Finally, consult the user manual for your Haenim UV sterilizer to review any listed material restrictions or specific loading warnings. The sterilizer manual outlines which materials are compatible with both the UV-C light and the low-temperature drying cycle. Pay close attention to any instructions regarding maximum temperature thresholds, as some sterilizers utilize mild heat to dry components before the sterilization cycle begins.
General UV Sterilization Guidelines by Bottle Material
While checking individual manufacturer guidelines is essential, understanding how different materials generally react to UV light helps you anticipate how your baby gear will age. Different plastics, elastomers, and glasses possess distinct molecular structures that dictate their resistance to UV-C radiation and mild heat.

Glass and Silicone Bottles
Glass is one of the most stable and durable materials available for infant feeding, making it highly compatible with UV sterilization. It is completely unaffected by UV-C light wavelengths and easily withstands the mild heat generated during the sterilizer’s drying cycle. Because glass does not degrade, cloud, or release chemical byproducts when exposed to UV radiation, glass bottles can undergo repeated sterilization cycles without structural compromise.
Medical-grade and food-grade silicone, which are commonly used to manufacture bottle nipples, collars, and soft bottle bodies, also demonstrate excellent tolerance to UV light. High-quality silicone maintains its elasticity and structural integrity under UV exposure, provided it does not contain non-silicone additives. However, you must inspect silicone parts for any integrated plastic rings, painted measurement markings, or hard plastic connectors, as these secondary components may have different sterilization requirements.
PPSU and PES Bottles
PPSU and PES are high-performance, medical-grade plastics engineered to withstand extreme heat and repeated sterilization. These materials are highly durable and generally perform exceptionally well in UV sterilizers. Their robust molecular structure prevents them from breaking down easily, making them a popular choice for parents seeking lightweight, shatterproof bottles that can endure daily sanitizing cycles.
Despite their high resistance, PPSU and PES bottles are not entirely immune to the long-term effects of UV exposure and daily wear. Over months of continuous use, you should regularly inspect these bottles for signs of cloudiness, micro-scratches, or subtle changes in color. If you observe any physical changes, or if the bottle has reached the end of the manufacturer’s recommended lifespan, replace the bottle promptly to maintain optimal hygiene.
PP (Polypropylene) Bottles
Polypropylene (PP) is a widely used, budget-friendly plastic found in many standard baby bottles, but it requires careful monitoring when used with a UV sterilizer. Standard PP is more susceptible to UV degradation than high-performance plastics like PPSU. Over time, prolonged exposure to UV-C light can break down the polymer chains in polypropylene, causing the plastic to become brittle, cloudy, or noticeably discolored.
Before placing PP bottles in your sterilizer, verify that the specific bottle brand explicitly approves UV sterilization for that model. If the manufacturer confirms compatibility, you can proceed with caution, but you should implement a more frequent inspection routine. Check PP bottles daily for any signs of brittleness or cracking, and plan to replace them more regularly than you would glass or PPSU alternatives to ensure they remain safe for daily feeding.
Best Practices for Using the Haenim UV Sterilizer
To achieve effective and safe sterilization, you must prepare and load your baby bottles correctly according to the appliance instructions. UV sterilization relies on direct line-of-sight exposure; the UV-C light must physically reach a surface to sanitize it. Therefore, you must completely disassemble all bottle parts—including nipples, collars, caps, anti-colic valves, and inner vents—before placing them inside the chamber. Leaving components assembled creates shadowed areas where light cannot penetrate, leaving potential bacteria untouched.
When loading the sterilizer, arrange the items systematically to avoid overcrowding the racks. Place bottles upright with their openings facing upward toward the UV lamps, allowing the light to penetrate the interior surfaces fully. Position nipples, collars, and smaller accessories on the upper rack, ensuring they do not overlap or block the light path to items below. Refer to the loading diagrams in your Haenim manual to optimize the spacing and ensure every surface receives adequate exposure.
Additionally, ensure all items are thoroughly washed, rinsed, and free of organic residue before starting a cycle. Milk fat and protein residues can create a physical barrier on the bottle surface, shielding underlying microorganisms from the UV-C rays. Washing the bottles with warm, soapy water and rinsing them completely ensures the UV light can interact directly with the material surface for maximum sanitizing efficacy.
When to Stop Using or Replace Sterilized Bottles
Regularly inspecting your baby bottles is a critical safety practice, especially when utilizing UV sterilization over several months. Examine all plastic and silicone components under bright light to check for micro-cracks, deep scratches, persistent cloudiness, or changes in surface texture. Physical imperfections can harbor bacteria and weaken the structural integrity of the bottle, making it prone to breaking or leaking during feeding.
Immediately discard and replace any bottle, nipple, or valve that exhibits clear signs of UV degradation. These signs include a sticky or tacky texture on silicone parts, peeling surfaces, severe yellowing, or a brittle feel when squeezed. Using degraded components compromises feeding safety and can lead to choking hazards if small pieces of silicone or plastic tear off during use.
Always adhere to the manufacturer’s recommended replacement schedule for each component, even if no visible damage is apparent. Nipples typically require replacement every few months due to natural wear from feeding, while plastic bottles should be rotated out according to the timeline specified in their user manuals. Keeping a log of when you put new bottles into service helps you stay on top of these safety rotations.
Frequently Asked Questions (FAQ)
Can I sterilize bottles with painted measurement marks in a UV sterilizer?
Continuous exposure to UV-C light and the dry heat of a sterilizer can cause painted or printed measurement markings on baby bottles to fade, crack, or peel over time. To prevent this, check if your bottle manufacturer uses UV-resistant, food-safe inks for their external designs. If the markings begin to degrade, or if the manufacturer advises against UV exposure for printed bottles, consider switching to bottles with embossed or molded measurement markings that cannot wear away.
Does UV sterilization affect the anti-colic vents in baby bottles?
Anti-colic vents, valves, and internal straw systems are often made from specialized elastomers or softer plastics that differ from the main bottle body. Because these small components are engineered for flexibility and precise airflow, they may degrade at a faster rate under UV exposure than the rigid bottle itself. Always verify the UV compatibility of these specific accessories individually, and inspect them frequently for tears, loss of elasticity, or structural weakness to ensure the anti-colic system functions correctly.

Community discussion
Share your experience or ask a question. Comments are reviewed before publication.