
Quick Answer: Determining Washer Sterilizer Safety
Determining whether your baby bottles can safely go into a baby bottle washer sterilizer depends on the specific heat tolerances of each component rather than the material category alone. While many modern bottles are designed to withstand automated cleaning, safety is highly conditional on the manufacturer’s exact temperature and cycle ratings. Before running any item through a machine cycle, you must verify its compatibility to prevent warping, cracking, or the release of unwanted chemical compounds.
To confirm compatibility, always inspect the bottle’s packaging, the manufacturer’s official website, or the user manual for explicit “dishwasher safe” or “washer sterilizer safe” symbols. It is crucial to remember that a single baby bottle is an assembly of multiple parts, including the bottle body, silicone nipple, collar ring, and protective cap. Each of these components often has different heat tolerances, meaning some parts may be safe for a high-heat steam cycle while others require lower-temperature washing or manual care.
How to Verify Material Compatibility Before Washing
Before loading your baby bottle washer sterilizer, you must cross-reference the technical specifications of your bottles with the operating parameters of your appliance. Start by consulting your washer sterilizer’s user manual to identify its maximum operating temperature and the specific cycle types it utilizes. These appliances often combine multiple phases, such as high-pressure hot water washing, steam sterilization, ultraviolet (UV) sanitization, and hot air drying, each of which subjects materials to distinct physical stresses.
Products mentioned in this guide
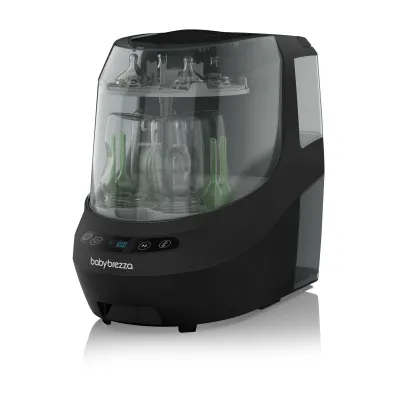
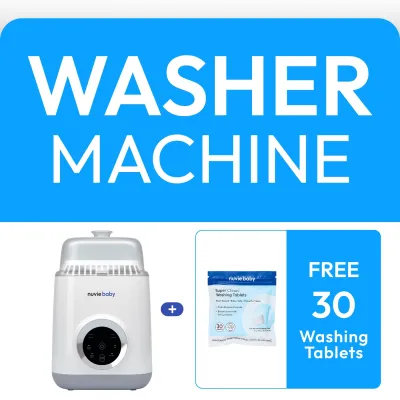
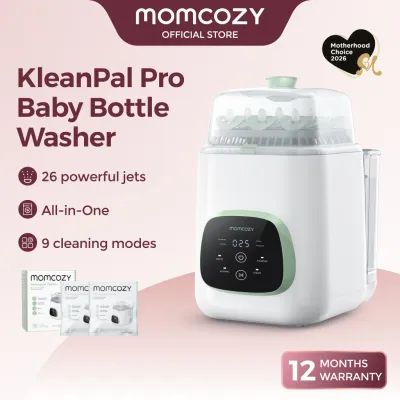
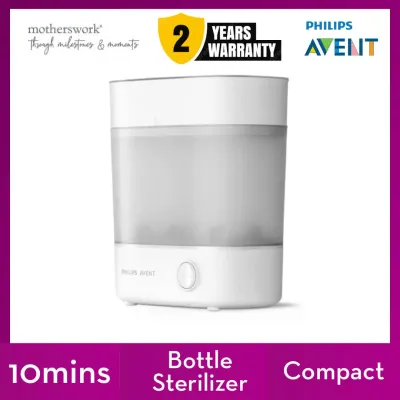
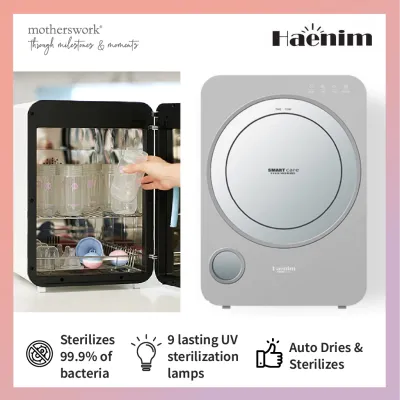
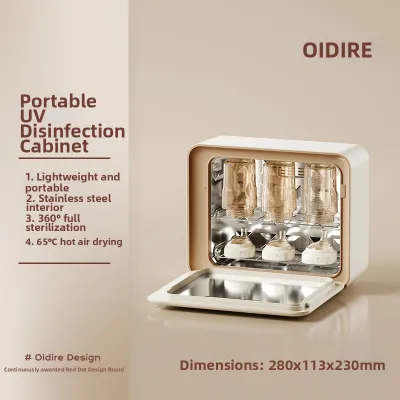
Prices are valid at publication and may change. Please refer to the product page for the latest price.

Next, examine the physical bottle for material identification codes, which are typically embossed on the base or collar. Common markings include “PP” for polypropylene, “PPSU” for polyphenylsulfone, or glass symbols. Once identified, match these codes with the manufacturer’s explicit care instructions to ensure they can withstand the peak temperatures of your machine’s sterilization and drying phases.
If you find that the care instructions are missing, unclear, or directly conflict with the parameters outlined in your washer sterilizer’s manual, do not guess. Stop using the machine for those specific items and contact the bottle manufacturer or a qualified professional for clarification. Operating on assumptions can lead to structural failure of the bottle or damage to your appliance.
Evaluating Common Bottle Materials for Machine Cycles
To ensure the longevity and safety of your feeding equipment, you must evaluate each bottle material based on its unique heat resistance limits and physical durability. The high-pressure water jets, elevated temperatures, and rapid drying phases of a baby bottle washer sterilizer affect materials in different ways.
Glass Bottles
Glass is highly regarded for its chemical inertness, but it requires careful handling when subjected to automated machine cycles.
- Thermal Shock Resistance: Verify whether your glass bottles are made of borosilicate glass or standard soda-lime glass. Borosilicate glass is highly resistant to rapid temperature changes, whereas standard glass may crack if subjected to sudden transitions from cold water washing to high-heat steam sterilization.
- Physical Inspection: Regularly inspect glass bottles for micro-cracks, hairline fractures, or minor chips after each cycle. These imperfections can harbor bacteria that survive sterilization, and they increase the risk of the bottle shattering during a subsequent cycle or while feeding.
- Machine Placement: Ensure proper rack placement within the washer sterilizer. Glass bottles must be securely positioned to prevent glass-to-glass or glass-to-metal collisions caused by the force of high-pressure water jets during the wash cycle.
PPSU and PES Plastics
Polyphenylsulfone (PPSU) and polyethersulfone (PES) are medical-grade plastics known for their high heat resistance and durability, making them popular choices for machine sterilization.
- Temperature Verification: Always verify the manufacturer's stated maximum temperature threshold for your PPSU or PES bottles against the peak heat output of your sterilizer. While these plastics generally tolerate high heat, exceeding their limits can compromise their structural integrity.
- Visual Monitoring: Monitor these bottles over time for subtle color changes, persistent cloudiness, or fine surface scratching. Although PPSU is naturally honey-colored, significant darkening or a rough texture indicates that the polymer is beginning to break down after repeated exposure to heat and moisture.
- Cycle Restrictions: Check if the specific bottle brand restricts the total number of sterilization cycles or recommends a maximum lifespan for their plastic products, as cumulative heat exposure eventually degrades even high-grade polymers.
PP (Polypropylene) Plastics
Polypropylene (PP) is a common, lightweight, and cost-effective plastic, but it is more sensitive to high temperatures than PPSU or glass.
- Heat Rating Confirmation: Confirm that your PP bottle is explicitly rated for the high temperatures of steam sterilization, which often exceed 100 degrees Celsius, rather than just standard warm dishwashing. Some basic PP bottles are only suitable for low-temperature washing.
- Signs of Degradation: Inspect PP bottles regularly for warping, localized whitening of the plastic, or a sticky tactile texture. These are clear indicators that the plastic is degrading under thermal stress and may be releasing microplastics or losing its structural shape.
- Component Differences: Note that PP accessories, such as collar rings and caps, often degrade faster than the bottle body itself. These smaller components may require separate, lower-heat handling or more frequent replacement to ensure a secure, leak-free seal.
Silicone Bottles and Components
Silicone is widely used for bottle bodies, nipples, and sealing valves due to its flexibility and heat resilience, but it behaves uniquely in a machine environment.
- Food-Grade Certification: Confirm that all silicone components are made of high-quality, food-grade silicone and are explicitly rated to withstand your sterilizer's maximum heat output, particularly during the dry cycle.
- Structural Integrity Checks: Watch closely for swelling, tearing, or a loss of elasticity in thin silicone parts, especially bottle nipples and delicate anti-colic valves. The high-pressure water jets and heat can cause these parts to stretch or split, altering the milk flow rate and compromising safety.
- Small Parts Security: Always secure small silicone components, such as valves, nipples, and sealing rings, in a dedicated mesh bag or the machine's specialized accessory basket. This prevents them from being dislodged by water jets and falling onto the machine's heating elements or blocking the drainage system.
Spotting Material Degradation and When to Replace Bottles
Even when using compatible materials, the combination of heat, water pressure, and detergent in a baby bottle washer sterilizer will eventually wear down all bottle components. Caregivers must remain vigilant and learn to spot the visual and tactile warning signs that indicate a bottle or accessory is no longer safe for use.
- Observable Red Flags: Immediately replace any component that exhibits persistent cloudiness that does not wash away, deep scratches on the interior surfaces, physical warping, a sticky or tacky feel, or foul odors that survive a complete wash and sterilization cycle.
- Hygiene and Safety Risks: Scratched glass and degraded plastics create microscopic crevices where bacteria and milk proteins can accumulate, shielding them from the sterilization process. Furthermore, warped collars or degraded nipples can cause leaks, improper venting, or sudden structural failure during feeding.
- Replacement Framework: Rather than relying on a rigid calendar timeline, establish a replacement schedule based on usage frequency, visible wear, and the manufacturer's guidelines. For instance, highly active households running multiple machine cycles daily will need to replace plastic bottles and silicone nipples much sooner than those practicing occasional manual washing.
Best Practices for Loading and Maintaining Your Washer Sterilizer
To maximize cleaning efficiency, maintain hygiene, and prevent physical damage to your feeding equipment, proper loading and appliance maintenance are essential.
- Complete Disassembly: Always disassemble every bottle part completely before placing them in the machine. Remove the nipple from the collar ring, detach any anti-colic vents, and separate the caps. This ensures that hot water and sanitizing steam can directly reach all interior surfaces and hidden crevices where milk residue tends to trap.
- Strategic Loading Angle: Position bottles, cups, and deep components face down and at an angle on the racks. This downward tilt prevents dirty wash water from pooling in the bases of the bottles and ensures efficient drainage and complete drying during the hot air phase.
- Appliance Maintenance: Regularly clean your washer sterilizer's internal filters, spray arms, and rubber seals. In regions with hard water, mineral scale can quickly clog spray nozzles and coat heating elements, reducing water pressure and sterilization temperatures. Descale the machine according to the manufacturer's instructions to ensure consistent performance.
Frequently Asked Questions (FAQ)
Can I wash and sterilize baby bottles from different brands in the same cycle?
Yes, you can wash and sterilize bottles from different brands together, provided you verify that every item in the load is compatible with the cycle’s parameters. Always set the machine’s cycle based on the lowest temperature tolerance among all loaded items to prevent warping or melting of more sensitive components. If your washer sterilizer features customizable settings, consider separating high-heat materials like glass and PPSU from lower-heat items like PP for optimal care.
Do I need to pre-rinse bottles before putting them in the washer sterilizer?
Yes, performing a quick rinse under running water to remove bulk milk or formula residue is highly recommended before loading. This simple step prevents milk proteins from baking onto the bottle walls during the sterilization phase and protects the machine’s filters and spray arms from clogs. For bottles with heavily dried-on residue, a brief soak in warm water before loading will ensure the automated cycle can clean them completely.
Is it safe to use regular dishwasher detergent in a baby bottle washer sterilizer?
No, you should never use standard household dishwasher detergents in a dedicated baby bottle washer sterilizer. Standard detergents often contain harsh chemicals, heavy fragrances, or highly alkaline agents that can leave toxic residues on baby items or accelerate the degradation of plastics and silicone. Always use detergents specifically formulated and labeled as safe for baby products, or those explicitly recommended by your appliance manufacturer.

Community discussion
Share your experience or ask a question. Comments are reviewed before publication.