
Quick Answer: 59s UV Sterilizer Bag and Bottle Compatibility
Whether popular baby bottles fit and sterilize effectively in a 59s UV sterilizer bag depends on the physical height of your bottles and the internal dimensions of your specific bag model. Portable UV bags are highly convenient for parents on the go, but their compact size means they cannot accommodate all bottle shapes and sizes simultaneously.
To ensure successful sterilization, complex bottles must be fully disassembled so that the UV light can directly reach every surface. Furthermore, because UV-C light can affect certain plastics over time, you must verify your bottle manufacturer’s guidelines to ensure the materials are rated for UV sterilization.
Checking Internal Dimensions and UV Light Coverage
Before relying on a portable UV sterilizer bag, you must verify that your bottles physically fit inside without crowding. UV sterilization relies on direct line-of-sight exposure; if the light is blocked, the shadowed areas will not be sterilized.
Products mentioned in this guide
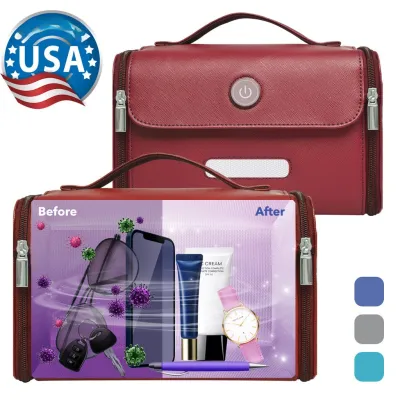
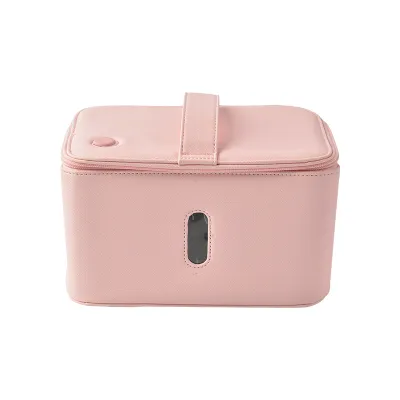
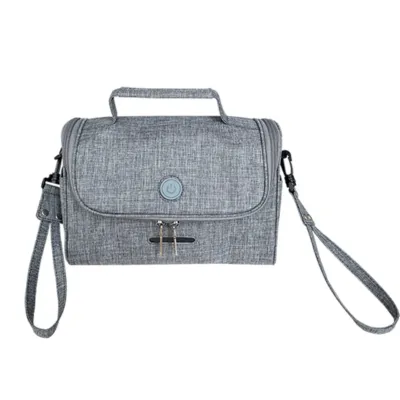
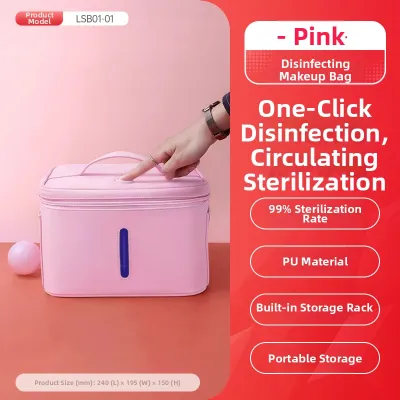
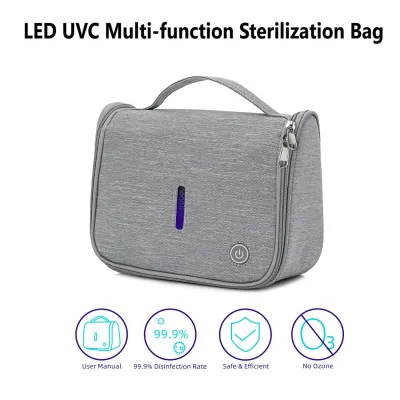
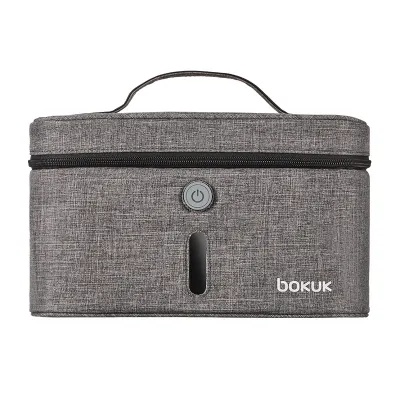
Prices are valid at publication and may change. Please refer to the product page for the latest price.

Start by measuring your fully disassembled bottles. Measure the height of the bottle body, the width of the base, and the height of accessories like collars, nipples, and caps. Compare these measurements against the internal depth and width specified in your 59s bag’s user manual.
Portable UV bags utilize strategically placed UV-C LEDs to flood the interior with germicidal light. If a bottle is too tall and presses against the top of the bag, or if it is laid in a way that covers the LEDs, it will block the light path. This shadowing prevents the UV rays from reaching other items in the bag.
To ensure adequate light coverage, follow these placement checks:
- Check for clearance: Ensure there is space between the top of the bottle and the upper LEDs.
- Avoid overlapping: Place nipples, collars, and caps alongside the bottle rather than stacking them.
- Observe capacity limits: Refer to the manufacturer instructions for the maximum number of items allowed per cycle to prevent overcrowding.
Fitting Popular Bottle Shapes and Sizes
Different bottle designs present unique spatial challenges. Standard, wide-neck, and anti-colic bottles all require different packing strategies to ensure complete UV exposure.
Standard and Wide-Neck Bottles
Wide-neck bottles, such as those from Pigeon or Philips Avent, are highly popular in Singapore due to their breast-like nipples and easy-to-clean designs. However, their wider bases take up significant horizontal space inside a portable sterilizer bag.
When sterilizing wide-neck bottles, you will likely face a trade-off between bottle height and width. Standing two wide-neck bottles upright may cause them to crowd each other, blocking the lateral spread of UV light.
To maximize exposure, you may need to lay the bottles on their sides or angle them upward. When doing this, position the open mouth of the bottle directly facing one of the LED light sources so the UV rays can penetrate the interior.
Always remove the collar, nipple, and cap entirely before placing them in the bag. Leaving the nipple attached to the collar prevents the UV light from reaching the inner rim of the bottle and the underside of the silicone nipple.
Anti-Colic and Vented Bottles
Anti-colic bottles, such as those from Dr. Brown’s, feature specialized internal venting systems. These systems consist of multiple parts, including reservoir tubes and silicone inserts, which add significant height and complexity.
Fully assembled anti-colic bottles are generally too tall to fit upright inside a portable UV sterilizer bag. Attempting to force them in can damage the bag’s zipper or place the bottle too close to the LEDs, resulting in uneven light distribution.
To sterilize these systems safely, you must disassemble every single component. The internal vent tubes are often opaque, meaning UV light cannot pass through the material to sterilize the inside of the tube if it remains assembled.
Use the following checklist when packing vented bottles:
- Separate all parts: Remove the reservoir tube, vent insert, nipple, collar, and bottle body.
- Utilize mesh pockets: Place small items like vent inserts and nipples in the bag's designated mesh pockets to keep them upright and exposed to the light.
- Position the tube: Lay the reservoir tube horizontally, ensuring both open ends face toward the light sources.
Verifying Material Safety Under UV Exposure
Unlike traditional steam sterilizers that use high heat, UV sterilizers use high-energy UV-C light to disrupt the DNA of bacteria and viruses. While this process is highly effective, continuous exposure to UV radiation can cause certain materials to degrade over time.
Common baby bottle materials react differently to UV-C light, and parents should understand these differences to protect their feeding gear:
- Glass: Highly stable and completely resistant to UV degradation, making glass bottles an excellent choice for UV sterilization.
- PPSU (Polyphenylsulfone): This medical-grade plastic, recognizable by its natural honey-colored tint, is highly durable and generally stands up well to repeated UV exposure.
- PP (Polypropylene): A common, budget-friendly plastic that is lightweight but more susceptible to UV degradation, which can lead to cloudiness or brittleness over time.
- Silicone: Used primarily for nipples and pacifiers, silicone is generally UV-stable but can experience slight discoloration with prolonged use.
To prevent premature wear, always check your bottle manufacturer’s care labels or official website for explicit UV compatibility statements. Some brands explicitly state whether their plastic bottles are safe for UV sterilizers.
Establish a regular visual inspection routine for all bottles and nipples. Look for signs of material degradation, such as a sticky texture, micro-cracks, increased brittleness, or severe yellowing. If you observe any of these changes, replace the component immediately to ensure your baby’s safety.
Decision Framework: Is the 59s Bag Right for Your Routine?
Deciding whether a portable 59s UV sterilizer bag fits your daily parenting routine depends on your lifestyle, living space, and feeding setup.
A portable UV sterilizer bag is highly suitable if you:
- Travel frequently: You need a lightweight, packable sterilizer for weekend trips, family visits, or outings around Singapore.
- Have limited space: You live in a compact apartment where kitchen countertop space is at a premium.
- Use standard bottles: Your primary bottles are smaller, standard-neck models that easily fit inside the bag without complex disassembly.
Conversely, you may want to consider a larger countertop UV sterilizer or a traditional steam sterilizer if you:
- Feed exclusively with bottles: You need to sterilize six to eight large, wide-neck, or anti-colic bottles multiple times a day.
- Use complex bottle systems: Your preferred bottle brand features tall, multi-part venting systems that require significant space to lay out flat.
- Prefer a hands-off cycle: You want a machine that washes, dries, and sterilizes large batches of bottles in a single, automated step.
Before purchasing, measure your tallest daily bottle when fully disassembled. If the bottle body alone exceeds the internal height of the portable bag, a larger countertop unit will be necessary for your primary sterilization needs.
Frequently Asked Questions (FAQ)
Can I sterilize bottle nipples and pacifiers in the 59s bag?
Yes, you can sterilize small silicone accessories like bottle nipples, pacifiers, and teething toys in the 59s bag, provided they are positioned correctly. Place these small items in a single layer without overlapping, ensuring they do not block the light path to larger bottles underneath. Always check the accessory manufacturer’s guidelines, as some silicone or latex pacifiers have specific limits on UV exposure to prevent premature wear.
Does the 59s UV bag dry wet bottles after washing?
Most portable 59s UV sterilizer bag models do not include an active drying function and are designed solely for dry sterilization. You must thoroughly air-dry or towel-dry your bottles with a clean cloth before placing them inside the bag. Water droplets left on the bottle surfaces can refract or scatter the UV-C light, which significantly reduces the sterilization efficacy. Ensure all items are completely dry to allow the UV light to penetrate and sterilize all surfaces effectively.

Community discussion
Share your experience or ask a question. Comments are reviewed before publication.