
Finding a bottle lid brush that properly fits your baby bottles is essential for maintaining proper hygiene, yet many parents discover that a standard bottle brush simply cannot clean every nook and cranny. There is no single universal bottle lid brush; the correct fit depends entirely on your specific bottle brand’s lid design, thread depth, and venting system. While a standard bottle brush cleans the main cylinder, it often fails to reach the narrow threads, silicone rings, and complex anti-colic mechanisms found in modern baby bottles. This guide will help you identify the physical requirements of your bottle lids, match them to the appropriate brush styles, and verify the fit to ensure thorough and safe cleaning without damaging delicate parts.
Why Standard Bottle Brushes Miss the Mark on Lids
Baby bottle lids feature complex geometry that is highly susceptible to residue buildup. The screw threads, the inner rim where the teat sits, and the deep grooves that house silicone sealing rings all create tight spaces where milk fats and proteins easily accumulate. In warm and humid climates, any leftover moisture or organic residue in these hidden crevices can quickly become a breeding ground for bacteria and mold.
Standard bottle brushes are designed primarily for wide, cylindrical volumes. Their large heads, whether made of sponge or thick bristles, cannot compress sufficiently to enter a narrow thread groove. Trying to force a large brush into these spaces usually results in the bristles bending backward, sliding right over the dirt instead of scrubbing it away.
Products mentioned in this guide
![[SG STOCK ]Baby bottlecup brush multi-function thermos bottle cleaning brush cover 3 in one](https://img.lazcdn.com/g/p/e89cde9dd8705bd90205c438899b5838.jpg_400x400q80.jpg_.webp)
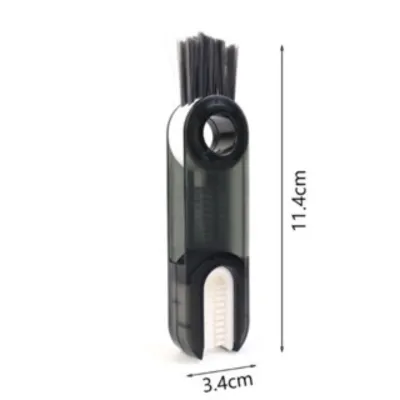
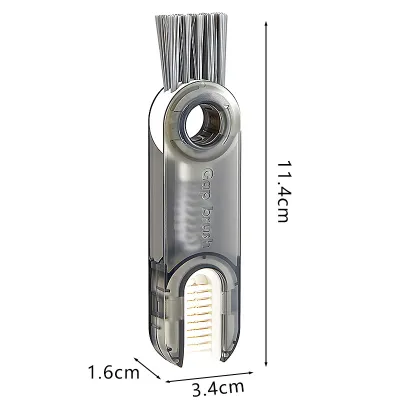
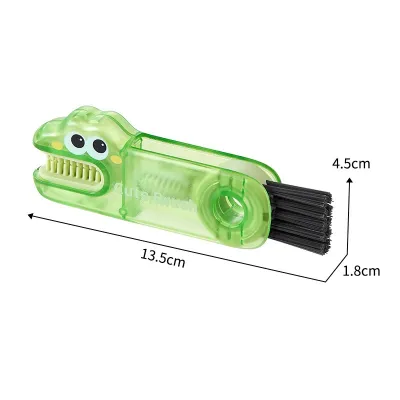
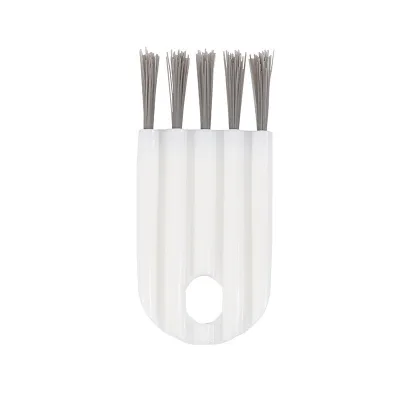
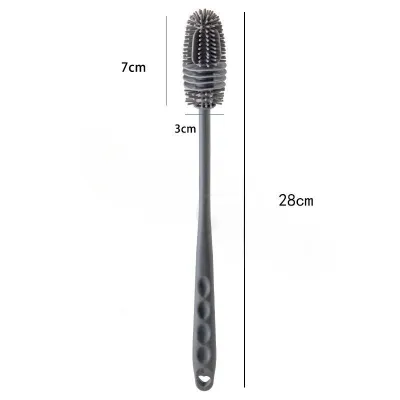

Prices are valid at publication and may change. Please refer to the product page for the latest price.
Using excessive force with an oversized or overly stiff brush also carries structural risks. Rigid bristles can scratch plastic components, creating micro-scratches that harbor more bacteria over time. Furthermore, delicate silicone valves and venting membranes can easily tear under the pressure of a mismatched, bulky brush, compromising the bottle’s function.
How to Measure Your Bottle Lid for the Right Brush
To avoid purchasing multiple tools that do not work, you can evaluate the physical dimensions of your specific bottle lids before choosing a cleaning tool. This simple assessment ensures the brush head can navigate the lid without causing damage.

First, assess the narrowest inner diameter of the lid opening. This is the entry point for any cleaning tool. If you use standard-neck bottles, this opening is particularly narrow, meaning the brush head must be slim enough to enter without requiring excessive force.
Second, evaluate the depth of the threads and the underside rim. Deep, narrow threads require a brush with longer, more flexible bristles that can reach the very bottom of the channel. Shallow threads, by contrast, can be managed with shorter, denser bristles.
Third, check for specialized components. Many modern baby bottles feature intricate venting systems, internal tubes, or tiny air holes designed to reduce colic. These components cannot be cleaned by standard lid brushes and require ultra-thin detail brushes that can navigate passages measuring only a millimeter or two in diameter.
Matching Brush Styles to Common Bottle Lid Designs
Baby bottles generally fall into distinct structural categories, each requiring a specific style of bottle lid brush to achieve a proper clean.
Standard-neck bottles feature narrow openings and deep, tightly wound collar threads. Because the space is highly restricted, these lids require narrow, tapered brushes with firm bristles. A tapered shape allows the tip of the brush to reach into the deepest part of the collar, while the firmer bristles provide the necessary leverage to scrub away dried milk residue from the tight threads.
Wide-neck bottles have broader lids that are easier to access, but they present different challenges. While the main rim is wider, the outer threads and the deep grooves designed to hold silicone sealing rings still require dedicated detail brushes. For these lids, a brush with a slightly wider head but very fine, flexible bristles is ideal, allowing you to sweep around the broad circumference while still penetrating the sealing grooves.
Anti-colic and vented lids are the most complex designs. They often feature internal tubes, reservoir inserts, and delicate silicone valves. Cleaning these parts demands specialized, ultra-thin detail brushes or flexible wire-core brushes. These tools must be highly flexible to bend around curves without puncturing the soft silicone or scratching the hard plastic tubes. When selecting a brush for these systems, look for options specifically labeled for detail or valve cleaning, and verify that the wire core is fully tipped with protective plastic to prevent scratching.
Choosing Bristle Materials and Maintaining Hygiene
The material of your bottle lid brush directly impacts both its cleaning efficiency and its lifespan. The two most common options are silicone and nylon, each with distinct physical properties.
Silicone bristles are highly durable, resistant to odor, and gentle on delicate surfaces. They are less likely to scratch plastic components or tear soft silicone valves. However, because silicone bristles are typically thicker and more spaced out, they may struggle to scrape away stubborn, dried-on milk residue in very narrow threads. Nylon bristles, on the other hand, are much finer and can be packed densely, making them highly effective at scrubbing tight crevices, though stiff nylon can scratch softer plastics over time. Check your bottle manufacturer’s guidelines to see if specific materials are discouraged.
Given the high humidity in Singapore, drying and storage features are critical for maintaining hygiene. A wet brush left in a damp corner of the kitchen can quickly develop mold. Look for bottle lid brushes that feature integrated hanging loops, ventilated stands, or quick-dry designs. Storing the brush upright or hanging it in a well-ventilated area away from the sink will help ensure thorough air drying.
Regular visual inspection is essential. Regardless of the material, a bottle lid brush must be replaced at the first sign of wear. Look for fraying or splaying bristles, a noticeable loss of stiffness, discoloration, or trapped residue that cannot be washed out. If the brush develops a persistent sour odor, it should be discarded immediately.
How to Verify the Fit and Clean Threads Effectively
Once you have selected a bottle lid brush, performing a practical check ensures it will clean effectively without causing damage to your bottle parts.
Before applying water or baby-safe bottle cleanser, perform a dry fit test. Gently insert the dry brush into the lid threads and crevices. Observe how the bristles behave. They should bend slightly to conform to the shape of the threads, reaching into the deepest corners. If you have to force the brush in, or if the bristles bend completely flat against the handle, the brush is too large or too rigid. Conversely, if the bristles do not make firm contact with the sides of the threads, the brush is too small.
When cleaning, use gentle, rotating strokes rather than a harsh back-and-forth sawing motion. Rotating the brush allows the bristles to follow the natural spiral of the screw threads, sweeping out residue efficiently. For lids with removable silicone rings, always carefully remove the ring first. Clean the ring separately with a soft touch, and use the detail brush to clean the empty groove where milk fat often pools.
Always pay attention to stop conditions. If you notice that a lid component feels loose, shows hairline cracks, or exhibits any signs of structural damage during or after cleaning, stop using it immediately. Consult the bottle manufacturer’s instructions or contact a qualified professional to determine if the part needs replacement. Using damaged components can lead to leaks or compromise the safety of the feed.
Frequently Asked Questions (FAQ)
Can I use a regular straw brush to clean bottle lid threads?
While a straw brush might look similar to a detail brush, they are designed for different purposes. Straw brushes typically have very long, flexible wire handles and soft, sparse bristles designed to slide through long tubes. They often lack the bristle stiffness and head density required to scrub away dried milk residue from rigid plastic threads. Using a straw brush on threads may result in incomplete cleaning. Always check the brush manufacturer’s label for the intended use and ensure the bristles are firm enough for thread scrubbing.
How often should I replace my bottle lid brush?
There is no fixed calendar timeline for replacing a bottle lid brush, as wear depends entirely on usage frequency and material quality. Instead, rely on visual and tactile inspections. Replace the brush immediately if you notice splayed or missing bristles, a loss of scrubbing stiffness, discoloration, or a persistent odor. Refer to the specific care and replacement instructions provided by both the brush and bottle manufacturers for optimal guidance.
Are silicone bottle lid brushes safer for baby bottle parts?
Silicone brushes are generally softer and less likely to scratch delicate plastic or tear silicone valves compared to stiff nylon. However, their thicker bristles may not always reach into the absolute deepest, narrowest thread corners as effectively as fine nylon. You must verify that the silicone brush actually removes all residue from your specific bottle lids. Cross-reference the brush material with your bottle manufacturer’s official care guidelines to ensure full compatibility.
Community discussion
Share your experience or ask a question. Comments are reviewed before publication.