
Installing a baby crib mosquito net is a highly effective way to protect your infant from insect bites, particularly in tropical climates like Singapore where mosquito-borne illnesses such as dengue fever are a constant concern. Properly setting up this protective barrier requires more than simply draping mesh over a sleeping area; it demands a systematic approach that prioritizes physical security and eliminates potential hazards. By choosing the correct mounting style—whether it is suspended from the ceiling, clamped to the crib frame, or fitted snugly around the mattress—you can create a safe, insect-free sleep environment for your child.
Safety must remain the primary focus throughout the installation process. A poorly installed net can quickly become a serious hazard, introducing risks of strangulation, suffocation, or physical injury if the structure collapses. Before beginning, always check the applied product’s label and the treated item’s manufacturer instructions. If instructions conflict, the item is unidentified, or the use is not covered, stop and consult the manufacturer or a qualified professional to ensure the setup is completely safe for your baby’s specific developmental stage.
Pre-Installation Checks and Preparation
Before attempting to install any baby crib mosquito net, thorough preparation is essential to ensure compatibility and structural safety. Every nursery setup is unique, and mosquito nets are designed to interface with specific crib styles, wall types, and ceiling structures. Taking the time to assess your equipment and environment beforehand prevents installation failures and guarantees that the net serves as a reliable protective shield.
Products mentioned in this guide
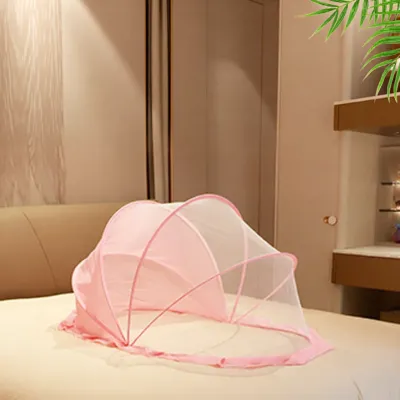
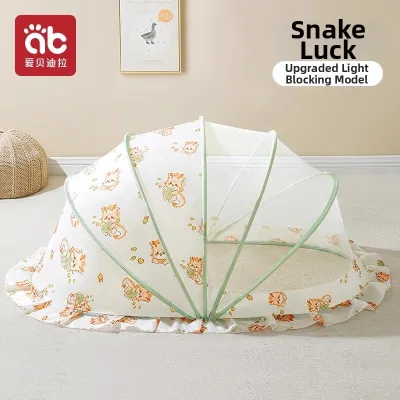

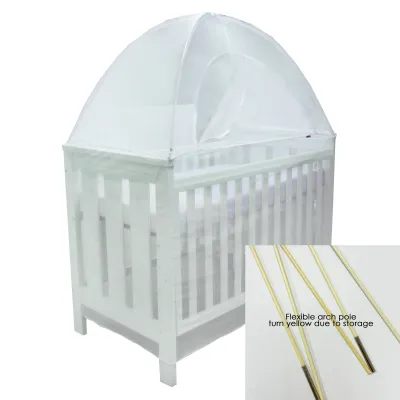
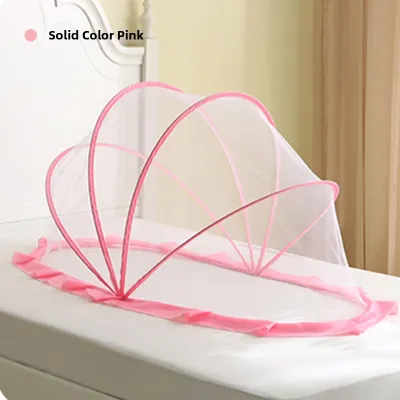
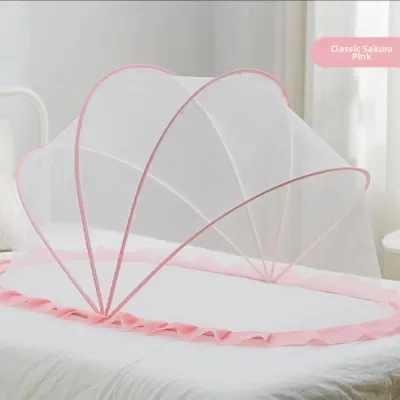
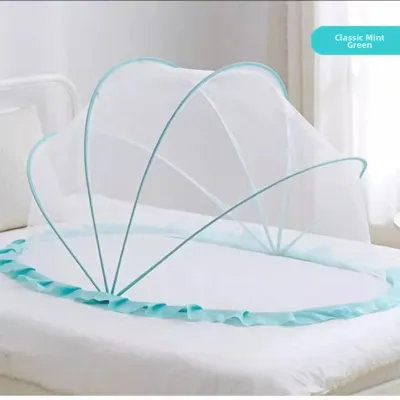
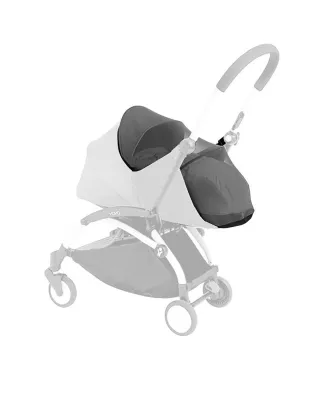
Prices are valid at publication and may change. Please refer to the product page for the latest price.
Review the Manufacturer’s Manual Always begin by carefully reading the instruction manual specific to your purchased mosquito net model. Designs, mounting hardware, and weight tolerances vary significantly between brands. Never assume that the installation process for one net applies to another. The manual will outline the exact steps required, specify the weight limits of any support arms, and highlight crucial safety warnings that are unique to that product’s design.
Assess the Crib Structure Examine your baby’s crib to determine if it can safely support the chosen net style. If you are using a crib-mounted frame net, inspect the wooden or metal slats to ensure they are structurally sound and can withstand the pressure of a mounting clamp. Check that the rail thickness matches the clamp’s specifications. If the crib has solid headboards or decorative, uneven top rails, a standard clamp-on bracket may not attach securely, requiring you to consider an alternative mounting method such as a ceiling-hung canopy.
Gather the Necessary Tools Having the correct tools on hand ensures a smooth and secure installation. Depending on the mounting style you have chosen, compile a toolkit containing the following items:
- A measuring tape to verify proper heights and clearances.
- A pencil to mark drilling or placement points on the wall or ceiling.
- A screwdriver or Allen key matching the hardware supplied with a crib-mounted bracket.
- A drill with masonry bits if you are mounting a hook into concrete ceilings (common in Singapore's residential apartments) or plasterboard anchors for drywall.
- High-quality, non-damaging adhesive hooks, but only if they are explicitly approved by the manufacturer for lightweight netting and are placed completely out of the baby's reach.
- Heavy-duty zip ties for securing loose cables or reinforcing bracket attachments, provided they do not leave sharp edges.
Inspect for Manufacturing Defects Perform a comprehensive physical inspection of the mosquito net and all accompanying hardware before beginning the assembly. Unroll the mesh completely and check for any tears, holes, or loose stitching that could allow insects to enter or compromise the structural integrity of the fabric. Check that all screws, brackets, joints, and ties are present and undamaged. If the net exhibits any defects or is missing parts, do not attempt a compromised installation; stop immediately and contact the retailer or manufacturer for a replacement.
Step-by-Step Installation by Mosquito Net Type
The installation process depends heavily on the structural design of the mosquito net you have selected. The three most common styles are ceiling-hung or dome canopy nets, crib-mounted hoop or frame nets, and fitted or zippered enclosure nets. Each requires a distinct approach to ensure the netting remains taut, secure, and completely clear of the sleeping area.

Installing a Ceiling-Hung or Dome Canopy Net
Ceiling-hung or dome canopy nets offer an elegant solution that suspends the protective mesh from above, draping it gracefully around the perimeter of the crib. This style is highly versatile but requires a secure anchor point to prevent the entire assembly from falling into the crib.
Locate and Prepare the Anchor Point Identify the exact center point above the crib where the net will hang. Use a measuring tape to ensure the canopy will hang evenly on all sides of the crib. In Singapore, residential ceilings are typically made of reinforced concrete or plasterboard. If drilling into concrete, use a hammer drill and a masonry wall plug to secure a heavy-duty metal screw hook. For plasterboard or false ceilings, you must use a toggle bolt or a specialized hollow-wall anchor to distribute the weight safely. Never screw directly into plasterboard without a proper anchor.
Attach the Suspension Hook Thread the screw hook firmly into the installed wall plug or anchor until the collar is flush against the ceiling. Test the security of the hook by applying a firm downward pull; it must not wobble, slip, or show any signs of loosening. If you are using an adhesive hook, verify that the adhesive is rated for the weight of the canopy and is designed for the specific paint or plaster finish of your ceiling. However, mechanical anchors are always preferred over adhesives for maximum safety.
Hang and Adjust the Canopy Suspend the top loop of the dome frame or net from the ceiling hook. Carefully drape the mesh down so that it completely surrounds the exterior of the crib. Adjust the height of the suspension cord so that the bottom hem of the net falls at least 10 to 15 centimeters below the top rail of the crib, but remains completely outside the crib rails. The net must never drape inside the sleeping area or touch the mattress, as this creates a serious risk of the baby pulling the fabric into the crib.
Secure the Canopy Perimeter To prevent drafts or minor movements from blowing the net onto the crib, secure the lower sections of the mesh. Ensure the fabric is pulled taut against the outside of the crib frame. If the net includes lower securing ties, fasten them tightly to the bottom of the crib legs, keeping the knots on the outside and trimming any excess ribbon to prevent strangulation hazards.
Installing a Crib-Mounted Hoop or Frame Net
Crib-mounted hoop or frame nets utilize a rigid metal or plastic support arm that attaches directly to the crib’s wooden or metal structure. This self-contained setup is ideal for rooms where drilling into the ceiling is not an option.
Assemble the Support Frame Lay out all the pieces of the support pole and hoop on a clean, flat surface. Connect the rod segments sequentially, ensuring that each joint clicks or screws tightly into place according to the manufacturer’s instructions. If the frame uses a circular hoop at the top, attach it securely to the vertical support rod, verifying that the connection is stable and does not wobble.
Mount the Bracket to the Crib Position the mounting bracket or clamp against the crib’s top rail or vertical slats. If your crib has a specific mounting zone recommended by the manufacturer, align the bracket there. Tighten the clamp screws evenly. Ensure the bracket is clamped tightly enough that it cannot be twisted or slid along the rail, but avoid over-tightening to prevent cracking wooden crib components. Verify that no sharp screw threads or metal edges project toward the inside of the crib where the baby could make contact with them.
Thread and Secure the Netting Slide the top sleeve or opening of the mosquito net over the assembled hoop frame. Ensure the mesh is distributed evenly around the hoop to prevent lopsided hanging. Secure the net to the frame using the integrated ties, snaps, or elastic bands provided by the manufacturer. Double-check that these attachments are tight and cannot easily slide off the hoop.
Position the Frame Safely Adjust the angle and height of the support arm so that the hoop is centered over the crib. The vertical rod must run along the outside of the crib rails, completely out of the baby’s reach. Ensure the frame does not create a climbing hazard; as babies grow and begin to stand, they may attempt to use the support pole to pull themselves up, which could cause the frame to collapse. Keep the pole positioned on the side of the crib furthest from the baby’s usual sleeping position.
Installing a Fitted or Zippered Enclosure Net
Fitted or zippered enclosure nets wrap tightly around the mattress or the entire perimeter of the crib, creating a secure, sealed barrier. This style is excellent for active babies who might otherwise pull at draping canopy nets.
Prepare and Position the Net Unpack the fitted net and locate the top, bottom, and side panels. If the net is designed to wrap around the mattress, lift the crib mattress completely out of the frame. Lay the bottom elasticated portion of the net flat on the crib base, then place the mattress back inside, ensuring the net is positioned underneath the mattress.
Tuck and Secure the Edges Pull the elasticated borders or fabric flaps of the net up and over the sides of the mattress. Tuck the bottom edges deeply and securely under the mattress, ensuring there are no loose folds or gaps. The net must fit snugly against the mattress sides. Any gap between the mattress and the net creates a space where a baby’s limb or head could become trapped, or where mosquitoes could gain entry.
Align and Secure the Zippers For models featuring zippered access panels, zip the enclosure completely closed to test the alignment. The zippers should slide smoothly without catching on the mesh fabric. Once closed, ensure that the zipper pulls are positioned at the top or outside of the net, completely out of the baby’s reach. Many safety-focused nets include small fabric covers or snaps to hide the zipper pulls, preventing older infants from opening the net from the inside.
Ensure Mesh Tension Smooth out the mesh panels across the top and sides of the crib. The netting must remain taut across the frame or mattress structure. If the net sags or droops into the sleeping area, adjust the tension straps or tuck the excess fabric further under the mattress. A sagging net poses a direct suffocation risk if an infant rolls over and presses their face against the loose mesh.
Critical Safety Checks After Installation
Once the installation is complete, you must perform a rigorous safety inspection before placing your baby in the crib. This post-installation checklist is designed to identify and eliminate hazards that could lead to serious injury, strangulation, or suffocation.
Strangulation Prevention Carefully examine the entire installation for loose cords, ribbons, canopy ties, or hanging strings. Any cord or string longer than 18 centimeters poses a severe strangulation hazard to an infant. Ensure all ties used to secure the net to the crib frame or ceiling hook are tied in secure knots, with the excess length trimmed short or tucked away safely. Never leave decorative ribbons or pull-cords hanging within the baby’s reach inside or outside the crib.
Suffocation and Entrapment Checks Verify that no part of the mosquito net drapes inside the crib’s sleeping zone. The netting must remain entirely on the exterior of the crib rails or be held tautly away from the mattress. If your baby can reach out through the crib slats and grab the mesh, the net is too close. Adjust the suspension height or clamp position to ensure the fabric is completely out of reach of your baby’s grasping hands.
Structural Stability Test Apply gentle downward and lateral pressure to the mounting bracket, support arm, or ceiling hook. The entire assembly must remain rigid and secure. If a ceiling hook wobbles, if a clamp slides along the crib rail, or if the support pole bends significantly, the installation is unstable. A collapsing frame or falling canopy can trap or injure your baby. Tighten all hardware or reinstall anchors if any movement is detected.
Mesh Integrity and Airflow Verification Inspect the mesh fabric up close to ensure there are no microscopic tears or manufacturing flaws that could allow mosquitoes to pass through. At the same time, verify that the mesh is highly breathable. While the weave must be fine enough to exclude insects, it must allow free airflow to prevent heat retention, which is especially important in Singapore’s humid environment.
Establish Stop-Use Conditions As a caregiver, you must recognize when a mosquito net is no longer safe to use. If you observe any of the following conditions, dismantle the setup immediately:
- The net begins to sag or droop into the sleeping area and cannot be tensioned.
- The mounting bracket or ceiling anchor becomes loose or unstable.
- The baby learns to stand, pull themselves up, or grab the netting through the crib slats.
- The mesh fabric develops tears or fraying that cannot be safely repaired.
- The zipper mechanism fails or the zipper pulls become accessible to the baby.
Routine Maintenance and Cleaning
To ensure the mosquito net remains hygienic and structurally sound over time, establish a regular maintenance routine. Over weeks of use, dust, lint, and airborne allergens can accumulate on the fine mesh, while physical wear can compromise its safety.
Conduct Regular Inspections Perform a quick visual check of the net and mounting hardware every week. Look for signs of wear, such as fraying strings, weakening seams, or loose screws on the mounting clamp. As your baby develops new motor skills—such as rolling, sitting, or standing—re-evaluate the safety of the net. An installation that was perfectly safe for a stationary newborn may become hazardous once the baby can reach higher or pull on the fabric.
Follow Proper Cleaning Practices Clean the mosquito net periodically to remove dust and maintain optimal airflow. Before cleaning, remove the net carefully from its frame or suspension hook. Always check the care label on the fabric for specific washing instructions. If allowed, hand-wash the netting in cool water using a mild, baby-safe detergent. If using a washing machine, place the net inside a mesh laundry bag and select a delicate cycle with cool water to prevent the fine mesh from snagging or tearing.
Dry and Store Correctly Air-dry the net completely by hanging it in a well-ventilated area out of direct sunlight. Never use a clothes dryer or expose the net to high heat, as this can shrink the fabric, melt synthetic fibers, or warp elastic borders. In Singapore’s humid climate, ensuring the net is 100% dry before reinstallation or storage is critical to prevent the growth of mold and mildew. If you need to store the net seasonally, fold it gently and place it in a breathable cotton storage bag rather than a sealed plastic container. Avoid using bleach, fabric softeners, or harsh chemical cleaners, as these substances can degrade the mesh fibers and leave chemical residues that are unsafe for your baby to inhale.
Frequently Asked Questions (FAQ)
Can I use a standard crib mosquito net for a newborn bassinet?
Standard crib mosquito nets are designed for larger sleeping structures and are generally unsafe for use on a newborn bassinet. The excess fabric of a crib-sized net will pool inside or around the smaller bassinet, creating a severe suffocation and entrapment hazard for a newborn. For smaller sleeping spaces, always use a net specifically designed and sized for your particular bassinet model, or utilize the built-in canopy supplied by the bassinet manufacturer, ensuring all safety guidelines are strictly followed.
Are insecticide-treated mosquito nets safe for babies?
While insecticide-treated nets are utilized in specific global regions to combat severe malaria transmission, standard untreated physical barrier nets are highly recommended for everyday nursery use in residential homes. Untreated nets provide excellent physical protection without exposing your infant to chemical residues over prolonged sleeping periods. If you are considering an insecticide-treated net due to specific travel needs or medical advice, consult your pediatrician first, and strictly follow the manufacturer’s safety warnings and age recommendations.
Community discussion
Share your experience or ask a question. Comments are reviewed before publication.