
Transitioning your child from a standard baby bottle to a weaning-friendly kids bottle is a major developmental milestone that requires careful observation rather than simply following a calendar. You will know your child is ready when they begin showing specific physical milestones, such as sitting upright with minimal support, grasping objects with both hands, and showing curiosity about your own cups. Recognizing these developmental cues ensures that the transition supports their growing oral motor skills and hand-eye coordination without causing frustration or feeding resistance.
Introducing a kids bottle at the right developmental moment helps prevent prolonged reliance on the sucking motion associated with traditional nipples. This shift supports healthy oral development and prepares your child for the mechanics of drinking from standard cups. By focusing on your child’s unique pace and physical readiness, you can make this transition a positive, stress-free experience for both of you.
Observable Signs Your Child Is Ready to Transition
Identifying the right time to introduce a weaning-friendly kids bottle involves watching for key physical milestones. One critical indicator is your child’s ability to sit upright with minimal support. Sitting independently shows that their core muscles are strong enough to support safe swallowing and head control while handling a heavier container. If your child can sit steadily in a high chair during family meals, they are likely physically prepared to manage the mechanics of a transition bottle.
Products mentioned in this guide
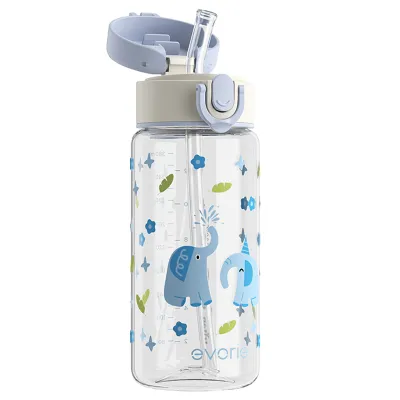
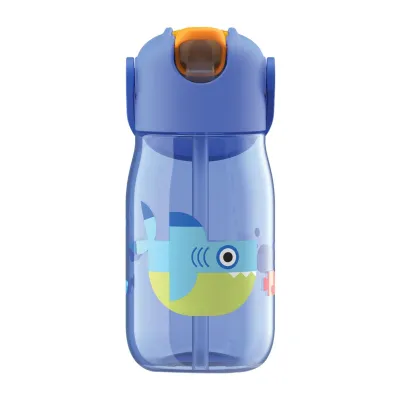
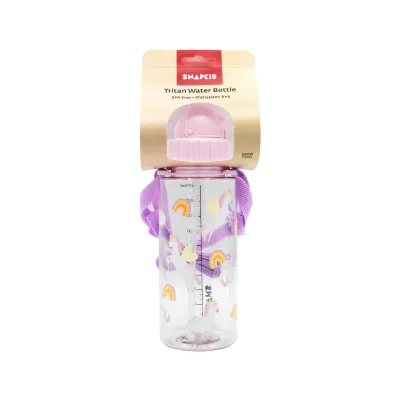
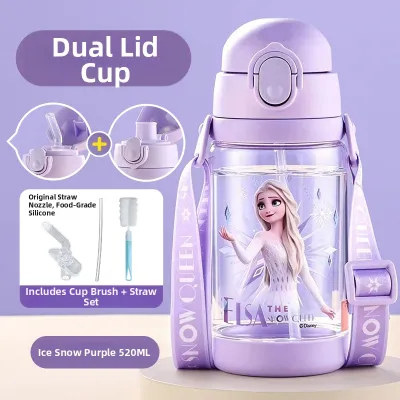
Prices are valid at publication and may change. Please refer to the product page for the latest price.
Fine motor skills also signal readiness, specifically the ability to grasp objects with both hands and bring them to the mouth. When your child starts reaching for toys, holding teething rings, or attempting to grasp their standard baby bottle during feeds, they are demonstrating the bilateral coordination needed for a transition bottle.
Oral development cues are equally important. You may notice your child making emerging chewing motions, even when they are not eating solid foods. Additionally, a decrease in the natural tongue-thrust reflex—where an infant pushes solid objects out of their mouth with their tongue—is a strong sign of oral maturity, allowing them to control liquids using their lips and tongue.
Behavioral indicators often provide the clearest signs of interest. Your child might show intense curiosity about what you are drinking, reaching for your glass or watching closely whenever you take a sip. They might also display sudden frustration with their standard baby bottle, such as biting the nipple or pulling away frequently, suggesting they are ready for a different drinking mechanism.
When to Pause: Signs Your Child Needs More Time
Forcing a transition before your child is ready can lead to feeding aversions or safety hazards. Physical readiness gaps are the primary reason to delay the introduction of a kids bottle. If your child still lacks sufficient head, neck, or trunk control, they will struggle to manage liquid flow safely. Drinking from a transition bottle requires a different head angle and swallowing coordination; without adequate physical support, the risk of choking or inhaling liquid increases.

Oral sensitivity and underdeveloped motor skills also warrant a temporary pause. If your child has a highly sensitive gag reflex or struggles to manage smooth purees during solid food introduction, their oral motor skills need more time to mature. Frequent coughing when taking small sips of water indicates that the coordination between breathing and swallowing is not yet fully established.
Behavioral resistance should not be ignored. If your child shows extreme distress, cries, or tightly clamps their mouth shut, they are communicating that they are not ready. Forcing the bottle can create negative associations with drinking.
If you observe these signs, stop the attempt immediately and revert to the familiar baby bottle. Give your child a few weeks to grow before trying again. If you have ongoing concerns about your child’s physical development or oral motor skills, consult a pediatrician for personalized guidance.
Features to Look for in a Weaning-Friendly Kids Bottle
Selecting the right kids bottle requires matching the design features to your child’s current developmental stage. Spout and valve options are critical components to evaluate. Soft silicone spouts are excellent for beginners because they mimic the familiar texture of a bottle nipple while introducing a wider shape that encourages a different lip seal. Hard spouts are more durable and ideal for teething children who might bite through softer materials. Straw mechanisms are another highly recommended option, as they promote advanced tongue retraction and lip pursing, which are beneficial for speech development.
Ergonomic handles play a vital role in encouraging independence. Look for bottles with removable, easy-grip handles designed for small hands. These handles help your child transition from a two-handed grip to holding the bottle body directly. As their grip strength improves, you can remove the handles to help them practice holding a standard cylindrical shape, bringing them one step closer to using a regular cup.
Flow rate control is a safety feature that caregivers must verify on manufacturer labels. Unlike standard baby bottles, transition bottles often feature bite-activated valves or weighted straws that only release liquid when the child actively sips. This design prevents free-flowing liquid from overwhelming your child and causing choking. Always check the packaging for age-graded recommendations and flow descriptions to ensure the bottle matches your child’s swallowing speed.
Hygiene and maintenance are practical considerations for busy caregivers. When shopping, select bottle structures with fewer parts to minimize the risk of mold buildup in hidden crevices. Look for wide-neck designs that allow for thorough brushing, and verify dishwasher safety on the product label to simplify your daily cleaning routine. Ensuring that all valves and straws can be easily disassembled and sanitized is crucial for maintaining your child’s health.
Steps to Introduce the Transition Bottle Smoothly
A successful transition relies on a gradual, low-stress approach that integrates the new kids bottle into your child’s daily routine. Offer the transition bottle when your child is alert, calm, and slightly hungry, but not overly fatigued. A child who is too hungry or tired will have little patience for learning a new skill and will likely demand the comfort of their familiar baby bottle. Mid-morning or after a pleasant nap is often the ideal window.
Gradual integration helps prevent your child from feeling overwhelmed. Instead of replacing all standard bottles at once, start by swapping out just one feeding session a day. The midday feed is typically the easiest transition point, as children are usually more relaxed during this time. Once your child comfortably accepts the new bottle during this session, you can gradually replace other feeds.
Caregiver modeling is a powerful tool for teaching new physical skills. Children learn by imitating the adults around them. Sit with your child during meals and demonstrate how to hold the bottle, bring it to your mouth, and take a sip. You can use an empty transition bottle or your own cup to show the motion, using positive facial expressions to show that drinking from the new bottle is an enjoyable activity.
Finally, adjusting your expectations is key. Spills and messes are a normal part of the learning process as your child refines their grip and swallowing coordination. In Singapore’s warm climate, practicing with water during outdoor playtime or in easy-to-clean areas of your home can make managing these messes much simpler. Keep a soft bib nearby and maintain a patient, encouraging attitude throughout the journey.
Frequently Asked Questions (FAQ)
At what age should I start using a transition bottle?
There is no single calendar age that dictates when a child must start using a transition bottle, as physical readiness varies. Most pediatric guidelines suggest introducing a transition cup or kids bottle around six months of age, coinciding with the introduction of solid foods. However, you should prioritize your child’s physical milestones, such as sitting upright and grasping objects, over their age in months. Always check the specific manufacturer’s age recommendations on the product packaging to ensure the design matches your child’s developmental stage.
Can I skip the transition bottle and go straight to an open cup?
Yes, you can skip the transition bottle and introduce an open cup or a straw cup directly if your child shows advanced motor skills. Bypassing the transition bottle is a common choice for caregivers who prefer to teach open-cup drinking early on. This approach requires close caregiver supervision to prevent choking and manage spills. Your child must be able to sit independently, control their head movements, and manage the flow of liquid using their lips. Using a small, weighted open cup designed for infants can help make this process more manageable.
What should I do if my child completely refuses the new bottle?
If your child completely refuses the new bottle, avoid turning the feeding session into a power struggle. Take a break for a few days and revert to their familiar baby bottle to lower stress levels. When you try again, consider experimenting with a different spout material, such as switching from a hard plastic spout to a soft silicone one, or trying a straw mechanism. You can also try warming the liquid slightly to match the exact temperature of the milk or water they are accustomed to, which can make the new vessel feel more familiar and comforting.
Community discussion
Share your experience or ask a question. Comments are reviewed before publication.