
Finding a bottle warmer that seamlessly integrates with your existing baby bottle collection is a major milestone in streamlining your daily feeding routine. If you are considering or currently using a Momcozy bottle warmer, understanding how it interacts with different bottle materials—specifically glass, plastic, and silicone—is essential for both safety and efficiency. Each material possesses distinct thermal properties that dictate how quickly heat transfers to the milk, how long that heat is retained, and how the bottle itself responds to repeated warming cycles.
In Singapore’s warm and humid climate, maintaining a hygienic and precise feeding setup is particularly crucial. Parents often balance expressed breast milk storage with formula preparation, requiring a warming routine that preserves vital nutrients without compromising the structural integrity of the bottle. By analyzing the physical characteristics of glass, plastic, and silicone, you can customize your warming habits to ensure every feed is safe, consistent, and perfectly suited to your baby’s needs.
Understanding Material Compatibility and Safety Baselines
Before placing any bottle into your warming device, establishing a baseline of safety and compatibility is the most critical step. The user manual provided with your specific Momcozy model serves as the primary authority on what can safely enter the heating chamber. Manufacturers frequently update their guidelines, listing explicitly approved materials alongside any restricted designs, such as certain ultra-wide neck bottles or specialized disposable liners.
Products mentioned in this guide
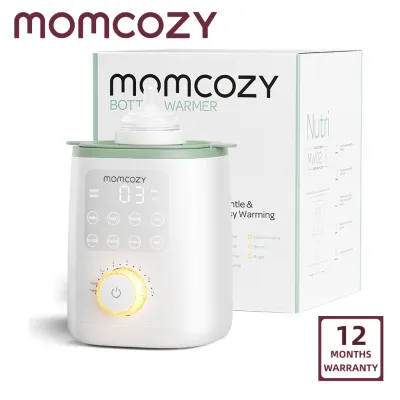
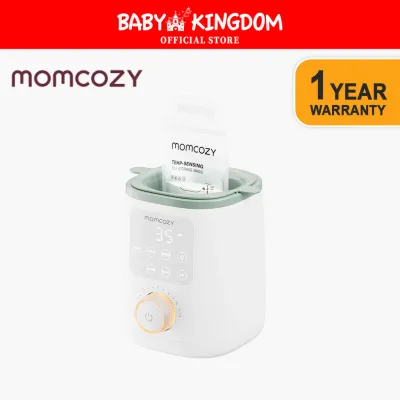
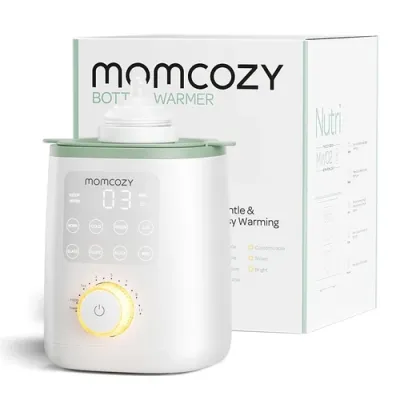
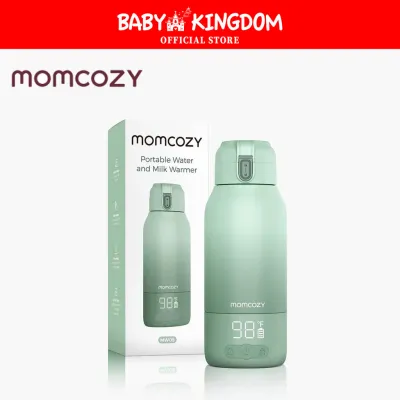
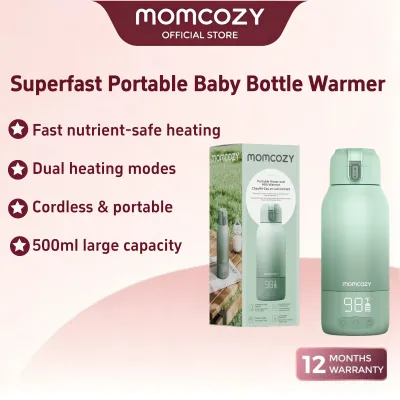
Prices are valid at publication and may change. Please refer to the product page for the latest price.
Equally important is verifying the specifications of your bottle collection. Every bottle manufacturer defines a maximum temperature tolerance for their products, which must align with the operating temperatures of your warmer’s various modes. For instance, rapid steam settings generate significantly higher temperatures than gentle water-bath settings, making it vital to confirm that your bottles are rated for these high-heat environments.
When inspecting your bottles, look for standard safety markings molded into the base or printed on the packaging. For plastic bottles, verify that they are clearly labeled as BPA-free and food-grade. Silicone bottles should be constructed from high-quality, food-grade silicone, while glass bottles should ideally feature indicators of borosilicate composition, which offers superior resistance to temperature fluctuations.
Evaluating Heating Characteristics by Material
Glass Bottles: Thermal Shock and Heat Retention
Glass is highly favored by many parents for its chemical inertness and ease of cleaning, but it requires specific handling when subjected to heat. The primary physical risk associated with glass bottles is thermal shock, which occurs when a rapid, extreme temperature change causes the material to expand unevenly and crack or shatter. This is especially relevant if you are transferring a cold glass bottle directly from the refrigerator into a preheated warmer.

To mitigate this risk, always verify whether your glass bottles are made of borosilicate glass, which is specifically engineered to withstand sudden temperature shifts, or standard soda-lime glass, which is far more sensitive. Regardless of the glass type, always follow the bottle manufacturer’s precise warming instructions, which may recommend letting a chilled bottle sit at room temperature for a few minutes before starting the warming cycle.
Once warmed, glass bottles excel at retaining heat, meaning the milk inside will stay warm longer than it would in other materials. However, this high heat retention also means the outer surface of the bottle can feel deceptively cool while the milk inside remains hot, or vice versa. Always swirl the milk gently to eliminate hot spots and perform a careful temperature drop-test on your wrist before offering the bottle to your infant.
Plastic Bottles: Warping and Chemical Safety
Plastic bottles are lightweight, durable, and highly convenient for on-the-go feeding, but they demand careful monitoring when exposed to heat. The first rule of heating plastic is to verify that the material is entirely free of Bisphenol A (BPA) and Bisphenol S (BPS), as these chemicals can leach into milk under high temperatures. Look for clear certification stamps on the bottom of the bottle or within the product documentation.
Over time, repeated exposure to the warm water bath of a bottle warmer can cause plastic to degrade. Parents should regularly inspect plastic bottles for early signs of wear, such as structural warping, a cloudy appearance, or fine micro-scratches on the inner walls. These micro-scratches are not just structural issues; they can also harbor microscopic bacteria that are difficult to clean effectively.
To prolong the lifespan of your plastic bottles and ensure chemical safety, it is generally advisable to utilize the warmer’s gentle or standard milk-warming settings. High-heat sterilization modes or rapid warming settings should be reserved for materials better suited to extreme temperatures, as excessive heat accelerates the breakdown of plastic polymers.
Silicone Bottles: Heat Transfer and Base Stability
Silicone bottles have gained immense popularity due to their soft, breast-like feel and squeezable design, but their physical properties introduce unique warming dynamics. Silicone is an excellent natural insulator, which means it resists the transfer of heat. Consequently, milk stored in a silicone bottle typically takes longer to reach the desired temperature compared to milk in glass or thin-walled plastic bottles.
Because of this slower heat transfer, you must pay close attention to the physical stability of the bottle within the warmer. Many silicone bottles feature flexible bodies paired with a rigid plastic collar or base. Ensure that the bottle’s base is wide and stable enough to stand perfectly upright inside the warmer’s basket, preventing any tipping that could lead to water entering the bottle or milk spilling into the heating chamber.
Additionally, high-quality silicone can occasionally absorb odors from dish soaps or retain faint stains from specialized formulas. After repeated warming cycles, inspect the silicone material for any lingering smells, stickiness, or material fatigue. If the silicone begins to feel tacky or shows signs of thinning, it is time to replace the bottle to maintain a hygienic feeding environment.
Step-by-Step Compatibility Checklist for Your Collection
To ensure a seamless and safe experience, perform this practical verification checklist before using any new bottle in your Momcozy warmer for the first time.
Step 1: Cross-reference dimensions and guidelines. Begin by comparing your bottle brands with the compatibility charts provided in the Momcozy user manual. While many modern warmers are designed to accommodate a wide range of major bottle brands, some specialized shapes—such as extremely wide-necked or highly contoured bottles—may require specific adapters or may not be recommended for use.
Step 2: Measure the physical fit. Physically place the empty bottle inside the warmer’s inner basket. Ensure there is a clear clearance around the sides and that the bottle does not directly touch the heating element or the inner walls of the chamber. The bottle must sit flat on the bottom of the basket to allow the warming water to circulate evenly around its entire surface area.
Step 3: Conduct a thorough physical inspection. Examine each bottle under good lighting. Check glass bottles for hairline fractures or chips, plastic bottles for warping or deep scratches, and silicone bottles for tears or weakened seals around the collar. Ensure that all measurement markings remain clearly legible, as accurate volume measurement is vital for safe formula preparation and breast milk tracking.
Adjusting Warmer Routines for Different Materials
Achieving the perfect milk temperature requires adjusting your daily routine to account for the specific material you are heating. Water levels play a crucial role in this process; always fill the warmer’s reservoir to the level specified in the manual for your bottle’s material and volume. A bottle with thicker walls, such as a heavy silicone model, may require a slightly different water level or setting compared to a lightweight plastic bottle to ensure the heat is distributed effectively.
Because heat transfers differently through glass, plastic, and silicone, milk can easily develop uneven temperature zones during the warming cycle. To counteract this, always remove the bottle halfway through or immediately after the cycle and swirl the liquid gently. Swirling helps distribute the warmth evenly throughout the milk, preventing localized hot spots that could burn your baby’s sensitive mouth.
Never rely solely on the warmer’s automatic timer or digital display as an absolute guarantee of milk temperature. These settings are calibrated based on average room temperatures and standard bottle thicknesses. Instead, use a clean, food-safe digital thermometer to verify the milk’s temperature directly, or perform the classic wrist drop-test to ensure it is comfortably lukewarm before feeding.
Safety Boundaries: When to Stop or Switch Methods
Knowing when to alter your warming routine or retire a specific bottle is essential for your baby’s safety. Stop using the bottle warmer immediately if you notice any unusual chemical odors, if a bottle warps or changes shape during a cycle, or if milk consistently overheats despite using the correct settings. These are clear indicators of material failure or a malfunction in the heating process.
Similarly, you must discontinue use of the warming device if its built-in safety features fail to operate correctly. If the auto-shutoff mechanism does not engage, if the water reservoir boils over excessively, or if the digital screen displays persistent error codes, unplug the unit and consult the manufacturer’s troubleshooting guide.
If you ever feel uncertain about how a specific bottle material reacts to heat, or if you are concerned about the nutritional preservation of expressed breast milk, do not hesitate to seek professional guidance. Consulting a pediatrician, a certified lactation consultant, or the customer support teams of both the bottle and warmer manufacturers can provide the tailored advice you need to feed your baby with absolute confidence.
Frequently Asked Questions (FAQ)
Can I leave plastic bottles in the warmer overnight?
No, you should never leave plastic bottles in a warmer overnight. Prolonged exposure to warm temperatures creates an ideal breeding ground for harmful bacteria in both breast milk and formula, posing a significant health risk to your infant. Additionally, keeping a plastic bottle in a heated environment for hours can accelerate the degradation of the plastic material, potentially leading to warping or the release of unwanted chemical compounds. Always warm milk immediately before feeding and discard any leftovers within the recommended safety window.
Do silicone bottles take longer to warm than glass?
Yes, silicone bottles generally take longer to warm than glass bottles. This difference is due to the physical properties of the materials; silicone is a natural thermal insulator with low heat conductivity, whereas glass conducts heat much more rapidly. When switching from glass to silicone bottles, you will likely need to adjust your expectations and potentially select a slightly longer warming cycle or a higher volume setting on your warmer. Always verify the actual temperature of the milk rather than relying on a standard time estimate.
Community discussion
Share your experience or ask a question. Comments are reviewed before publication.