
Choosing the right Mommy J baby food products requires matching your baby’s physical developmental milestones with the specific texture, ingredients, and preparation instructions printed on the product packaging. While chronological age guidelines on the box provide a helpful starting point, your baby’s oral motor skills, head control, and ability to sit upright are the true indicators of readiness for different food stages. By understanding how to read product labels and observe your baby’s feeding cues, you can make informed decisions that support their nutritional needs and physical safety.
Transitioning to solid foods is a gradual process that varies significantly from one infant to another. Introducing the right textures at the right time helps your baby develop essential chewing and swallowing muscles while preventing feeding aversion or choking hazards. This guide outlines how to assess your baby’s readiness, decode product packaging, and establish a safe, structured framework for introducing new foods into their daily routine.
Identifying Your Baby's Current Feeding Stage
Before purchasing any baby food products, you must evaluate whether your baby is developmentally ready to transition to solids. Chronological age is a general reference, but physical milestones are the most reliable indicators of readiness. Observe your baby during family mealtimes to see if they exhibit the key signs of physical maturity required for safe eating.
Products mentioned in this guide
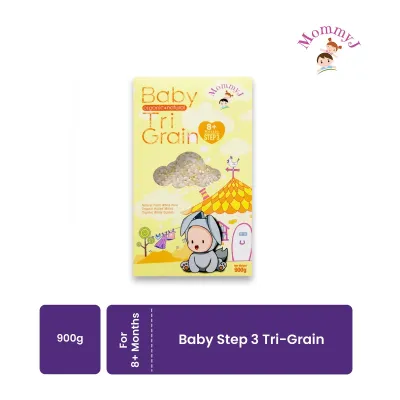
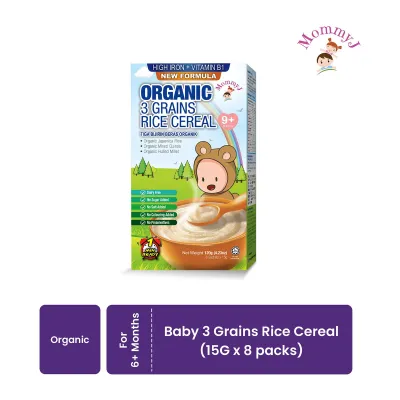
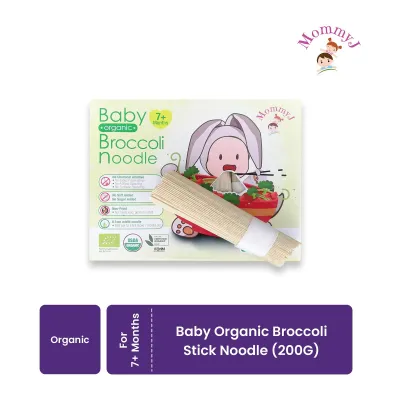
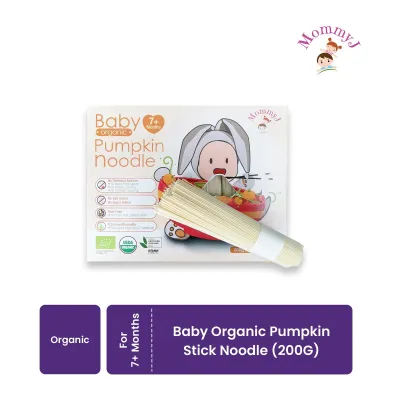
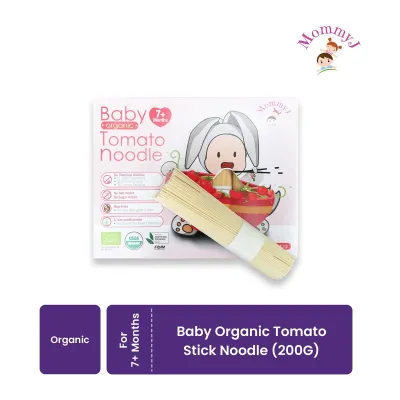
Prices are valid at publication and may change. Please refer to the product page for the latest price.
Your baby should be able to sit upright with minimal support and maintain good head and neck control. This physical stability is crucial for safe swallowing and reduces the risk of choking. Another key indicator is the disappearance of the tongue-thrust reflex, which naturally causes young infants to push solid objects out of their mouths with their tongues. If your baby still pushes food out automatically, their digestive tract and oral motor skills may not be fully prepared for solids.
Behavioral cues also play a significant role in identifying readiness. Look for signs of active interest in your food, such as leaning forward when you eat, reaching for your plate, or making chewing motions with their mouth. These behaviors suggest that your baby is curious and physically ready to begin exploring new textures beyond breast milk or formula.
Once readiness is established, the progression of food textures should follow your baby’s oral motor development. The journey typically begins with smooth, thin purees that easily slide off a spoon. As your baby learns to move food from the front of the mouth to the back, you can gradually transition to thicker, mashed consistencies, followed by soft lumps, and eventually soft finger foods that can be mashed between the gums.
Always remember that manufacturer age recommendations on packaging are baseline estimates designed for typical development. If your baby was born prematurely or has developmental delays, their physical milestones may not align perfectly with the age printed on the box. Always prioritize your baby’s actual physical abilities over the chronological age guidelines when selecting food textures.
Decoding Mommy J Packaging for Age and Texture Suitability
When shopping for Mommy J products at local specialty baby stores or online marketplaces, the packaging serves as your primary tool for verifying safety and suitability. Understanding how to locate and interpret the information on these labels ensures you select products that align with your baby’s current developmental stage.

Start by locating the manufacturer’s recommended age or stage indicators, which are typically displayed prominently on the front of the packaging. These indicators often categorize products into stages, such as those suitable for babies starting at six months, eight months, or beyond. Use these indicators as a preliminary filter to narrow down your options before examining the product more closely.
Next, carefully inspect the texture descriptions and preparation instructions. Some products may consist of finely milled grains that require cooking on a stovetop, while others may be instant powders that only require the addition of warm water, breast milk, or formula. Ensure that the final prepared texture matches your baby’s current chewing and swallowing capabilities. For instance, if your baby is still mastering smooth purees, avoid products that yield a coarse or lumpy texture unless they can be easily blended further.
Turn the package over to examine the ingredient list and nutritional profile. A high-quality baby food product should have a clean, straightforward ingredient list with no added sugars, excessive sodium, or artificial preservatives. Verify that the ingredients listed are appropriate for your baby’s current stage, especially if you are still in the process of introducing single-ingredient foods to rule out sensitivities.
Allergen declarations are another critical component of the packaging that you must verify. Look for clear warnings regarding common allergens such as wheat, soy, fish, or sesame, which may be present in the product or processed in the same facility. If your family has a history of food allergies, or if your baby has shown signs of sensitivity, these declarations are vital for preventing adverse reactions.
Finally, check for specific feeding warnings and preparation safety guidelines. The packaging will often provide instructions on how to prepare the food safely to avoid bacterial contamination or physical hazards. Always verify that the packaging is completely sealed, undamaged, and within its expiration date before purchasing or serving the food to your baby.
Building a Selection Framework for Mommy J Products
To streamline your shopping and feeding routine, establish a practical selection framework that maps general baby food formats to your baby’s specific oral motor skills. This structured approach helps you choose the right products systematically while ensuring your baby receives appropriate nutrition as they grow.
Begin by categorizing the available product formats based on their physical characteristics. For babies who are just starting solids, focus on fine, single-ingredient grains or powders that can be mixed to a very thin, runny consistency. This allows your baby to practice swallowing non-liquid food without the added challenge of managing lumps or complex flavors.
As your baby progresses and demonstrates better tongue control, you can transition to slightly coarser grains or multi-ingredient blends. This stage introduces new flavors and slightly thicker textures that encourage your baby to use their tongue to press food against the roof of their mouth. At this point, you might also introduce soft, easily dissolvable finger foods that encourage the development of the pincer grasp, allowing your baby to feed themselves under close supervision.
When evaluating ingredient labels, compare them against standard pediatric nutritional guidelines. For example, when budgeting around S$10 to S$15 per pack for premium baby food grains, verify that the product offers nutritional value, such as iron fortification or natural vitamins, without unnecessary additives. Avoid products that contain added salt or sweeteners, as an infant’s kidneys are not mature enough to process high amounts of sodium, and early exposure to added sugars can influence long-term taste preferences.
Adjusting serving sizes is another essential part of your selection framework. Always start by preparing a very small portion, such as one or two teaspoons of the prepared food. This minimizes food waste and allows you to gauge your baby’s appetite and interest. Observe your baby’s appetite cues during feeding; signs of fullness include turning their head away, closing their mouth tightly, or pushing the spoon away. Never force your baby to finish a prepared portion if they show signs of being full.
Keep a feeding log to track which products and ingredients you have successfully introduced. This log serves as a helpful reference when planning future purchases and ensures you are gradually expanding your baby’s palate in a controlled, safe manner.
Monitoring Feeding Responses and Safety Boundaries
Introducing new foods requires constant vigilance and a clear understanding of safety boundaries. As a caregiver, you must be able to distinguish between normal developmental responses to new textures and signs of physical distress or allergic reactions.
It is common for babies to gag when experiencing new textures. Gagging is a normal, noisy, and protective reflex that helps prevent choking by moving food forward in the mouth. It is characterized by coughing, sputtering, or making a face. In contrast, choking is a silent and life-threatening emergency where the airway is partially or completely blocked. A choking baby will be unable to cry, cough effectively, or breathe, and their skin or lips may begin to turn blue. Always supervise your baby closely during every feed, ensure they sit completely upright, and familiarize yourself with infant first aid and CPR.
When introducing new ingredients, follow the standard protocol of offering only one new food at a time. Maintain a gap of three to five days before introducing another new ingredient. This waiting period allows you to monitor your baby for any delayed allergic reactions and easily identify the specific food responsible if a reaction occurs.
Monitor your baby closely for signs of feeding discomfort or allergic reactions during and after meals. Mild to moderate symptoms of an allergic reaction or food sensitivity can include hives, a mild skin rash around the mouth, abdominal bloating, excessive gas, or sudden changes in bowel movements such as diarrhea. If you observe any of these symptoms, temporarily stop serving the suspected food and consult your pediatrician.
Establish clear stop-conditions that require immediate medical attention. If your baby exhibits severe symptoms such as swelling of the lips, tongue, or throat, difficulty breathing, wheezing, persistent vomiting, or lethargy, stop feeding immediately and seek emergency medical care. Never attempt to reintroduce a food that has caused a severe reaction without direct guidance from a qualified healthcare professional.
Frequently Asked Questions (FAQ)
Can I mix different Mommy J products to adjust the texture?
Yes, you can mix different products to adjust the texture, provided you follow specific safety precautions. Always check the manufacturer’s instructions on each product packaging before combining them. Ensure that the resulting texture is entirely appropriate for your baby’s current chewing and swallowing stage; for example, do not mix a coarse grain into a smooth puree if your baby is still struggling with lumps.
Additionally, only mix products containing ingredients that your baby has already successfully consumed individually. Mixing multiple new ingredients at once makes it impossible to identify the source of an allergic reaction if one occurs. Always use clean, sanitized utensils and separate bowls to prepare the mixture, and discard any leftovers that have come into contact with your baby’s saliva to prevent bacterial growth.
How should I store and reheat prepared Mommy J baby food?
Always follow the specific storage timelines and temperature guidelines printed on the product label. Generally, prepared baby food that has not been in contact with your baby’s saliva can be stored in an airtight, BPA-free container in the refrigerator for up to 24 hours. If you prepare a large batch, portion out the amount your baby will eat into a separate bowl and immediately refrigerate the remaining untouched portion.
To reheat prepared baby food, use safe methods such as placing the serving container in a warm water bath or heating it gently on a stovetop. Avoid using a microwave if possible, as it can create uneven hot spots that can burn your baby’s mouth. If you must use a microwave, stir the food thoroughly and let it sit for a minute to distribute the heat evenly. Always test the temperature of the food on the inside of your wrist to ensure it is lukewarm before feeding. Discard any leftovers remaining in the feeding bowl after a meal, as bacteria from your baby’s saliva can multiply rapidly in warm food.
Community discussion
Share your experience or ask a question. Comments are reviewed before publication.