
Quick Answer: Can You Use Any Milk Warmer With Any Bottle?
No single milk warmer is universally compatible with every baby bottle on the market. While many manufacturers label their products as “universal,” true compatibility depends on physical dimensions, heating mechanisms, and material safety limits.
For a bottle to work safely and effectively in a warmer, it must fit comfortably within the heating chamber without touching the heating element directly. It must also allow the warmer’s lid to close fully if a lid is required, and it must not cause water to overflow.
Before purchasing any warming appliance, you must verify your specific bottle’s height, width, and material composition against the warmer’s official specifications. Relying on a “universal” label without checking these physical limits can lead to uneven heating, damaged bottles, or potential safety hazards during feeding preparation.
Products mentioned in this guide
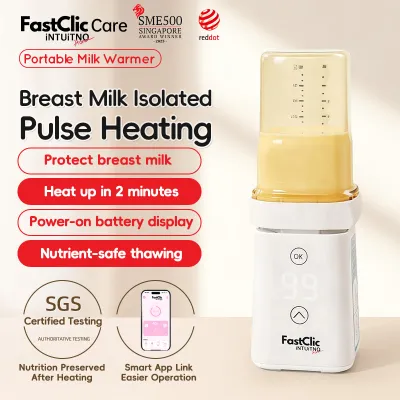
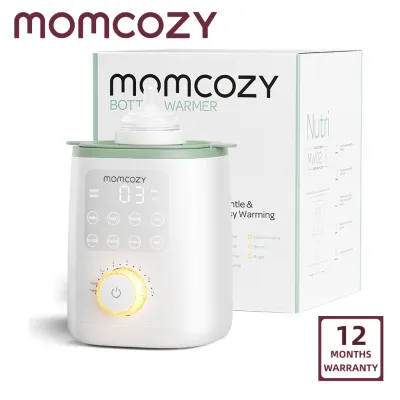
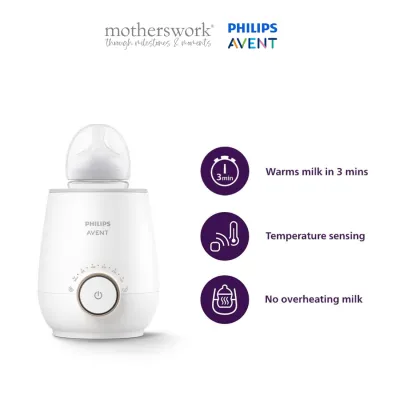
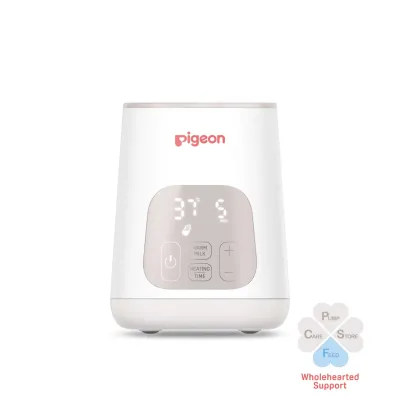
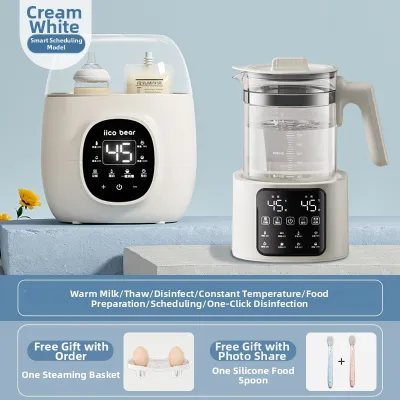
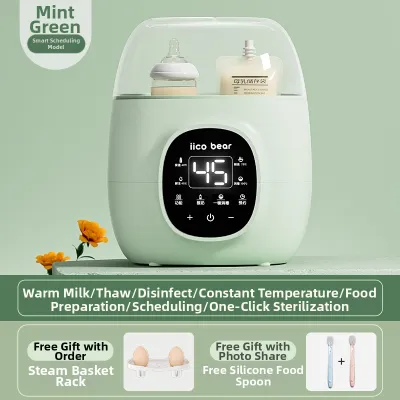
Prices are valid at publication and may change. Please refer to the product page for the latest price.
Critical Compatibility Checks Before You Buy
Selecting the right appliance requires looking closely at the physical specifications of both your bottles and the warming unit. Taking a few precise measurements beforehand will save you the hassle of dealing with incompatible gear during late-night feeds.

Chamber Diameter vs. Bottle Width
The internal diameter of the warming chamber is the most critical physical constraint. Wide-neck bottles, which are increasingly popular among parents in Singapore for their breast-like shape, require a much wider chamber than traditional narrow-neck bottles.
To ensure a proper fit, measure the widest part of your baby bottle—which is often the collar just below the nipple—and compare it to the internal diameter of the warmer’s chamber. The bottle should slide in and out easily with at least a few millimeters of clearance on all sides to allow water or steam to circulate freely.
Bottle Height vs. Chamber Depth
Bottle height is another common source of incompatibility, particularly with taller bottle designs or those featuring specialized anti-colic venting systems. If a bottle is too tall for a chamber that requires a closed lid, you will not be able to operate the unit as intended.
When using a steam-based warmer, an improper fit can prevent the steam from trapping properly, leading to inefficient heating. For water-bath warmers, a bottle that is too tall may sit too high in the water, leaving the top portion of the milk cold while the bottom overheats.
Material Safety Limits
Baby bottles are manufactured from a variety of materials, including polypropylene (PP), polyphenylene sulfone (PPSU), borosilicate glass, and silicone. Each of these materials reacts differently to heat transfer.
- Glass Bottles: These transfer heat very quickly but are susceptible to thermal shock. You must verify if your warmer has a specific setting for glass to prevent sudden temperature changes from cracking the bottle.
- Silicone Bottles: Silicone is a natural insulator, meaning it transfers heat much slower than plastic or glass. If you use silicone bottles, you must check if the warmer is rated to heat through thick silicone walls without requiring excessively high temperatures.
- PP and PPSU Plastics: While highly durable, these plastics have specific temperature thresholds. Always cross-reference the maximum temperature output of the warmer with the heat resistance limit printed on your bottle's packaging.
Matching Popular Bottle Brands to Warmer Types
Compatibility is ultimately driven by the physical shape, width, height, and venting systems of your bottle collection rather than the brand name alone. Understanding how these structural designs interact with different warming methods will help you narrow down your options.
Standard and Wide-Neck Bottles
Wide-neck bottles, commonly produced by brands like Pigeon and Philips Avent, feature a broad base designed to mimic natural breastfeeding. These bottles require a warming chamber with a generous width.
- Chamber Space: Ensure the warmer you choose has an open, wide-mouth design. A narrow chamber will trap these bottles or prevent them from reaching the bottom of the heating well.
- Standard Bottles: Traditional narrow-neck bottles fit easily into almost any warming chamber. However, because they are slim, they can tip over in wide chambers. Look for warmers that include a removable basket or adapter ring to keep narrow bottles centered and upright during the heating cycle.
Tall and Vented Anti-Colic Bottles
Bottles with specialized internal venting systems, such as those from Dr. Brown’s, present unique height and pressure challenges during the warming process.
- Height Clearance: The internal vent tube and collar assembly add significant height to the bottle. For these designs, a lid-free warmer or a unit with an adjustable dome lid is highly recommended to accommodate the extra height.
- Pressure Management: Heating causes air inside the bottle to expand. With vented bottles, this expansion can force milk up through the vent tube, leading to leaks. You must check the bottle manufacturer's instructions; many recommend removing or loosening the internal vent parts and the collar before placing the bottle in a warmer.
How to Verify Physical Fit and Material Safety at Home
If you already have your baby bottles and are looking to test a new warmer, or if you want to verify compatibility before your first use, follow this practical safety checklist at home.
- The Dry Fit Test: Before plugging in the warmer, place your empty, fully assembled bottle into the dry chamber. Check that the bottle sits flat on the bottom basket and does not wobble. If the warmer has a lid, try to close it completely. There should be no resistance, and the bottle should not touch the top or sides of the lid.
- Water Displacement Check: Fill the warmer with the manufacturer's recommended volume of water, then gently lower your bottle into the chamber. Observe the water level. The water should rise to the level of the milk in the bottle but must not overflow the edges of the warming chamber. If the water spills over, the bottle is too large for the chamber's volume capacity.
- Label Cross-Referencing: Locate the material identification code on the bottom of your baby bottle (such as PP, PPSU, or a glass symbol). Check the user manuals for both the bottle and the warmer to ensure the heating method (steam or water bath) matches the material's approved sterilization and heating guidelines.
- Supervision and Care: Always supervise the warming process closely. Never leave a warming bottle unattended, and stop using any appliance immediately if you notice warping, unusual odors, or localized overheating on the bottle body.
Decision Framework: Which Warmer Type Fits Your Routine?
To make the final decision, consider your daily feeding routine, your kitchen space, and the specific materials of your bottle collection.
- Choose a compact water-bath warmer if: You primarily use standard plastic or wide-neck PPSU bottles and have limited countertop space. In Singapore, where kitchen space in HDB flats can be premium, a compact water-bath warmer offers a small footprint while providing gentle, even heating that preserves breast milk nutrients.
- Choose a large-chamber or lid-free steam warmer if: You rely on tall, vented anti-colic bottles or need to warm multiple bottle sizes. Steam warmers heat quickly, making them highly efficient for busy schedules, provided you carefully manage the venting components to prevent leaks.
- Verify first if: You use specialized silicone or heavy borosilicate glass bottles. Ensure the warmer has dedicated settings or precise temperature controls to handle the slow heat transfer of silicone or to protect glass from thermal shock. Always consult both manufacturers' guidelines if you are unsure about material compatibility.
Frequently Asked Questions (FAQ)
Can I heat breast milk in a silicone bottle using a steam warmer?
You must check the specific guidelines provided by your silicone bottle manufacturer before using a steam warmer. While high-quality food-grade silicone is highly heat-resistant, steam warmers heat very rapidly and can create localized hot spots. Because silicone acts as an insulator, the outer surface may feel cool while the milk inside becomes too hot, or vice versa. Many manufacturers recommend using a gentle, warm water bath rather than rapid steam to ensure even heat distribution and to protect the nutritional value of breast milk.
Do I need to remove the bottle cap and nipple while warming?
Yes, you should always loosen or completely remove the bottle collar, nipple, and cap before placing the bottle in any milk warmer. As the milk heats, the air inside the bottle expands. If the bottle is sealed tightly, this expansion creates pressure that can cause the bottle to leak, warp, or even crack. Loosening the collar allows air to escape safely. After warming, always assemble the bottle fully, shake it gently to eliminate any hot spots, and test a few drops of milk on the inside of your wrist to verify the temperature before feeding your baby.
Community discussion
Share your experience or ask a question. Comments are reviewed before publication.