
When transitioning your child from a harnessed car seat to a booster seat, choosing the right installation method is a key decision for their safety. ISOFIX is an international standardized anchoring system designed to secure child safety seats directly to a vehicle’s chassis. While many parents assume ISOFIX is inherently safer than a traditional seatbelt installation, the reality is more nuanced. For high-back booster seats, both methods can provide excellent protection when used correctly, but they serve slightly different mechanical purposes. Understanding how these systems function, how they compare in daily use, and how to verify their compatibility is essential for keeping your child secure on every journey.
Understanding the ISOFIX Anchoring System
To determine if an ISOFIX booster seat is right for your family, you must first understand how to identify and locate the components of this anchoring system. In your vehicle, the ISOFIX anchor points are small, rigid metal bars welded directly into the vehicle’s frame. You can find them hidden deep within the seat crevice, specifically in the gap between the rear seat backrest and the bottom seat cushion. Many modern vehicles feature plastic guide indicators, small fabric tags, or buttons marked with a stylized child seat icon to help you locate these anchors quickly.
On the booster seat itself, the system consists of two rigid metal arms or flexible connector straps extending from the rear of the seat’s base. These connectors slide into the vehicle’s seat crevice and click securely onto the metal anchor bars. Most high-quality booster seats feature visual indicators, such as color-changing tabs that switch from red to green, or audible clicking mechanisms that confirm a successful connection. Before purchasing any new gear, always check your vehicle owner’s manual to locate approved ISOFIX seating positions and inspect the booster seat’s manufacturer label to confirm compatibility with your car’s specific layout.
Products mentioned in this guide
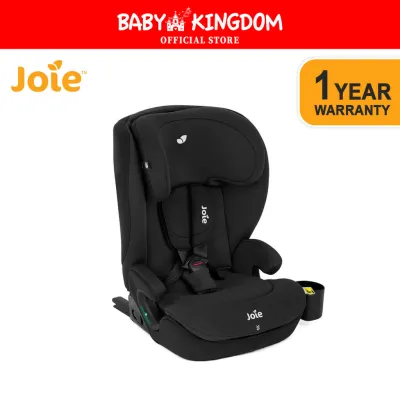
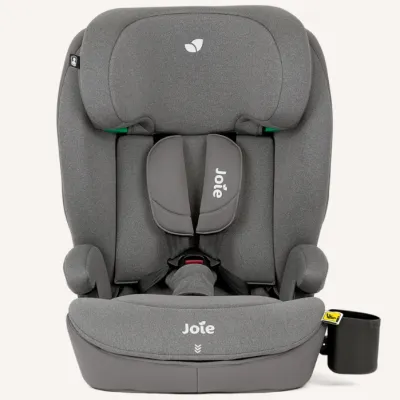
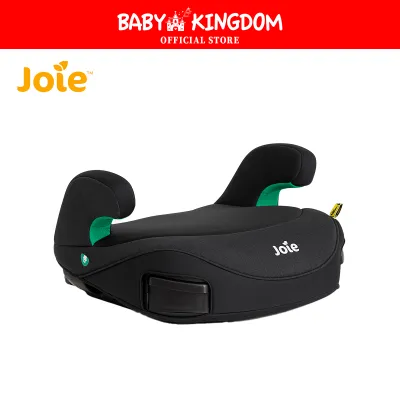
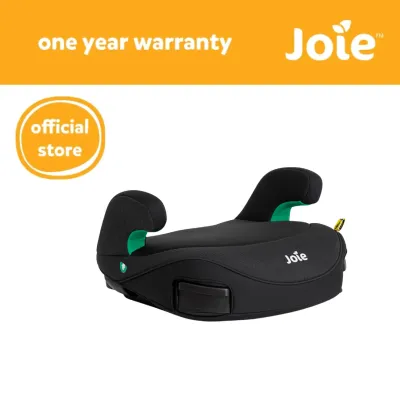
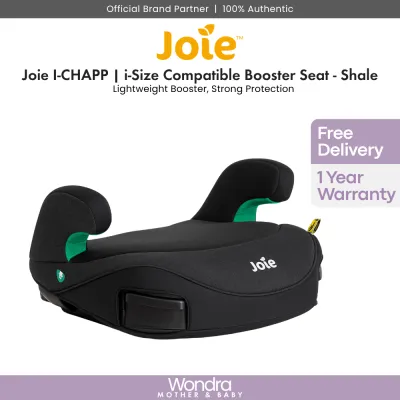
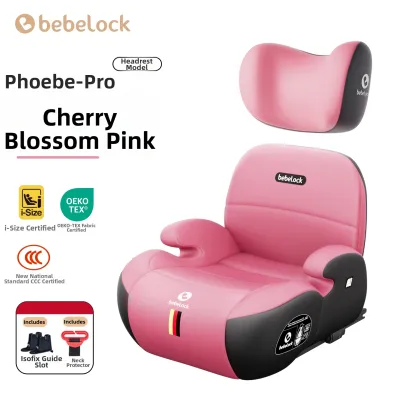
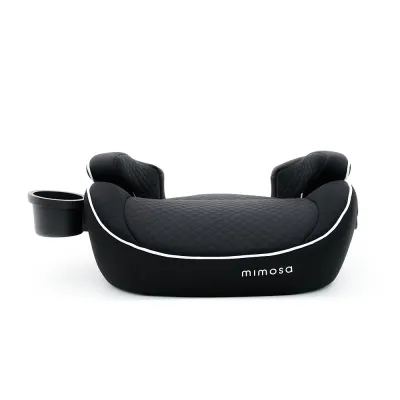
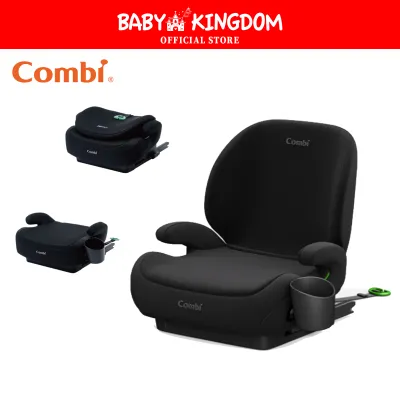
Prices are valid at publication and may change. Please refer to the product page for the latest price.
ISOFIX vs. Seatbelt: Comparing Installation Mechanics and Common Errors
The primary difference between these two installation methods lies in their mechanical connection to the vehicle. An ISOFIX installation creates a rigid, direct link between the booster seat and the car’s chassis. This rigid connection keeps the booster seat firmly in place, preventing it from sliding, shifting, or tipping over when your child climbs in and out, or during sharp turns. In contrast, a traditional seatbelt installation relies on flexible routing, where the vehicle’s three-point seatbelt passes through designated guides on the booster seat to secure both the seat and the child simultaneously.

While a seatbelt-installed booster seat is highly effective when set up properly, flexible routing is historically more susceptible to user error. Caregivers frequently make mistakes such as leaving twists in the seatbelt webbing, which can concentrate crash forces unevenly across the child’s body. Another common error is threading the seatbelt through the incorrect path, such as running the lap belt over the armrests instead of through the designated lower guides. These errors can compromise the seat’s performance during a sudden stop or collision.
ISOFIX booster seats help mitigate these common installation errors by providing immediate, observable feedback. The built-in visual indicators turn green only when the connectors are fully engaged with the vehicle’s anchor points, giving caregivers peace of mind before placing the child in the seat. Additionally, because the ISOFIX system keeps the booster seat anchored even when it is unoccupied, you do not have to worry about an empty booster seat becoming a dangerous projectile inside the cabin during a sudden braking event.
Despite these conveniences, seatbelt installation remains a highly reliable and necessary option for many families. It is often the only viable choice if you drive an older vehicle manufactured without built-in anchor points, or if you need to install the booster seat in a seating position that lacks ISOFIX anchors, such as the middle rear seat. When installed with meticulous attention to the manufacturer’s instructions, a seatbelt-secured booster seat offers a level of protection that is comparable to an ISOFIX setup, making it an excellent alternative when anchor points are unavailable.
How to Verify Compatibility and Secure Installation
Ensuring a secure installation requires a systematic approach that begins long before you place your child in the vehicle. First, cross-reference your booster seat’s instruction manual with your vehicle’s specific guidelines. Vehicle manufacturers often restrict the use of ISOFIX anchors to specific seating positions, and some booster seats may not fit properly against contoured vehicle seats or under adjustable headrests. Checking these details beforehand prevents compatibility issues that could compromise your child’s safety.
Once the booster seat is installed, perform a physical stability check to verify a secure fit. Grab the booster seat firmly near the base where it connects to the vehicle and attempt to move it side-to-side and front-to-back. While a small amount of play—typically less than 2.5 centimeters—is acceptable, any excessive movement indicates that the connectors are not fully engaged or that the seatbelt is not sufficiently tensioned. If the seat feels loose or unstable, disconnect it and attempt the installation process again from the beginning.
It is also critical to recognize that ISOFIX connectors have strict weight and height limits that differ from the booster seat’s overall capacity. For high-back booster seats, the vehicle’s three-point seatbelt is the primary restraint holding the child’s weight during a crash, while the ISOFIX connectors simply stabilize the seat. However, you must still verify the manufacturer’s specifications regarding the maximum child weight allowed when using the connectors. Always monitor your child’s growth and transition them to the next stage of travel gear only when they exceed the recommended limits.
If you encounter conflicting instructions between your vehicle’s manual and the booster seat’s guide, or if you cannot achieve a secure, wiggle-free fit, stop the installation immediately. Do not attempt to modify the seat or use unapproved accessories to force a fit. Instead, contact the car seat manufacturer’s customer service department or consult a certified child passenger safety technician. These professionals can inspect your setup, verify compatibility, and guide you through the correct installation steps to ensure your child remains fully protected on the road.
Frequently Asked Questions (FAQ)
Can I use both ISOFIX and the seatbelt at the same time?
Using both systems simultaneously is generally prohibited unless the booster seat manufacturer explicitly states in the instruction manual that the seat has been tested and approved for dual installation. For most high-back booster seats, the ISOFIX connectors are designed to stabilize the seat while the vehicle’s three-point seatbelt secures both the child and the seat. Attempting an unauthorized dual installation can alter the seat’s intended crash dynamics, potentially putting excessive stress on the seat frame or preventing the seatbelt from retracting properly during an impact. Always follow the manufacturer’s precise instructions for your specific model.
Does my car need special maintenance for ISOFIX anchors?
While the metal anchor bars welded into your vehicle’s frame are highly durable and designed to last the lifetime of the car, they do require occasional inspection and upkeep. Because these anchors are located deep within the seat crevice, they easily collect food crumbs, dirt, small toys, and liquid spills over time. This debris can obstruct the anchor points, making it difficult or impossible to achieve a secure lock with the booster seat’s connectors. Periodically clear the seat crevice, perform a visual check for rust or debris, and if the anchors appear bent or damaged, have them inspected by a qualified automotive professional.
Community discussion
Share your experience or ask a question. Comments are reviewed before publication.