
Pureen liquid cleanser is generally safe and highly effective for cleaning baby bottles made of glass, plastic, and silicone, provided you follow proper dilution and washing techniques. This specialized formulation is designed to break down stubborn milk fats and proteins without leaving harmful chemical residues or overpowering fragrances behind. However, because each bottle material possesses unique physical properties—ranging from the completely non-porous structure of glass to the highly flexible and slightly porous nature of silicone—achieving absolute safety and longevity requires matching the cleanser with the correct washing tools and material-specific care guidelines.
Evaluating Pureen Liquid Cleanser for Baby Bottle Care
Unlike standard household dishwashing liquids, which are formulated to strip heavy grease from ceramic and metal cookware using strong anionic surfactants, a dedicated baby bottle cleanser serves a highly specialized purpose. Breast milk and infant formula are rich in complex lipids (fats), proteins (casein and whey), and carbohydrates (lactose). When these substances cling to the walls of a feeding bottle, they form a stubborn, hydrophobic film that water alone cannot remove. A quality baby bottle cleanser must effectively emulsify these organic compounds so they can be easily rinsed away, without relying on harsh industrial degreasers, artificial dyes, or synthetic perfumes that could irritate an infant’s sensitive digestive system.
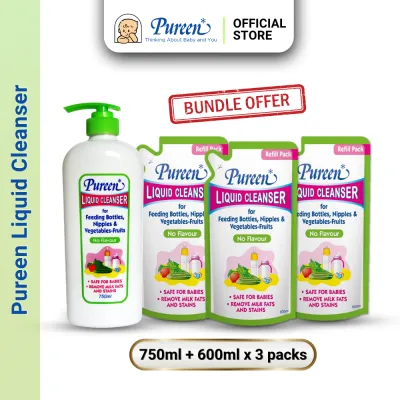
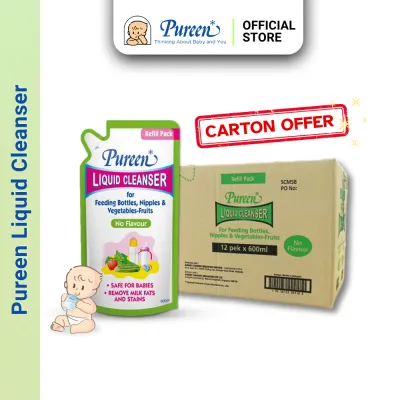
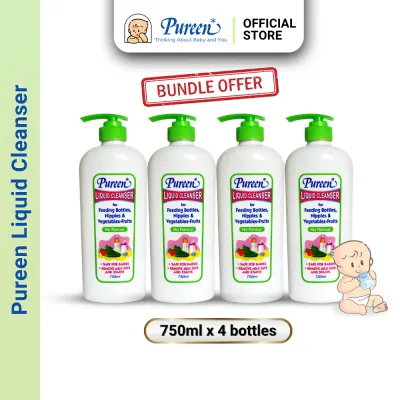
When evaluating Pureen liquid cleanser, parents should start by inspecting the product packaging and labeling. Look for indicators such as a laboratory-tested mild formulation, a neutral pH balance, and the use of plant-based or food-grade cleaning agents. These details confirm that the surfactants used are gentle enough for infant accessories. The label also provides critical instructions regarding dilution ratios and recommended applications, which typically extend beyond baby bottles to include nipples, pacifiers, toys, and even fruits or vegetables.
Products mentioned in this guide
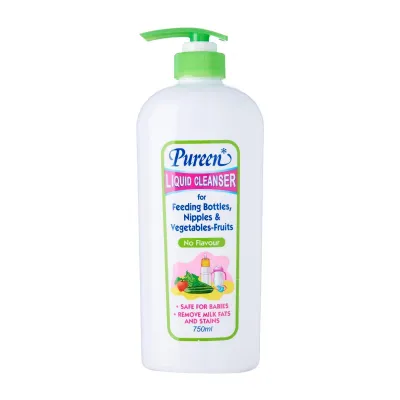
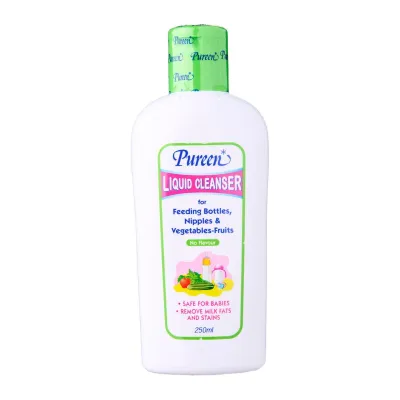
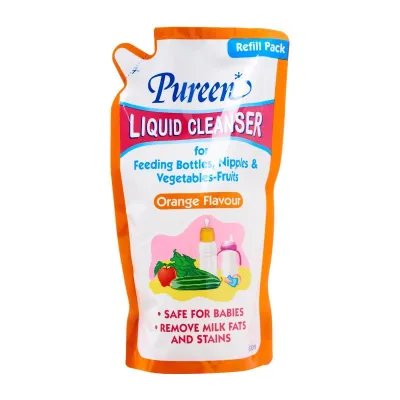
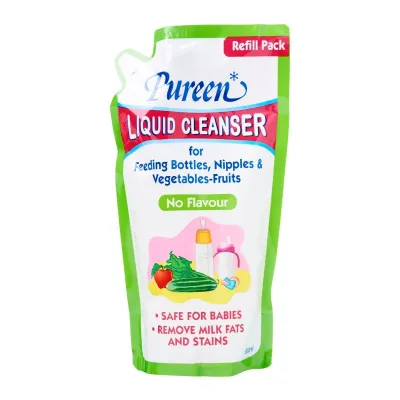
![[PUREEN] - BUNDLE OF 3 - Liquid Cleanser Refill 600ml CARTON SALE](https://img.lazcdn.com/g/ff/kf/S8f06b13e6a2047b1bbd42c6080e7e08cE.jpg_400x400q80.jpg_.webp)
Prices are valid at publication and may change. Please refer to the product page for the latest price.
Understanding how different bottle materials interact with cleaning agents is the next step in ensuring safety. Glass, plastic, and silicone vary significantly in their physical structures:
- Glass is completely non-porous and chemically inert, meaning it does not absorb chemicals or odors, but it is fragile and heavy.
- Plastics like Polypropylene (PP) or Polyphenylsulfone (PPSU) are lightweight and shatterproof, but they possess lower surface energy, which allows milk fats to cling more readily, and they are susceptible to scratching.
- Silicone is highly flexible and durable, yet its elastomeric structure is slightly porous, making it prone to absorbing odors and oils over time.
While baby-specific cleansers are formulated to accommodate these diverse materials, they cannot replace the specific instructions provided by your bottle manufacturer. Always cross-reference the directions on your cleanser bottle with the care guidelines of your specific feeding equipment. If a manufacturer warns against using certain types of surfactants or specifies a particular washing temperature, those guidelines must dictate your cleaning routine to preserve the integrity of the bottle and maintain safety standards.
Washing Glass Baby Bottles: Stability and Cleaning Tips
Glass remains a gold standard for many parents due to its exceptional material stability. Because high-quality borosilicate glass is non-porous and chemically unreactive, it provides an incredibly hygienic surface for infant feeding. It does not contain organic polymers that can degrade when exposed to surfactants, nor does it absorb food coloring, milk odors, or chemical residues from washing agents. Consequently, glass bottles are highly compatible with mild liquid cleansers, as there is virtually no risk of the material leaching chemicals or retaining a soapy taste after a thorough rinse.

When you wash glass bottles with Pureen liquid cleanser, the surfactant molecules quickly surround and lift the milk film from the smooth surface. Because glass does not hold onto lipids as tightly as plastic does, you will find that a relatively small amount of diluted cleanser is highly effective. The cleanser works to suspend the fats in the wash water, allowing them to wash down the drain without redepositing onto the glass walls.
To maintain glass bottles safely over long-term use, pay close attention to your cleaning tools and handling habits:
- Use soft-bristled brushes: Opt for brushes with soft nylon bristles or dedicated silicone cleaning heads. Avoid using brushes with exposed metal wire cores or stiff, abrasive bristles. While glass is hard, aggressive scrubbing with metal-tipped tools can create micro-scratches. Over time, these tiny imperfections can harbor microscopic milk residues and bacteria, compromising the hygienic advantages of the glass.
- Handle with care when wet: Liquid cleansers reduce friction, making wet glass bottles incredibly slippery. Always wash glass bottles over a plastic basin or a padded sink mat rather than directly against hard stainless steel or porcelain surfaces. This minimizes the risk of accidental breakage if a bottle slips from your hands.
- Inspect for damage before every wash: Run your fingers along the rim, threads, and base of the bottle. Check carefully for hairline cracks, chips, or internal stars caused by impacts. If you detect any structural compromise, discard the bottle immediately, as heat sterilization or sudden temperature changes can cause damaged glass to shatter during use.
Washing Plastic Baby Bottles (PP, PPSU, PES): Avoiding Cloudiness and Scratches
Plastic baby bottles are popular due to their lightweight, shatterproof convenience, but they require more careful maintenance than glass. The three most common plastics used in bottle manufacturing are Polypropylene (PP), Polyphenylsulfone (PPSU), and Polyethersulfone (PES). PP bottles are typically translucent, highly affordable, and have moderate heat resistance. PPSU and PES bottles are recognizable by their natural honey-colored tint; they are premium medical-grade plastics that offer superior heat resistance, exceptional durability, and better resistance to chemical degradation.
Using a mild, baby-specific product like Pureen liquid cleanser is highly preferable to standard household dish soaps for plastic bottles. Standard dish soaps often contain aggressive degreasing agents, strong solvents, and heavy synthetic fragrances. Over time, these harsh chemicals can penetrate the polymer matrix of plastics, causing them to break down, lose their clarity, and develop a permanent cloudy appearance. Furthermore, plastic can easily absorb the strong perfumes found in standard dish soaps, resulting in bottles that retain a chemical scent even after multiple rinses.
To protect your investment in plastic bottles, always consult the manufacturer’s care instructions. Some brands specify maximum temperature limits for washing and sterilization, while others outline specific chemical compatibility guidelines. Adhering to these parameters ensures you do not inadvertently void the product warranty or accelerate the aging of the plastic.
Physical abrasion is the primary enemy of plastic baby bottles. You must never use abrasive scouring pads, steel wool, or stiff-bristled brushes on plastic surfaces. Even minor friction from a harsh scrubber can leave a network of fine scratches across the inner walls of the bottle. These scratches ruin the clarity of the plastic and create ideal physical pockets where milk proteins, fats, and opportunistic bacteria can accumulate, shielding them from the sanitizing effects of subsequent washes.
If your plastic bottles develop a persistent cloudy appearance, it is important to diagnose the cause. If the cloudiness is accompanied by a network of fine scratches or a sticky, degraded texture, the plastic has reached the end of its lifespan and the bottles must be replaced. However, if the cloudiness is simply due to hard water mineral buildup, it can often be resolved. If the bottle retains a soapy or sour milk smell, it is a clear sign that either the rinsing process was insufficient or the bottle has been exposed to highly fragranced soaps. In such cases, a thorough re-washing with a fragrance-free, properly diluted baby cleanser followed by an extensive rinse in clean water is necessary.
Washing Silicone Bottles and Nipples: Removing Milk Fats and Odors
Food-grade silicone is widely celebrated for its soft, breast-like texture, heat resistance, and flexibility, making it the preferred material for high-quality bottle nipples, valves, and entire silicone bottle bodies. However, from a cleaning perspective, silicone behaves very differently from glass or plastic. Silicone is an elastomer with a slightly porous molecular structure. This porosity means it has a natural affinity for hydrophobic substances, allowing milk lipids and proteins to bind tightly to its surface and even penetrate slightly into the material if left unwashed.
Because of this characteristic, cleaning silicone requires a delicate balance. The cleanser must feature surfactants that are powerful enough to emulsify and lift stubborn milk fats, yet gentle enough that they do not degrade the silicone polymer or leave behind surfactant molecules that bind to the pores. If a cleanser leaves a heavy chemical residue, the silicone will retain a distinct soapy taste, which can easily cause an infant to reject the bottle during feeding.
To clean silicone nipples and bottle components effectively, adopt a systematic, gentle approach:
- Fully disassemble all parts: Remove the silicone nipple from the plastic collar, and detach any anti-colic valves, vents, or seals. Milk residue frequently pools in the tight crevices where silicone meets plastic, creating a breeding ground for mold and bacteria if left untouched.
- Invert the nipples: Gently turn the silicone nipple inside out. This exposes the inner tip where milk fats accumulate and allows you to clean the surface directly.
- Massage gently with your fingers: Rather than forcing a brush through the delicate tip, apply a small amount of diluted cleanser and gently massage the silicone between your fingertips. This physical action safely breaks up the milk film without risking structural damage.
- Protect the feeding hole and valves: Never force a bottle brush, toothpick, or any sharp object through the tiny feeding hole or the delicate slits of anti-colic valves. Doing so can easily tear the silicone, altering the milk flow rate and ruining the nipple's function.
Thorough rinsing is absolutely critical for silicone. Because surfactant molecules can cling to the slightly porous surface, you must rinse all silicone parts under warm, running water for an extended period. Continue rinsing until the material feels completely squeaky to the touch; any lingering slipperiness indicates that active cleanser residue is still present. If a stubborn milk or soapy odor persists despite thorough rinsing, consult the bottle manufacturer’s guidelines. Many manufacturers approve boiling the silicone parts in clean water for five minutes or using specialized steam bags to help release trapped odor molecules from the material’s pores.
Best Practices for Diluting, Rinsing, and Verifying Cleanliness
To guarantee the highest standard of hygiene and safety for your baby, establish a consistent, disciplined bottle-washing workflow. This routine should be applied uniformly, regardless of whether you are cleaning glass, plastic, or silicone components.
The Standard Washing Routine
- Immediate cold water pre-rinse: As soon as a feeding session is finished, rinse the bottle and all its parts under cold, running water. Do not use hot water for this initial rinse. Hot water immediately coagulates and cooks the milk proteins, causing them to bind tightly to the bottle walls and making them far more difficult to remove. Cold water safely flushes away the bulk of the liquid milk without setting the proteins.
- Prepare a diluted wash basin: Fill a clean, dedicated washbasin with warm water and add the recommended amount of Pureen liquid cleanser. Avoid applying concentrated cleanser directly onto your bottle brushes or into the dry bottles, as this makes it incredibly difficult to rinse away all the concentrated surfactants afterward. Swirl the water to create a mild, soapy solution.
- Submerge and scrub: Fully submerge all disassembled bottle parts in the soapy water. Use a soft sponge or a dedicated, soft-bristled bottle brush to clean the internal and external surfaces of the bottles, paying close attention to the threads around the neck where residue often hides.
Verifying Cleanliness
Once washing is complete, perform a three-step sensory check to verify that the bottles are truly clean and free of all residues:
- The Visual Check: Hold the bottle up to a bright light source. The walls should be perfectly clear and transparent. Look closely for any faint, cloudy patches, dried milk rings, or white spots, which indicate areas that were missed during scrubbing.
- The Tactile Check: Run a clean finger along the dry or damp inner surfaces of the bottle and nipple. The material should feel completely squeaky and clean. If your finger slides with a greasy or slippery sensation, milk fats or active cleanser residues are still present, and the bottle must be washed and rinsed again.
- The Olfactory Check: Take a deep sniff of the inside of the bottle and the silicone nipple. It should smell entirely neutral. Any lingering sour milk odor indicates bacterial activity or trapped fats, while a strong soapy or floral scent means cleanser residue has not been fully flushed away.
Correct Rinsing and Drying Techniques
To ensure all surfactant molecules are completely removed, rinse each component thoroughly under warm, running tap water. Rotate the parts continuously under the stream, allowing the water to flush through the inside of the bottles and out through the nipple openings.
In Singapore’s warm, highly humid climate, drying is a critical step in preventing bacterial proliferation. Once rinsed, place all components upside down on a clean, dedicated bottle drying rack located in a well-ventilated area. Avoid drying bottles in enclosed, humid cupboards or leaving them standing upright where water can pool at the bottom. Ensure all parts are completely dry before assembling or storing them.
When to Replace Feeding Equipment
No baby bottle or nipple is designed to last indefinitely. You must inspect your feeding gear regularly and replace items immediately if you observe any of the following warning signs:
- Glass: Any visible chips, deep scratches, or hairline cracks.
- Plastic: Permanent cloudiness that does not resolve with washing, a sticky or tacky texture, deep scratches, or persistent odors.
- Silicone: Tears or punctures in the nipple, thinning of the material, a sticky surface, or a change in the milk flow rate.
Frequently Asked Questions (FAQ)
Do I still need to sterilize bottles after using Pureen liquid cleanser?
Yes, cleaning and sterilizing are two distinct hygienic steps that serve different purposes. Washing with Pureen liquid cleanser is designed to physically remove organic soils, milk fats, proteins, and chemical residues from the surfaces of the bottle. Sterilizing, on the other hand, uses high heat (via steam, boiling water, or UV light) to destroy any remaining microscopic pathogens, bacteria, or viruses that may survive a standard wash.
Parents should always follow local health guidelines, pediatric recommendations, and the bottle manufacturer’s instructions regarding sterilization. Typically, it is recommended to sterilize all feeding equipment at least once a day, especially for newborns, premature infants, or babies with compromised immune systems. Always ensure the bottles are thoroughly washed and clean before placing them into a sterilizer, as heat can bake any remaining milk residue permanently onto the bottle materials.
Can Pureen liquid cleanser remove stubborn milk stains from plastic bottles?
Pureen liquid cleanser is formulated as a mild daily cleaning agent to safely emulsify fresh milk fats and proteins; it is not designed to act as a heavy bleaching agent or a descaler for deeply set stains. If plastic bottles have developed stubborn yellow stains from breast milk carotenoids or mineral buildup from hard water, standard washing may not be sufficient to restore their original clarity.
To address stubborn stains safely, check your bottle manufacturer’s care instructions to see if alternative cleaning methods are permitted. If approved, you can create a gentle paste using water and sodium bicarbonate (baking soda), applying it softly with a non-abrasive sponge to lift surface discoloration. Alternatively, some manufacturers approve the use of a mild white vinegar soak to dissolve mineral scaling. Never use harsh household bleach, abrasive scouring powders, or industrial chemicals on infant feeding items, as these can permanently damage the plastic and pose severe safety risks to your child.
Community discussion
Share your experience or ask a question. Comments are reviewed before publication.