
Using a breast pump effectively is a skill that requires patience, practice, and a clear understanding of how your equipment works. For many mothers, a Pigeon breast pump serves as a reliable tool to support their breastfeeding journey, whether they are returning to work, building a milk supply, or sharing feeding duties. However, achieving efficient milk expression without experiencing discomfort depends heavily on correct usage, proper assembly, and finding the right fit.
When a breast pump is set up and used correctly, it mimics the natural sucking patterns of a baby, encouraging a smooth milk flow while protecting sensitive breast tissue. Incorrect use can lead to low milk output, physical pain, and even damage to the nipples. By mastering the fundamentals of preparation, positioning, and suction adjustment, you can optimize your pumping sessions and make the experience both comfortable and productive.
Preparing and Assembling Your Pigeon Breast Pump
Before handling your breast pump, wash your hands thoroughly with soap and water for twenty seconds. Clean the assembly surface to prevent transferring dust or bacteria to sterilized components.
Products mentioned in this guide
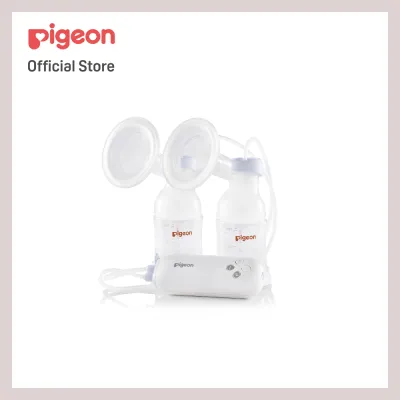

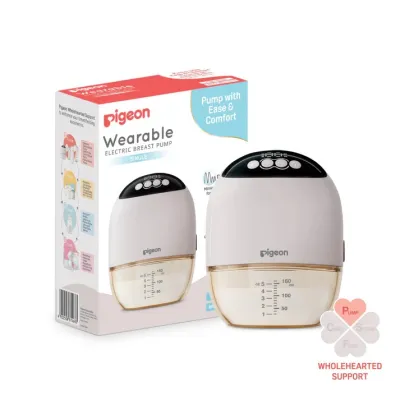
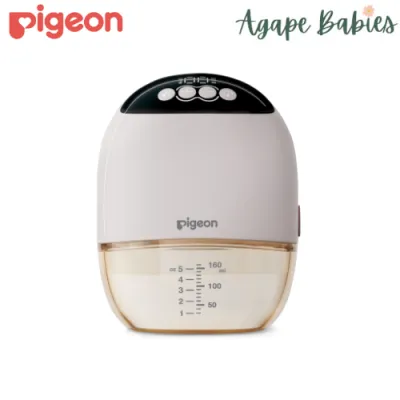
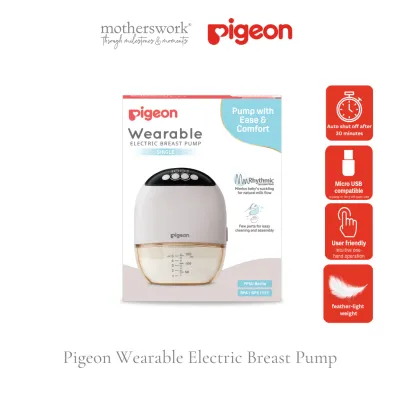

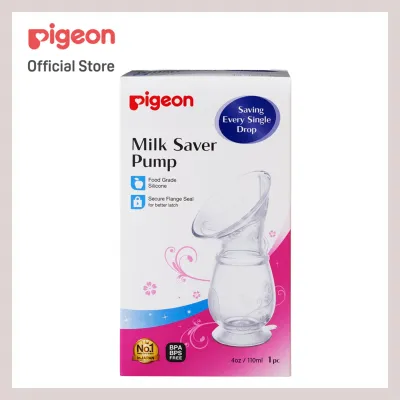
Prices are valid at publication and may change. Please refer to the product page for the latest price.
Sterilize washable parts, including the bottle, flange, valve, and membrane, before first use and regularly thereafter. Refer to your manual for heat tolerances; boiling parts for five minutes is standard, but check limits to prevent warping.
Once dry, insert the silicone valve into the pump body base. Handle this delicate valve by its thick base to avoid tearing. Secure the bottle to the pump body by turning it clockwise until snug, avoiding overtightening.
Press the silicone membrane flat into the top chamber to create an airtight seal. Finally, attach the flange. For electric models, connect dry tubing to the cap and motor; moisture in the tube can damage the motor.
Achieving the Right Fit and Positioning
Using an incorrectly sized flange causes pain and low milk output. Flange size is based on nipple diameter, not bra size. Measure your nipple base, excluding the areola, before pumping, and choose a flange two to three millimeters larger than your measurement.

Center your nipple precisely in the tunnel before starting. Off-center placement causes friction, swelling, and abrasions. Verify positioning through the transparent plastic.
During pumping, only the nipple and a tiny portion of the areola should enter the tunnel. If too much areola is pulled in, or if the nipple rubs against the sides, the flange size is incorrect. Watch for pain, friction marks, or nipple blanching.
Maintain an upright or slightly forward-leaning posture. Avoid reclining, which prevents milk from draining smoothly and can cause backflow. Relaxing your shoulders helps trigger the let-down reflex.
Pumping Techniques and Adjusting Settings
Pumping should mimic an infant’s natural feeding rhythm: rapid, light stimulation followed by slower, deeper draws.
For manual pumps, squeeze the handle quickly and shallowly to trigger the let-down reflex. Once milk flows, transition to slow, deep squeezes, holding the handle briefly at the peak before releasing.
Electric models start in a fast, gentle stimulation mode. Switch to expression mode, which features slower, deeper suction, once milk begins to flow.
Higher suction does not yield more milk; pain inhibits let-down. Find your maximum comfortable vacuum by increasing suction until slightly uncomfortable, then lowering it by one level.
Monitor milk flow. When it slows to occasional drops, try switching back to stimulation mode or end the session if your breasts feel soft and empty.
Cleaning, Storing, and Maintaining the Pump
Disassemble and rinse all milk-contact parts under cool water immediately after use to prevent milk proteins from drying.
Wash parts in warm, soapy water using mild dish soap and a soft brush. Avoid abrasive sponges on delicate silicone. Check your manual for dishwasher safety, though hand washing preserves silicone parts longer.
In warm, humid climates like Singapore, air-dry parts completely on a clean paper towel or drying rack in a well-ventilated area. Do not use cloth towels, which transfer lint and bacteria.
Store dry parts in a clean, airtight container. Inspect silicone valves and membranes regularly for stretching or micro-tears, replacing them every few months to maintain suction.
Troubleshooting Discomfort and Low Milk Output
If suction is weak, check that the valve is pushed in firmly, the membrane is sealed flat, the bottle is screwed on straight, and the tubing is dry and secure.
If pumping hurts, stop immediately. Re-verify flange size and lower the suction setting. Pumping should never be painful; persistent discomfort can damage tissue.
Milk supply depends on hydration, nutrition, stress, and pumping frequency. Ensure you rest and drink enough water.
If you experience persistent pain, bleeding, or hard, painful lumps that do not resolve, stop pumping and consult a lactation consultant or healthcare provider.
Frequently Asked Questions (FAQ)
How long should a single pumping session last?
A typical pumping session should last between 15 to 20 minutes per breast, or 15 to 20 minutes total if you are using a double electric pump. This timeframe is generally sufficient to stimulate a let-down and express the majority of the available milk. You should stop the session if your milk flow has completely stopped for several minutes, or if you begin to experience any physical discomfort, as pumping on dry breasts for too long can cause tissue irritation.
Can I use replacement parts from other brands with my Pigeon pump?
It is highly recommended to use only official manufacturer replacement parts designed specifically for your pump model. Third-party or cross-brand parts may not fit precisely, leading to a loss of suction, milk backflow, or damage to the motor. Using non-original parts can also void the manufacturer’s warranty and compromise the hygienic integrity of the closed system. Always verify compatibility on the official packaging or manual before purchasing.
What should I do if the silicone membrane loses suction?
First, remove the membrane and inspect it under a bright light for any micro-tears, warping, or thin spots. Wash it thoroughly to ensure no dried milk residue is preventing a tight seal. If the membrane appears stretched out, cloudy, or damaged, replace it immediately with an official replacement part. Keeping a spare set of valves and membranes on hand is a practical way to avoid interruptions in your pumping routine.

Community discussion
Share your experience or ask a question. Comments are reviewed before publication.