
Using a Momcozy wearable breast pump effectively requires a combination of correct assembly, precise flange sizing, and customized suction settings. Unlike traditional plug-in pumps, wearable models rely heavily on a secure, hands-free fit within your bra to maintain consistent suction and encourage milk expression. By mastering the alignment of the pump, selecting the correct insert size, and utilizing the device’s dual-mode settings, you can optimize your daily milk output while protecting your breast tissue from friction and discomfort.
Preparing Your Wearable Pump for a Session
Before you begin any pumping session, ensuring your device is fully prepared is essential for maintaining consistent suction and preventing mechanical strain. Start by checking the battery level on your pump’s motor unit. Wearable pumps rely entirely on their internal rechargeable batteries, and a low charge can lead to fluctuating suction power, which may hinder your let-down reflex. Next, inspect all silicone components, including the valves, diaphragms, and sealing rings. Even a microscopic tear or a slight misalignment in these flexible parts can cause a complete loss of vacuum pressure or lead to milk leaking into the motor.
When assembling the pump, pay close attention to the manufacturer’s alignment markers. The collection cup and the main motor body must lock together securely to establish an airtight seal. Press down firmly along the edges of the silicone shield to ensure it is fully seated against the plastic cup. Once assembled, prepare your physical environment. Pumping is highly dependent on the release of oxytocin, the hormone responsible for the let-down reflex. Sit in a comfortable, supportive chair, keep a glass of water nearby to stay hydrated, and ensure you are wearing a flexible, hands-free pumping bra that can accommodate the volume of the wearable cups without putting excessive pressure on your breasts.
Products mentioned in this guide

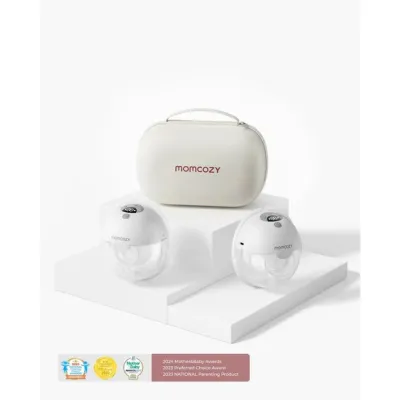
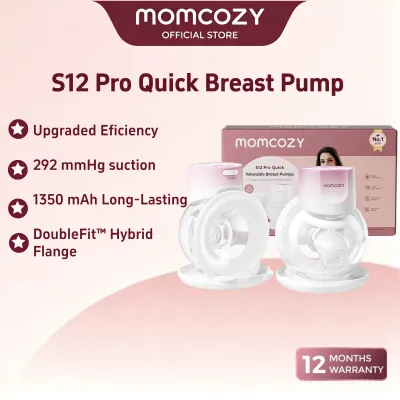
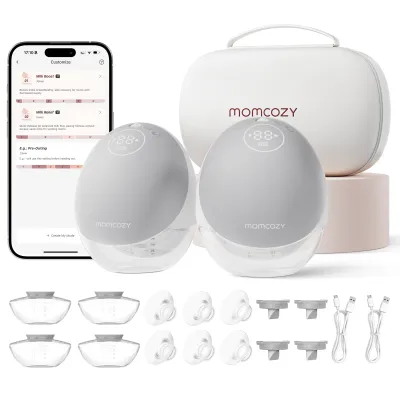
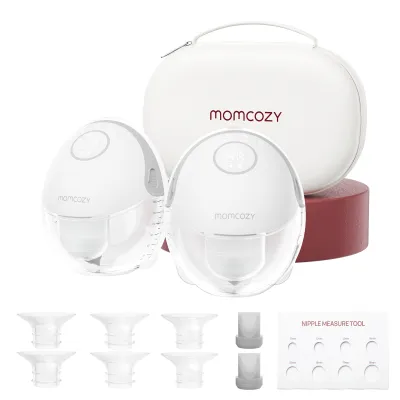
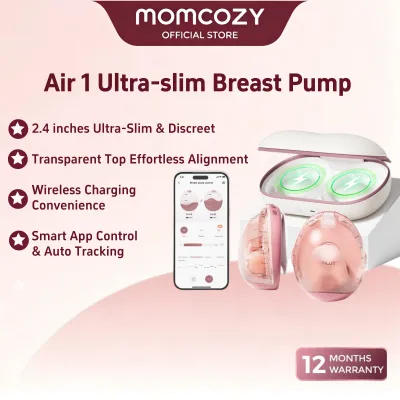
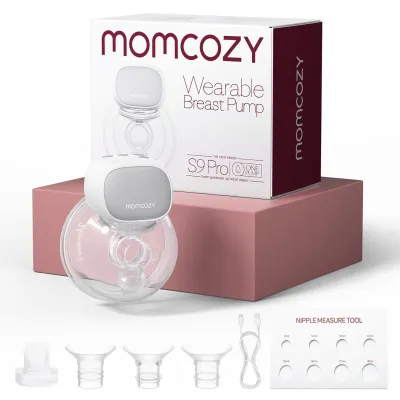
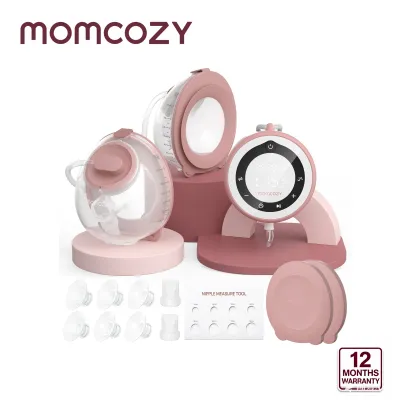
Prices are valid at publication and may change. Please refer to the product page for the latest price.
Finding the Right Flange Size and Fit
Achieving the correct flange fit is one of the most critical factors in maximizing milk output and preventing nipple damage. Many parents assume the default flange size included in the box will fit automatically, but using a flange that is too large or too small can compress milk ducts and cause painful friction. To find your correct size, measure the diameter of your nipple at the base using a physical ruler or a printable sizing tool before you begin pumping. Do not include the surrounding areola in this measurement. Keep in mind that breast and nipple sizes frequently change during the postpartum period, meaning you may need to remeasure if you experience changes in comfort or output.

Once you have your measurement, consult the manufacturer’s sizing guide to select the corresponding flange insert. For example, if your nipple base measures 17 millimeters, you will typically need a matching 17-millimeter or 19-millimeter insert, depending on the brand’s specific recommendations. When the pump is active, observe the movement of your nipple through the transparent tunnel. Your nipple should draw straight into the center of the tunnel, moving freely back and forth without rubbing against the plastic walls. The surrounding areola should remain mostly outside the tunnel, with only a minimal amount of tissue pulled inside.
If you notice your nipple rubbing against the sides, turning white (blanching), swelling, or if you feel a sharp pinching sensation, stop the pump immediately. These are clear indicators that the flange or insert is the wrong size. Continuing to pump under these conditions can lead to tissue damage, blistered skin, and restricted milk flow, which ultimately lowers your overall yield. Always keep a variety of insert sizes on hand during the first few weeks postpartum to adjust as your body adapts.
Adjusting Suction and Modes for Optimal Output
Modern wearable pumps feature multiple modes designed to mimic the natural nursing patterns of an infant. To get the most milk from each session, you should actively transition between these modes rather than staying on a single setting. Begin your session by selecting the massage or stimulation mode. This setting uses fast, shallow suction cycles combined with gentle vibrations to stimulate the nerve endings in your nipple, signaling your body to release oxytocin and trigger the let-down reflex.
Once your milk begins to drip or flow steadily into the collection cup, switch the device to the expression mode. This mode utilizes slower, deeper suction cycles to draw out milk efficiently from the deeper ducts. Rather than immediately turning the suction up to the highest level, start at the lowest intensity and gradually increase it step by step. Your goal is to find your maximum comfortable suction. This is the highest setting you can use without feeling any pain or tension. Pumping at an excessively high suction level does not yield more milk; instead, it causes physical stress and pain, which triggers adrenaline and can actively block your let-down reflex.
Be prepared to adjust these settings dynamically throughout your session. If your milk flow slows down after ten or fifteen minutes, you can switch back to the stimulation mode for a few minutes to encourage a second let-down before returning to expression mode. Use the physical buttons or the digital display on your motor to monitor your settings and track your session time. If you experience any sudden discomfort, lower the suction level immediately to protect your breast tissue.
Positioning and Hands-Free Pumping Techniques
The hands-free convenience of a wearable pump is highly beneficial, but it requires precise positioning to work effectively. Before turning the motor on, lean forward slightly and center your nipple perfectly within the opening of the flange tunnel. Once the nipple is centered, press the silicone shield firmly against your breast to establish a secure seal. Only after the seal is verified should you secure your bra and power on the device.
The fit of your pumping bra plays a vital role in maintaining this seal. Your bra should be supportive enough to hold the weight of the pump cups as they fill with milk, keeping them flush against your chest. However, it must not be so tight that it compresses your breast tissue or squeezes the pump’s motor unit. Excessive compression can pinch your milk ducts, restricting the flow of milk and leading to incomplete emptying. If your standard nursing bra feels too tight when the pumps are inserted, use a bra strap extender to create the necessary space.
To assist with milk expression, you can perform gentle manual breast massage or compressions during your session. Gently massage the outer areas of your breast, moving toward the pump cup, to help release milk from stubborn or clogged ducts. Additionally, pay close attention to your posture while pumping. Wearable pumps are designed for mobility, but they are not completely spill-proof. Maintain an upright or slightly forward-leaning posture. Avoid bending over at the waist, lying down, or making sudden, jerky movements, as these actions can break the suction seal, cause milk to leak from the pouring spout, or allow liquid to enter the motor compartment.
Troubleshooting Discomfort and Low Milk Yield
If you experience discomfort or notice a sudden drop in your milk yield, systematic troubleshooting can help identify the cause. Nipple pain is rarely a normal part of pumping and is usually a sign of a mechanical issue. Check your flange size first, as even a minor change in nipple swelling can require a different insert. Inspect the silicone parts for wear and tear; stretched-out valves or cracked diaphragms cannot maintain the consistent vacuum pressure required for comfortable extraction, leading to friction and pain.
If you notice that the suction feels weak, inconsistent, or unusually noisy, check for air leaks. Ensure that the silicone shield is pressed completely flat against the plastic cup and that the motor is fully clicked into place. A misaligned valve or a tiny gap in the assembly will allow air to escape, reducing the pump’s efficiency. If the mechanical components are functioning perfectly but your output remains low, consider external factors. High stress levels, fatigue, and inadequate hydration can directly impact your milk supply.
It is important to recognize when to seek professional assistance. If you experience persistent pain, bleeding, deep tissue bruising, or if you notice localized warmth, redness, and hard lumps that do not resolve after pumping, stop using the device and consult a lactation consultant or a healthcare provider. These symptoms may indicate a clogged duct or an infection that requires medical evaluation rather than mechanical adjustment.
Cleaning and Maintaining Your Pump
Proper hygiene and maintenance are essential to protect your baby’s health and preserve the lifespan of your wearable pump. Immediately after completing a session, carefully disassemble all parts that come into contact with breast milk, including the silicone shields, valves, diaphragms, and collection cups. Allowing milk residue to sit on these components can lead to bacterial growth and degrade the silicone over time.
Wash these parts in warm, soapy water using a mild dish soap, or place them in a compatible sterilizer if permitted by your specific model’s user manual. Avoid using harsh abrasive brushes that could scratch the plastic or tear the delicate silicone valves. The main motor unit, which contains the electrical components, must never be submerged in water or placed in a dishwasher. Instead, wipe the exterior of the motor with a clean, damp cloth to remove any smudges or stray milk drops.
After washing, place all components on a clean, dedicated drying rack in a well-ventilated area. In humid climates, such as in Singapore, ensuring parts are completely air-dried before reassembly is crucial to prevent mold and mildew from forming in the crevices. Never store damp parts in an airtight container or reassemble the pump while moisture is still present.
Frequently Asked Questions (FAQ)
Can I pump while lying down or sleeping?
No, you should avoid lying down or sleeping while using a wearable breast pump. These devices rely on gravity to guide the expressed milk down into the collection cups. Lying down can cause the milk to flow backward, leading to leaks, skin irritation, or liquid entering the motor unit. Sleeping while pumping also carries the risk of over-pumping, which can cause nipple damage, and increases the likelihood of the cups overflowing.
How long should a single pumping session last?
A typical pumping session should last between 15 and 20 minutes per breast. This timeframe is generally sufficient to stimulate a let-down and empty the breasts without causing unnecessary strain on your nipple tissue. You should stop the session early if your milk flow has completely stopped and your breasts feel soft and empty. Always consult your specific model’s manual for recommended run times, and speak with a lactation professional to establish a personalized pumping schedule.

Community discussion
Share your experience or ask a question. Comments are reviewed before publication.