
Achieving a comfortable, leak-free pumping session with the Medela hands-free cup depends on three core factors: selecting the correct flange size, aligning your nipple precisely in the center of the tunnel, and securing the cup with a supportive, well-fitting bra. Unlike traditional bottles that hang down, hands-free cups sit directly inside your bra, requiring a unique approach to positioning, posture, and seal verification. By mastering these physical adjustments and understanding how to manage your pump’s suction settings, you can optimize milk expression while maintaining complete mobility.
Transitioning to a hands-free pumping system offers incredible freedom, but it also introduces a different set of physical dynamics. Traditional breast shields allow you to easily see your nipple alignment and milk flow, whereas hands-free cups enclose the breast, making precise initial placement and seal verification essential. Taking a systematic approach to your pumping routine ensures that you maintain a strong vacuum, protect your sensitive skin from friction, and prevent frustrating spills.
Preparing Your Equipment and Body for Pumping
Before you begin assembly, verify that your cup size and flange fit match your current physical measurements. Nipple size can change during the postpartum period, so it is highly recommended to measure the diameter of your nipple base using a sizing tool before selecting your breast shield. Using a flange that is too large or too small can lead to poor milk expression, tissue friction, and localized swelling. Always refer to the manufacturer’s sizing guidelines to find the correct millimeter match for your body.
Products mentioned in this guide
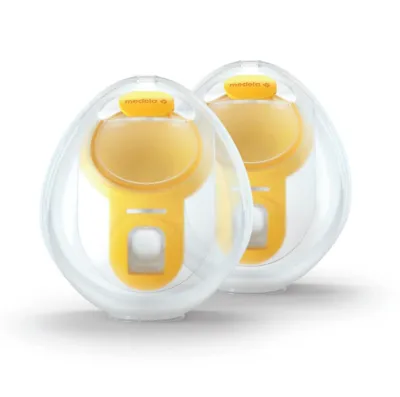
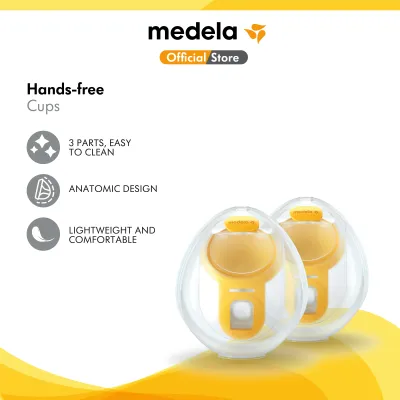
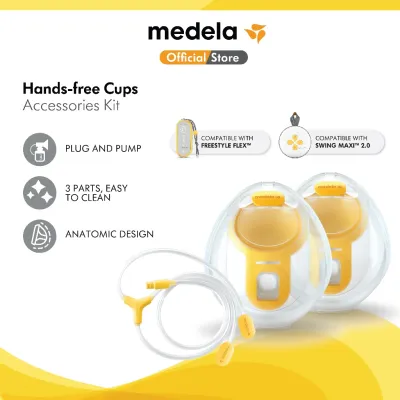
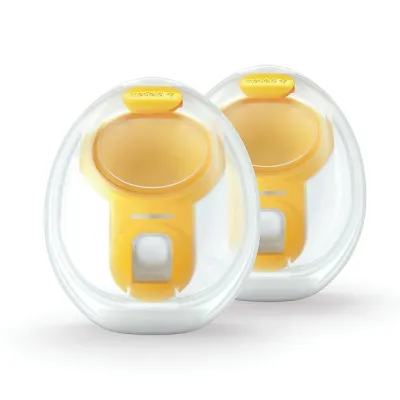
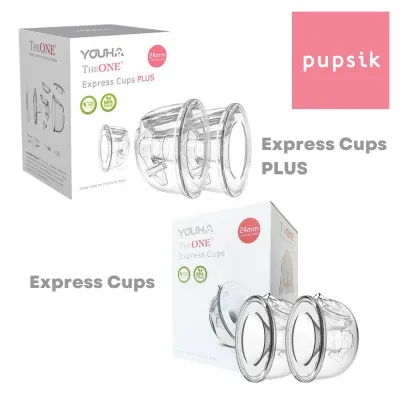
Prices are valid at publication and may change. Please refer to the product page for the latest price.
Once you have confirmed your size, assemble the hands-free cup components with clean hands. Ensure the yellow silicone membrane is pressed completely flat against the inner breast shield, as any wrinkles or gaps will cause a loss of suction. Align the outer cup shell with the breast shield and press them together firmly until you hear or feel them click into place. Connect the tubing securely to the port on the cup and the pump motor, checking that the tubing is dry, straight, and free of kinks.
Preparing your body is just as important as preparing your equipment. To encourage a swift let-down reflex, try applying a warm compress to your breasts for a few minutes before you begin pumping. Gentle, circular breast massage starting from the chest wall and moving toward the nipple can also help stimulate milk flow. In air-conditioned environments, such as modern offices or homes in Singapore, cold temperatures can sometimes delay your let-down, making these warming and massage steps particularly beneficial for a comfortable start.
Step-by-Step Guide to Positioning the Medela Hands-Free Cup
To position the cup correctly, begin by leaning your upper body slightly forward to allow your breasts to hang naturally. Hold the assembled hands-free cup by the outer shell and guide it toward your breast, centering your nipple directly within the opening of the flange tunnel. It is crucial that the nipple is perfectly centered and not tilted or pushed against the plastic walls, as this will cause painful friction once the suction begins.

Press the cup firmly and evenly against your breast tissue to create an initial airtight seal. The skin of your breast should form a smooth, continuous contact point around the entire rim of the shield. Do not rush this step; taking an extra moment to ensure the cup is flush against your skin prevents air from leaking in, which would otherwise compromise the pump’s vacuum strength and cause the cup to slip.
While holding the cup in place with one hand, use your other hand to secure your hands-free bra or built-in support mechanism over the cup. The bra must provide enough structural support to hold the cup firmly against your chest without compressing your breast tissue excessively. Over-tightening your bra straps or choosing a bra with zero stretch can pinch your milk ducts, which restricts milk flow and increases the risk of developing painful clogged ducts. A supportive, wireless nursing bra with stretchy fabric is generally the most effective option.
Before turning on the pump motor, perform a quick visual and physical check of the seal. Look through the transparent outer shell of the cup to verify that your nipple remains centered in the tunnel and has not shifted during the bra-securing process. Run your finger along the outer edge of the cup where it meets your skin to confirm there are no gaps, folded bra fabric, or trapped clothing that could break the vacuum.
Adjusting Posture and Suction for Maximum Comfort
Your physical posture during a pumping session directly impacts both your comfort and the risk of milk leaks. Always adopt an upright or slightly forward-leaning sitting position while pumping with hands-free cups. Avoid reclining on a couch, slouching, or lying down, as these positions alter the angle of the cup and prevent gravity from pulling the expressed milk down into the collection chamber. When you recline, milk can pool around the flange opening, which can break the vacuum seal and cause milk to leak out of the cup edges onto your clothing.
When you are ready to start, turn on the pump motor, which will automatically begin in the let-down or stimulation mode. This mode uses fast, light cycles designed to mimic a baby’s initial rapid sucking pattern, which triggers the hormonal response needed for milk flow. Remain in this mode until you see milk begin to drip or flow consistently into the cup, then manually transition the pump to the expression mode, which features slower, deeper suction cycles.
To find your maximum comfortable vacuum level, gradually increase the suction setting one step at a time until you feel a slight sensation of discomfort, and then immediately decrease it by one level. Pumping should never be painful; using excessively high suction does not increase milk output and can instead cause nipple trauma, tissue blanching, or swelling. By keeping the suction at your personal comfort threshold, you protect your breast tissue and encourage a more efficient milk ejection reflex.
Troubleshooting Common Leaks and Pumping Discomfort
If you experience leaks during your session, start by diagnosing the physical seal of the cup. A broken seal is often caused by trapped clothing, a loose tubing connection, or a bra that is either too loose to hold the cup flush or too tight, causing the cup to warp. Additionally, keep a close eye on the volume of milk in the cup; overfilling past the maximum fill line will cause milk to escape through the air vents or pour back toward your skin. If the cup is full, pause the pump, empty the milk into a storage container, and then resume.
Nipple friction, pain, or swelling during or after pumping is a clear signal that your setup needs adjustment. Re-evaluate your flange fit, as your nipple may be expanding during the session and rubbing against the tunnel walls, indicating you need a larger size. Alternatively, if a large portion of your areola is being pulled into the tunnel, your flange may be too large, requiring a smaller size or a silicone insert. Reducing your pump’s suction level can also immediately alleviate friction-related discomfort.
While minor adjustments can resolve most issues, you must recognize when to stop pumping and seek professional guidance. If you experience persistent pain that does not improve with suction adjustment, bleeding, severe nipple cracking, or localized breast redness accompanied by warmth and fever-like symptoms, cease using the device immediately. Consult a qualified lactation consultant or healthcare provider to address these symptoms and ensure your breastfeeding journey remains safe and healthy.
Cleaning and Maintaining Your Pumping Equipment
Proper hygiene is essential for protecting your baby’s health and maintaining the longevity of your pumping equipment. After every pumping session, completely disassemble the hands-free cup, separating the outer shell, the breast shield, and the silicone membrane. Wash all parts that come into direct contact with breast milk in warm, soapy water using a mild dishwashing liquid, then rinse them thoroughly under clean, running water.
Following the manufacturer’s instructions, sanitize the disassembled parts once daily using boiling water, a steam sterilizer, or microwave sanitizing bags. In Singapore’s warm and highly humid climate, it is critical to dry the silicone and plastic components thoroughly. Place all parts on a clean, dedicated drying rack in a well-ventilated area, and avoid assembling or storing them while they are still damp, as trapped moisture can encourage mold growth and bacterial proliferation.
Regularly inspect your valves, membranes, and silicone seals for any signs of wear and tear, such as stretching, warping, or tiny tears. Even a microscopic tear in the silicone membrane can cause a significant loss of suction or lead to persistent milk leaks. Replace these consumable components every few months, or sooner if you observe any physical degradation, to keep your pump operating at peak performance.
Frequently Asked Questions (FAQ)
Can I use the Medela hands-free cup while lying down?
No, you should avoid lying down or reclining significantly while using the Medela hands-free cup. The cup’s design relies on gravity to direct expressed milk away from your breast and down into the lower collection reservoir. Lying down or leaning back too far can cause milk to pool around the flange tunnel, which can break the vacuum seal, cause leaks, or allow milk to back up into the tubing. To prevent these issues, always maintain an upright or slightly forward-leaning posture during your pumping sessions.
How do I know if my cup size is wrong?
You can identify an incorrect cup size by observing how your nipple behaves inside the tunnel during a session. If your nipple rubs or scrapes against the sides of the tunnel, or if you experience persistent pain and friction, the flange is likely too small. Conversely, if a significant amount of your areola is pulled into the tunnel, or if you experience a constant loss of suction despite proper positioning, the flange is likely too large. Re-measuring your nipple diameter with a sizing ruler will help you confirm the correct size.

Community discussion
Share your experience or ask a question. Comments are reviewed before publication.