
Expressing breast milk efficiently requires a delicate balance of technology, biology, and proper technique. When using the eufy s1 pro pump, achieving maximum milk output while maintaining physical comfort depends on understanding how to work in harmony with your body’s natural lactation processes. By focusing on securing an accurate flange fit, mastering the transition between stimulation and expression modes, and identifying your unique maximum comfortable suction level, you can optimize every pumping session for the best possible results.
Many mothers assume that breast pumping is a purely mechanical task where higher suction automatically yields more milk. In reality, successful milk expression relies heavily on triggering your body’s hormonal let-down reflex, which is highly sensitive to discomfort, stress, and physical fit. Taking a systematic approach to your pumping routine will not only help protect your delicate breast tissue but also support a robust and sustainable milk supply over the long term.
Preparing for a Successful Pumping Session
Setting the foundation for an efficient pumping session begins long before you turn on the device. Proper hygiene is the first and most critical step. Always wash your hands thoroughly with soap and warm water for at least 20 seconds before handling your pump or breast milk. Ensure that all pump parts that come into contact with your milk—such as the flanges, diaphragms, and collection bottles—are completely clean, sanitized, and dry. In Singapore’s warm and humid climate, moisture can easily harbor bacteria, making it essential to dry your equipment thoroughly on a dedicated clean rack or use a sterilizer with an active drying cycle.
Products mentioned in this guide
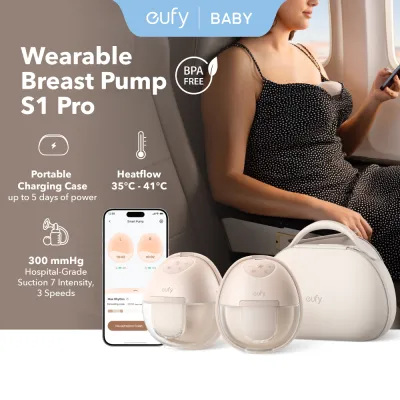
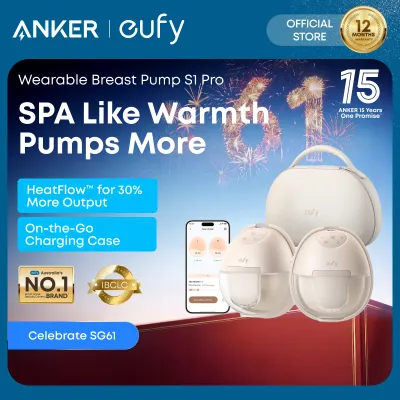
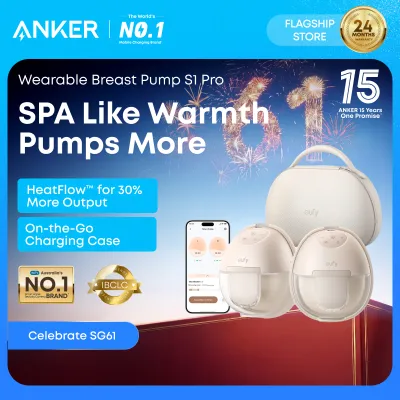
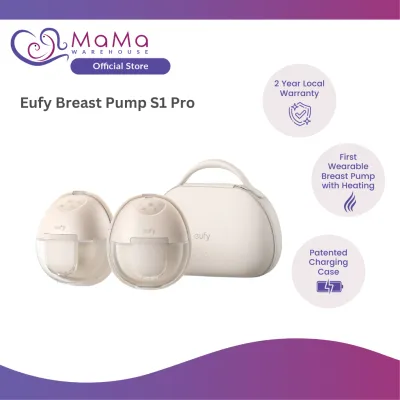
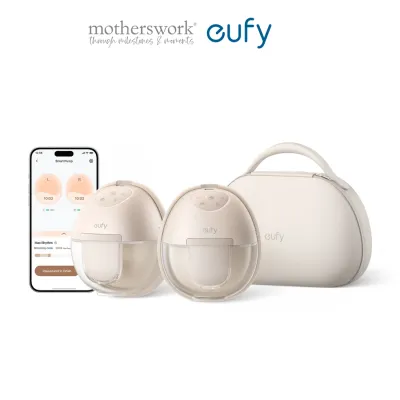
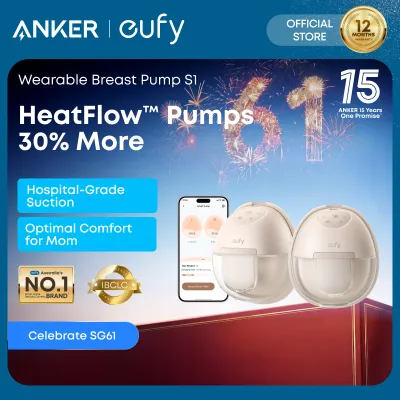
Prices are valid at publication and may change. Please refer to the product page for the latest price.
Checking your flange fit before you begin is equally vital for comfort and milk yield. The flange, or breast shield, is the plastic or silicone cone that fits directly over your breast. An incorrectly sized flange can compress your milk ducts, restrict milk flow, and cause painful friction or swelling. Before starting, ensure your nipple is centered within the flange tunnel and that the shield fits snugly against your breast without leaving large gaps or pinching your skin.
Creating a calm, relaxing environment is the final piece of preparation. Physical and mental relaxation triggers the release of oxytocin, the hormone responsible for the let-down reflex that allows milk to flow. If you are pumping at home or in a designated nursing room at your workplace in Singapore, try to minimize distractions. Keep a glass of water nearby to stay hydrated, and use relaxation techniques such as deep breathing. If you are separated from your baby, looking at photos or videos of them, or even smelling a piece of their clothing, can provide the visual and emotional cues needed to encourage a swift let-down.
Step-by-Step Guide to Using the Eufy S1 Pro Pump
Operating your pump systematically ensures that you mimic a baby’s natural nursing patterns, which is the most effective way to express milk. The eufy s1 pro pump is designed with customizable settings to help you replicate these patterns throughout your session.

Initiating Let-Down with Massage Mode
When you first turn on the pump, always begin in Massage Mode, which is also commonly referred to as stimulation mode. This mode features rapid, light, and shallow suction cycles designed to mimic the fast, fluttering sucks a hungry baby uses when they first latch onto the breast. This rapid stimulation sends sensory signals to your brain, prompting the release of oxytocin and triggering the let-down reflex.
Rather than watching the clock and switching modes after a predetermined number of minutes, observe your body’s physical responses. Look for signs of let-down, such as a tingling sensation in your breasts, milk starting to spray, or a steady stream of milk droplets filling the collection bottle. Once you see a consistent flow of milk, your let-down has been successfully triggered, and you are ready to transition to the next phase.
Transitioning to Expression Mode
Once your milk is flowing steadily, switch the pump to Expression Mode. This mode utilizes slower, deeper, and more deliberate suction cycles. It mimics the long, rhythmic swallows of an actively feeding baby who is drawing down larger volumes of milk.
Maintaining this slower, deeper rhythm allows the pump to empty the milk ducts efficiently. If you notice that your milk flow slows down to a crawl or stops completely mid-session, do not hesitate to switch back to Massage Mode for two to three minutes. This can help trigger a second or third let-down, after which you can return to Expression Mode to continue drawing out the milk.
Finding Your Ideal Suction Level
One of the most common mistakes mothers make is turning the suction up to the highest possible setting in hopes of extracting milk faster. However, excessive suction causes physical pain, which triggers the release of adrenaline. Adrenaline actively blocks oxytocin, constricts your milk ducts, and reduces your overall milk output while causing micro-tears in your nipple tissue.
To find your optimal setting, start the pump at its lowest suction level in Expression Mode. Gradually increase the suction level step-by-step. The moment you feel any pinch, pull, or discomfort, immediately lower the suction by one level. This setting is your “maximum comfortable vacuum”—the highest level of suction that effectively removes milk without causing pain or stress to your breast tissue.
Proven Techniques to Maximize Milk Output
To get the most out of your pumping sessions, you can incorporate active, hands-on techniques that encourage complete breast emptying and signal your body to produce more milk.
- Hands-On Pumping: This technique combines mechanical suction with manual breast massage and compression. Before you begin pumping, gently massage your breasts in a circular motion to warm up the tissue. During your pumping session, use your fingers and palm to apply gentle, firm pressure to different areas of your breast, sweeping downward toward the flange. Focus particularly on any firm or full areas. This manual compression helps release thick, fat-rich hindmilk that might otherwise remain trapped in the milk ducts, increasing both the volume and the caloric content of your expressed milk.
- Pacing and Duration: Avoid stopping your pumping session the moment you reach an arbitrary time limit if milk is still flowing. Instead, pump until the stream of milk slows down to a very slow trickle or stops entirely. Once the flow stops, continue pumping for an additional two to five minutes. This period of "empty pumping" sends a powerful signal to your body that more milk is required, prompting your system to increase production for future sessions. However, to prevent nipple damage, keep your total pumping session under 30 minutes.
- Frequency and Consistency: Breast milk production operates strictly on a supply-and-demand system. Maintaining a highly consistent pumping schedule is crucial, especially for exclusively pumping mothers or those transitioning back to office work in Singapore. Aim to pump every two to three hours during the day to mimic a baby's natural feeding intervals. Skipping sessions or waiting too long between pumps allows milk to accumulate, which releases a feedback inhibitor protein that tells your body to slow down milk production.
Common Pumping Mistakes and How to Fix Them
Troubleshooting issues early can prevent physical injury, reduce frustration, and save your milk supply from dipping unexpectedly.
An incorrect flange size is one of the most prevalent issues in breast pumping. If your flange is too small, your nipple will rub against the sides of the tunnel, causing friction, redness, blanching, and pain. If the flange is too large, too much of your dark areola tissue will be pulled into the tunnel, which can pinch and block your milk ducts, leading to poor output and swelling. Because breast tissue changes throughout your postpartum journey, measure your nipple diameter regularly and adjust your flange size accordingly.
Another silent culprit behind declining milk output is worn-out pump parts. The silicone valves, membranes, and diaphragms on your pump are subject to high levels of stretch and friction. Over time, these parts develop micro-tears or lose their elasticity, causing a gradual, unnoticed loss of suction power. If you notice your pump feels weaker or your output is dropping despite using the same settings, inspect these consumable parts. As a general rule, replace silicone valves and membranes every one to three months depending on how frequently you pump.
Finally, never ignore physical pain. Pumping should be a comfortable, tugging sensation, never a painful or pinching one. If you experience sharp pain, bleeding, or bruising, stop the pump immediately. Continuing to pump through pain can cause long-term tissue damage and severely hinder your let-down reflex. If adjusting your flange size, lowering your suction, and checking your assembly do not resolve the discomfort, consult a certified lactation consultant in Singapore or your healthcare provider for personalized support.
Cleaning and Maintaining Your Eufy S1 Pro
Proper maintenance of your pump protects your infant from harmful bacteria and preserves the operational lifespan of your device.
Immediately after you complete a pumping session, disassemble all parts that have come into contact with your breast milk. Rinse them first with cold water to wash away milk proteins, which can coagulate and become difficult to remove if exposed to hot water first. Next, wash all parts thoroughly in warm, soapy water using a mild dishwashing liquid and a dedicated brush. Rinse them again with clean water and allow them to air dry completely in a clean, dust-free area before reassembling.
Sanitizing your pump parts daily is highly recommended, particularly during your baby’s first few months of life or if they have a compromised immune system. You can sanitize the durable silicone and plastic parts by boiling them in water for five minutes or by using a dedicated steam or UV sterilizer. Always cross-reference your sterilization methods with the manufacturer’s care instructions to prevent warping or melting the components.
To care for the electronic motor unit, keep it completely dry at all times. Never submerge the motor in water or place it inside a sterilizer. Instead, wipe the exterior of the housing with a clean, slightly damp cloth if it becomes dirty. To maintain the health of the built-in rechargeable battery, avoid leaving the device plugged into the charger indefinitely once it has reached 100%, and try to recharge the unit before the battery drains completely to zero percent.

Community discussion
Share your experience or ask a question. Comments are reviewed before publication.