
Using a wearable hands-free breast pump is a highly effective way to maintain a breastfeeding routine while managing a busy daily schedule. The eufy breast pump s2 offers mothers flexibility and convenience, but achieving consistent milk expression and maintaining the device’s longevity requires precise handling. Correct assembly, proper operational techniques, and rigorous hygiene practices are essential to ensure both the safety of the expressed milk and the peak performance of the pump.
Maximizing the efficiency of your pump relies heavily on understanding how its components work together. A minor misalignment during assembly or a slight delay in replacing worn parts can lead to a sudden drop in suction, causing discomfort and reducing milk yield. By establishing a structured routine for preparation, usage, cleaning, and troubleshooting, you can ensure a seamless and comfortable pumping experience.
Preparing and Assembling the Eufy S2 for a Hygienic Start
Prioritizing hygiene before every pumping session is the most critical step in protecting your infant from harmful bacteria. Before touching any pump components or handling your breast milk, wash your hands thoroughly with soap and water for at least 20 seconds. Ensure the surface where you plan to assemble the pump is clean, dry, and sanitized.
Products mentioned in this guide
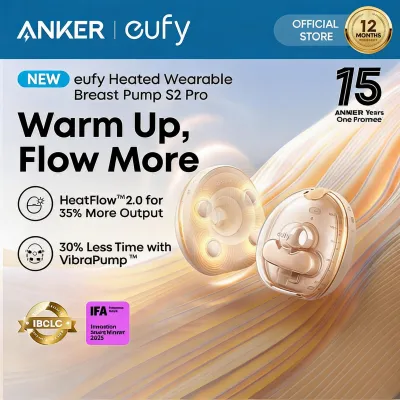
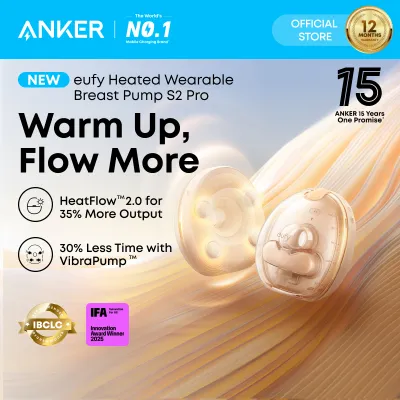
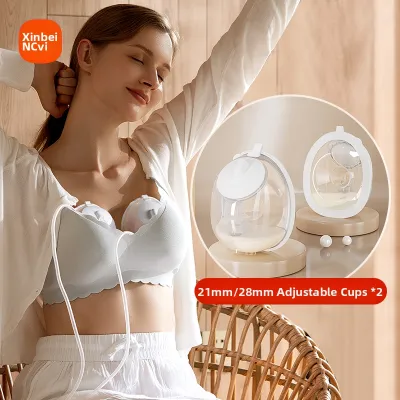
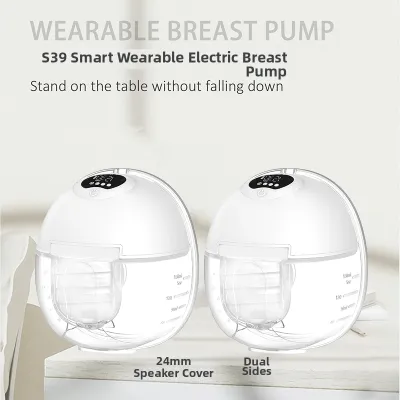
Prices are valid at publication and may change. Please refer to the product page for the latest price.
Before beginning assembly, perform a quick visual inspection of all silicone and plastic components. Check the silicone membranes, duckbill valves, and breast shields for any signs of wear, fine tears, cloudiness, or mold. Because silicone is a delicate material, even a microscopic tear can compromise the airtight seal required for suction. If you notice any damage or discoloration, do not use the parts; instead, replace them immediately to maintain safety and performance.
To assemble the collection kit correctly, follow a logical sequence to ensure all seals are airtight:
- Install the Silicone Membrane: Press the silicone membrane firmly into the connector body. Ensure the edges sit completely flat and flush within the groove without any wrinkles or gaps.
- Attach the Duckbill Valve: Push the duckbill valve onto the bottom of the connector. Handle the valve gently near its base rather than pinching the delicate slit at the tip, as tearing this area will immediately destroy suction.
- Secure the Breast Shield: Press the breast shield (flange) firmly onto the connector assembly. Ensure the pieces align perfectly without twisting or forcing them, which could warp the plastic and introduce air leaks.
- Connect the Motor: Align the main motor unit with the assembled collection cup and press them together until they lock securely into place.
Selecting the correct flange size is vital for both comfort and milk output. An incorrectly sized flange can cause friction, nipple pain, and blocked milk ducts, which ultimately lowers your milk yield. To find your size, measure the diameter of your nipple base (excluding the areola) before a pumping session, then consult the official sizing guide. If you experience persistent discomfort or are unsure of your measurements, consult a certified lactation consultant (IBCLC) in Singapore for professional guidance.
If you discover any cracked, warped, or damaged parts straight out of the box, stop the assembly process immediately. Do not attempt to use a compromised device. Contact authorized support to secure safe, manufacturer-approved replacement components.
Step-by-Step Pumping Techniques for Comfort and Efficiency
Achieving an efficient let-down and maintaining comfort starts with proper physical positioning. Center your nipple precisely within the tunnel of the breast shield before turning the pump on. The shield must sit completely flush against your breast tissue to create a secure, airtight seal. Avoid pressing the pump too tightly against your breast, as excessive compression can pinch the milk ducts, restrict milk flow, and lead to localized swelling.

Once the pump is positioned correctly, use the control panel to navigate the expression phases. The device features two primary modes designed to mimic a baby’s natural nursing pattern:
- Stimulation (Massage) Mode: Always begin your session in this mode. It utilizes fast, shallow suction cycles to stimulate the nerves in your breast, triggering the release of hormones that initiate the let-down reflex.
- Expression Mode: Once your milk begins to flow steadily, switch to this mode. It features slower, deeper suction cycles designed to draw milk out efficiently and comfortably once the pathways are open.
When adjusting the suction intensity, always start at the lowest setting and increase it gradually, one level at a time. Stop increasing once you reach your maximum comfortable setting. A common misconception is that higher suction yields more milk; however, excessive suction causes pain and physical stress, which actually inhibits the let-down reflex and can cause long-term tissue damage.
While a typical pumping session lasts between 15 and 20 minutes, individual needs vary based on your body’s response and your specific milk expression goals. It is generally recommended to limit any single session to a maximum of 30 minutes to prevent nipple soreness. Work closely with your healthcare provider or a lactation consultant to establish a customized pumping schedule that aligns with your baby’s feeding patterns.
Always monitor how your body feels during operation. If you experience sharp pain, nipple blanching (the nipple turning white), severe rubbing against the tunnel walls, or a sudden, unexplained drop in milk output, stop pumping immediately. Remove the device, re-evaluate your flange sizing, and seek advice from a qualified lactation professional before resuming.
Daily Cleaning and Sterilization Routines for Pump Parts
To protect your baby from bacteria, you must establish a strict cleaning routine. Immediately after you finish pumping, separate the motor from the collection cup and rinse all parts that came into contact with breast milk under cold, running water. This initial rinse prevents milk proteins and fats from drying and sticking to the surfaces, which makes subsequent cleaning much easier.
Next, completely disassemble all parts of the collection kit. It is vital to separate the silicone valves, membranes, and connectors entirely, as milk residue easily traps in the small joints and crevices, creating a breeding ground for bacteria.
Wash all disassembled parts in warm, soapy water using a mild, unscented dishwashing liquid. Dedicate a specific basin and cleaning brush solely for your baby’s feeding equipment to avoid cross-contamination from family dishes. Gently clean each part, rinse them thoroughly under clean running water to remove all soap residue, and inspect them. Only wash components in a dishwasher if the user manual explicitly states they are top-rack dishwasher safe; otherwise, stick to hand washing to prolong the lifespan of the silicone.
Sterilization should be performed at least once daily, especially for newborns or infants with developing immune systems. You can sterilize the heat-safe components using boiling water, a dedicated steam sterilizer, or microwave sterilizer bags. Always verify the manufacturer’s specified temperature limits and recommended boiling times (typically 3 to 5 minutes) before heating, as excessive heat can warp the plastic connectors and ruin the flexibility of the silicone parts.
After washing or sterilizing, place all components on a clean, dedicated drying rack. In Singapore’s highly humid climate, it is especially important to let parts air-dry completely in a well-ventilated space to prevent mold growth. Never use cloth towels to dry the inside of the pump parts, as towels can easily transfer lint, fibers, and microscopic bacteria back onto the sanitized surfaces.
The main motor unit contains electronic components and must never be submerged in water, rinsed under a tap, or placed inside any sterilizer. To clean the motor, simply wipe the exterior casing with a soft, slightly damp cloth, and dry it immediately with a clean paper towel.
Long-Term Maintenance and Troubleshooting Guide
Silicone components such as duckbill valves, membranes, and tubing are consumable items that degrade naturally over time. Exposure to heat during sterilization, friction from washing, and regular stretching during operation cause these parts to lose their elasticity. This gradual wear directly reduces the suction power of your pump. Inspect these parts weekly and replace the duckbill valves every 1 to 3 months, and the silicone membranes every 3 to 6 months, depending on how frequently you pump.
If you experience operational issues, refer to this troubleshooting guide to resolve common problems safely:
- Loss of Suction: Check that all parts are dry and assembled correctly. Ensure the silicone membrane is seated completely flat and the duckbill valve is pushed firmly into place without any tears. If you notice moisture or condensation inside the tubing, disconnect the tubing from the collection cup and run the motor alone for a few minutes until the air flow dries the interior completely.
- Air Leaks: Verify that the connectors are snug and that the breast shield is pressed firmly against the collection cup housing. Ensure there are no hairs or fibers trapped between the silicone seals and the plastic parts.
- Unusual Noise or Vibration: Ensure the pump motor is seated flat and securely on the cup. If the vibration persists after disassembling and reassembling the unit, inspect the casing for any visible cracks or loose external parts.
There are specific safety conditions under which you must stop using the device immediately. If the motor unit becomes excessively hot to the touch, emits a burning smell, fails to hold a charge, or has been dropped and shows physical damage, cease operation immediately to avoid electrical hazards or battery malfunction.
For any technical repairs, battery issues, or warranty claims in Singapore, contact authorized customer support. Never attempt to open, unscrew, or repair the internal electronic components of the motor unit yourself, as doing so voids the manufacturer’s warranty and poses serious safety risks.
Frequently Asked Questions (FAQ)
Can I use the Eufy S2 breast pump while it is charging?
Refer to your specific eufy breast pump s2 user manual to verify if the manufacturer supports pass-through charging. To maximize the overall lifespan of the built-in lithium-ion battery, it is generally recommended to charge the motor unit fully before use rather than operating it while plugged into an electrical outlet. Always ensure that the charging port and the cable are completely dry before connecting them to prevent short circuits, and avoid letting the battery drain completely to zero percent before plugging it in.
How do I know if my flange size is correct?
During a pumping session, a correct flange fit allows your nipple to move freely back and forth in the tunnel without rubbing against the sides, while pulling in minimal to no areola tissue. You should not feel pain, and your breasts should feel soft and lighter after pumping. Signs of an incorrect fit include persistent pain, your nipple rubbing or scraping against the tunnel wall, excessive areola tissue being drawn into the tunnel, or leaving the session with hard, unemptied areas in your breast. If you notice these signs, measure your nipple again or consult a lactation professional.
What should I do if the motor unit accidentally gets wet?
If the motor unit is exposed to liquid, immediately unplug it from the charging cable if it is plugged in, and power the device off. Wipe the exterior thoroughly with a dry, absorbent cloth. Place the motor unit in a dry, well-ventilated area and allow it to air-dry completely for at least 24 to 48 hours. Do not use external heat sources such as hairdryers, ovens, or direct sunlight to speed up the process, as extreme heat can permanently damage the internal battery and circuitry. Contact authorized customer support for a safety check before attempting to turn the device back on.

Community discussion
Share your experience or ask a question. Comments are reviewed before publication.