
Using an air sanitizer effectively at home requires a combination of strategic placement, correct operational settings, and regular maintenance of its specialized components. By understanding how to position the unit to maximize mist distribution and when to service its internal parts, you can maintain a cleaner indoor environment for your family. This guide outlines the practical steps to set up, run, and care for your device safely, ensuring it performs reliably in your living spaces.
Preparing for Setup and Safety Checks
Before plugging in your new air sanitizer, a thorough initial inspection is essential to ensure safe operation. Begin by unboxing the unit carefully and checking for any visible shipping damage, such as cracks in the casing or loose internal parts. Verify that all components listed in the user manual, including the power adapter and any initial filters or cartridges, are present in the package.
Next, locate the manufacturer’s label on the bottom or back of the device to verify its electrical specifications. In Singapore, household electrical appliances typically operate on a 230V supply voltage at 50Hz, so you must confirm that your specific model matches these requirements to prevent electrical hazards. Look for safety marks or compliance labels indicated in the documentation to ensure the unit meets local safety standards for home appliances.
Products mentioned in this guide
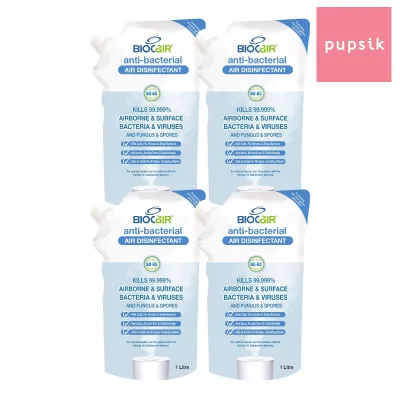




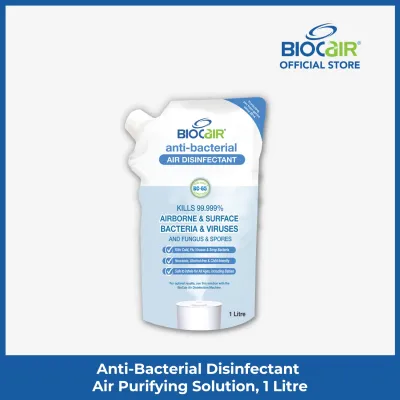
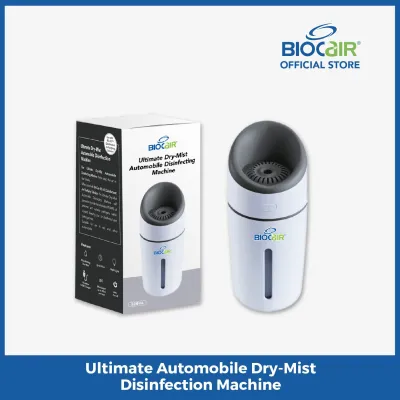
Prices are valid at publication and may change. Please refer to the product page for the latest price.
Read the model-specific user manual completely before assembling the device. Pay close attention to instructions regarding the water tank capacity, the type of water recommended by the manufacturer, and any initial preparation steps for the sanitizing solution. Ensuring the unit is assembled on a flat, stable surface away from direct sunlight will prevent early operational issues.
Optimal Placement for Different Room Sizes
To achieve efficient air sanitization, you must position the device where its mist can circulate freely throughout the room. Start by checking the product specifications in your manual to identify the rated coverage area, which is typically measured in square metres. Matching the device’s capacity to the actual size of your room—whether it is a compact nursery or a larger open-plan living area—prevents underperformance.

Position the unit on an elevated, flat surface such as a table or shelf, rather than directly on the floor, to allow the sanitizing mist to disperse evenly before settling. Ensure there is a clear clearance space of at least 30 to 50 centimetres around all sides of the device. Keeping it away from walls, heavy curtains, and wooden furniture prevents moisture buildup and allows the air intakes to draw in air without obstruction.
Consider the natural airflow patterns of your room when choosing a location. Placing the sanitizer near a gentle air source, like a fan, can help distribute the mist, but avoid placing it directly under an air conditioning unit or next to an open window where the mist might be immediately drawn out of the room. Additionally, because Singapore’s tropical climate already introduces high ambient humidity, monitor the room’s moisture levels and avoid placing the device in highly humid zones like bathrooms unless the manufacturer explicitly states it is safe to do so.
Step-by-Step Operating Procedures
Operating your air sanitizer correctly ensures consistent performance and helps manage the humidity levels in your home. Start by filling the water tank according to the manufacturer’s instructions, using only the recommended sanitizing solution or water mixture. Once the tank is securely attached, plug the unit into a wall outlet and press the power button to turn it on.
Familiarize yourself with the control panel symbols and indicator lights, which vary depending on the specific model you own. Most units feature adjustable mist levels or fan speeds, allowing you to select a lower setting for smaller rooms or a higher setting for rapid sanitization in larger spaces. Refer to your user manual to interpret specific light colors or flashing patterns, which often communicate current operating modes or low water levels.
Establish a runtime schedule that aligns with your household’s daily routine and the manufacturer’s guidelines. Many models include built-in timers that allow you to set the device to run for a specific number of hours before shutting off automatically. If you prefer continuous operation, ensure you monitor the liquid levels regularly and turn the device off when the room is unoccupied for extended periods to conserve the solution and prevent excessive humidity.
Maintaining the DNA Destroyer Module and Filters
Regular maintenance of the internal components is vital to sustain the sanitizing performance of your device over time. Locate the DNA Destroyer module and any pre-filters by referring to the assembly diagrams in your user manual. These components are designed to process the air and solution, and their efficiency depends heavily on remaining free from dust, mineral scale, and debris.
Check the device’s control panel for visual indicators, such as a dedicated maintenance light, which signals when it is time to clean or replace internal parts. If your model does not feature digital alerts, establish a manual tracking schedule based on the estimated service hours provided in the manual. Regular inspections every few weeks will help you spot physical wear or buildup before it affects operation.
When performing maintenance, always power off and unplug the device first to ensure safety. Follow the manufacturer’s exact instructions for removing and wiping down the DNA Destroyer module or washing the pre-filters. Avoid using harsh chemical cleaners or abrasive materials unless specified, and if any step in the cleaning process is unclear, stop immediately and contact the manufacturer’s customer support for guidance.
Common Mistakes That Reduce Sanitization Effectiveness
Several common usage errors can inadvertently lower the effectiveness of your air sanitizer. One frequent mistake is blocking the air intake vents or mist nozzles by placing household items, books, or toys too close to the unit. Operating the device in tight, enclosed corners or behind furniture restricts airflow, preventing the sanitizing mist from circulating throughout the room.
Another critical error is neglecting the filter and module replacement schedules or attempting to use unauthorized, third-party replacement parts. Non-genuine components may not fit correctly or could fail to meet the operational specifications of your device, potentially damaging the internal mechanics and voiding your warranty. Always source replacement parts directly from authorized distributors to ensure compatibility.
Finally, running the sanitizer while keeping windows and doors wide open in highly ventilated or polluted environments can significantly reduce its indoor efficacy. While some fresh air circulation is beneficial, excessive outdoor drafts will carry the sanitizing mist out of the room before it can effectively treat the indoor air. For optimal results, close windows during operation and allow the device to treat the enclosed space.
Frequently Asked Questions (FAQ)
Is it safe to leave the BioCair sanitizer running overnight in a baby's room?
When using the device in a nursery, always consult the manufacturer’s safety guidelines regarding overnight or unattended operation. Ensure the unit is placed on a stable, elevated surface completely out of reach of infants and toddlers, and that the power cord is safely secured. Monitor the room’s humidity levels, as excessive moisture overnight can create an uncomfortable sleeping environment; if your baby shows any signs of respiratory discomfort, stop use and consult a qualified healthcare professional. Additionally, check the product specifications for noise levels and light emissions from the control panel to ensure they do not disrupt your child’s sleep patterns.
How do I know when the DNA Destroyer module needs replacement?
The most reliable way to determine when the DNA Destroyer module requires replacement is by monitoring the digital indicators or warning lights on your device’s control panel, which are designed to flash or change color when the module’s lifespan is depleted. You should also consult your model-specific manual to find the estimated operational lifespan, typically measured in hours of use, and track your daily runtime accordingly. If you notice a significant drop in mist output, unusual operating noises, or if the device fails to initiate the sanitization cycle despite a full tank, these physical signs suggest it is time to inspect and potentially replace the module.
Community discussion
Share your experience or ask a question. Comments are reviewed before publication.